Paid collaboration with STABILO Switzerland and StickerKid.
Christmas Season is upon us and if there was ever a reason to pick up a pen again, it is now to send your loved ones Christmas Cards. I love getting Christmas Mail, no matter if it is a printed card from the store or just a plain one, but what really brings me most joy is one that was handmade.
Making a Christmas Card is really easy, all you need is a little bit of practice for your lettering and simple doodling Knowledge.
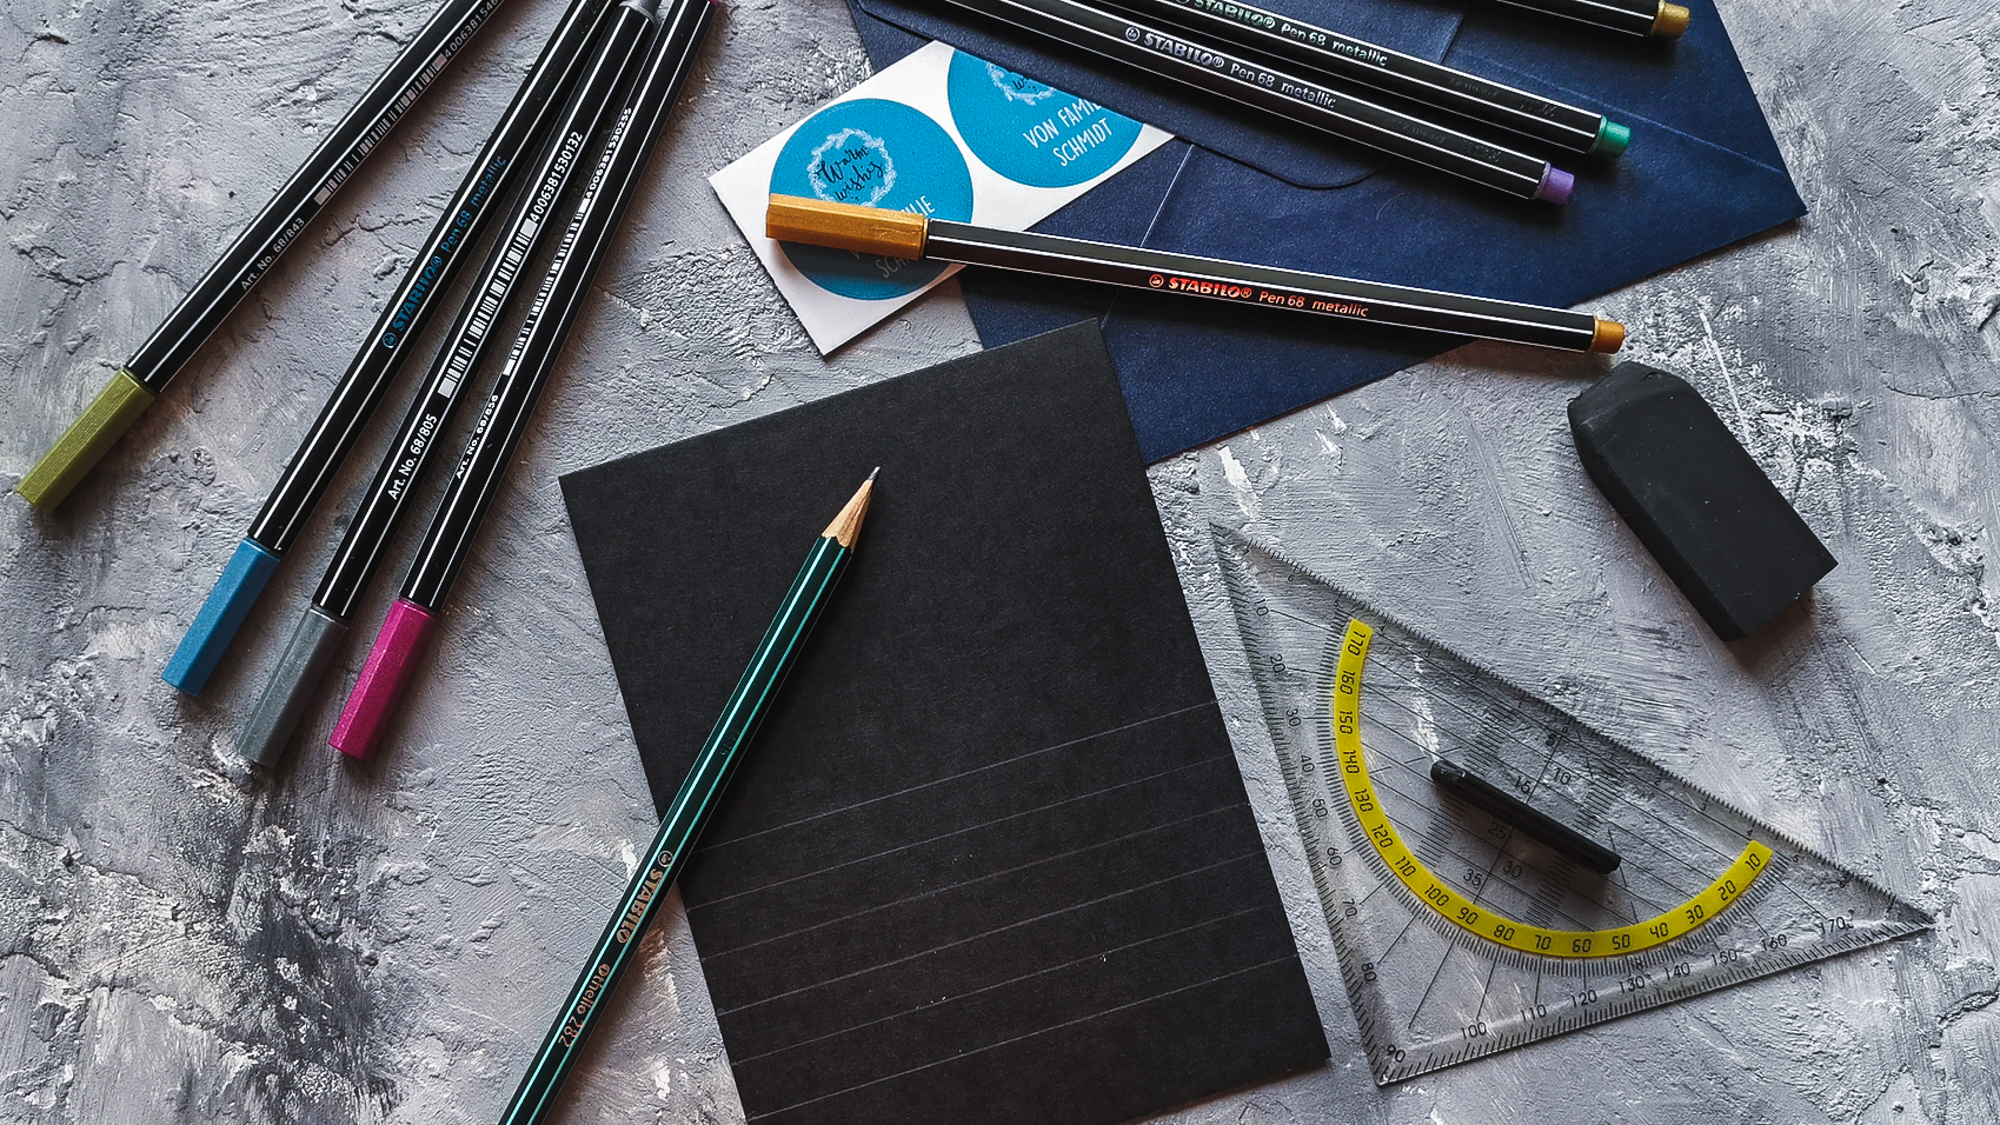
Here’s what you’ll need:
- Pencil (I use a 2B, it’s a little softer than the traditional HB and thus easier to erase)
- Geometric Triangle for Guidelines
- Eraser
- Black Card
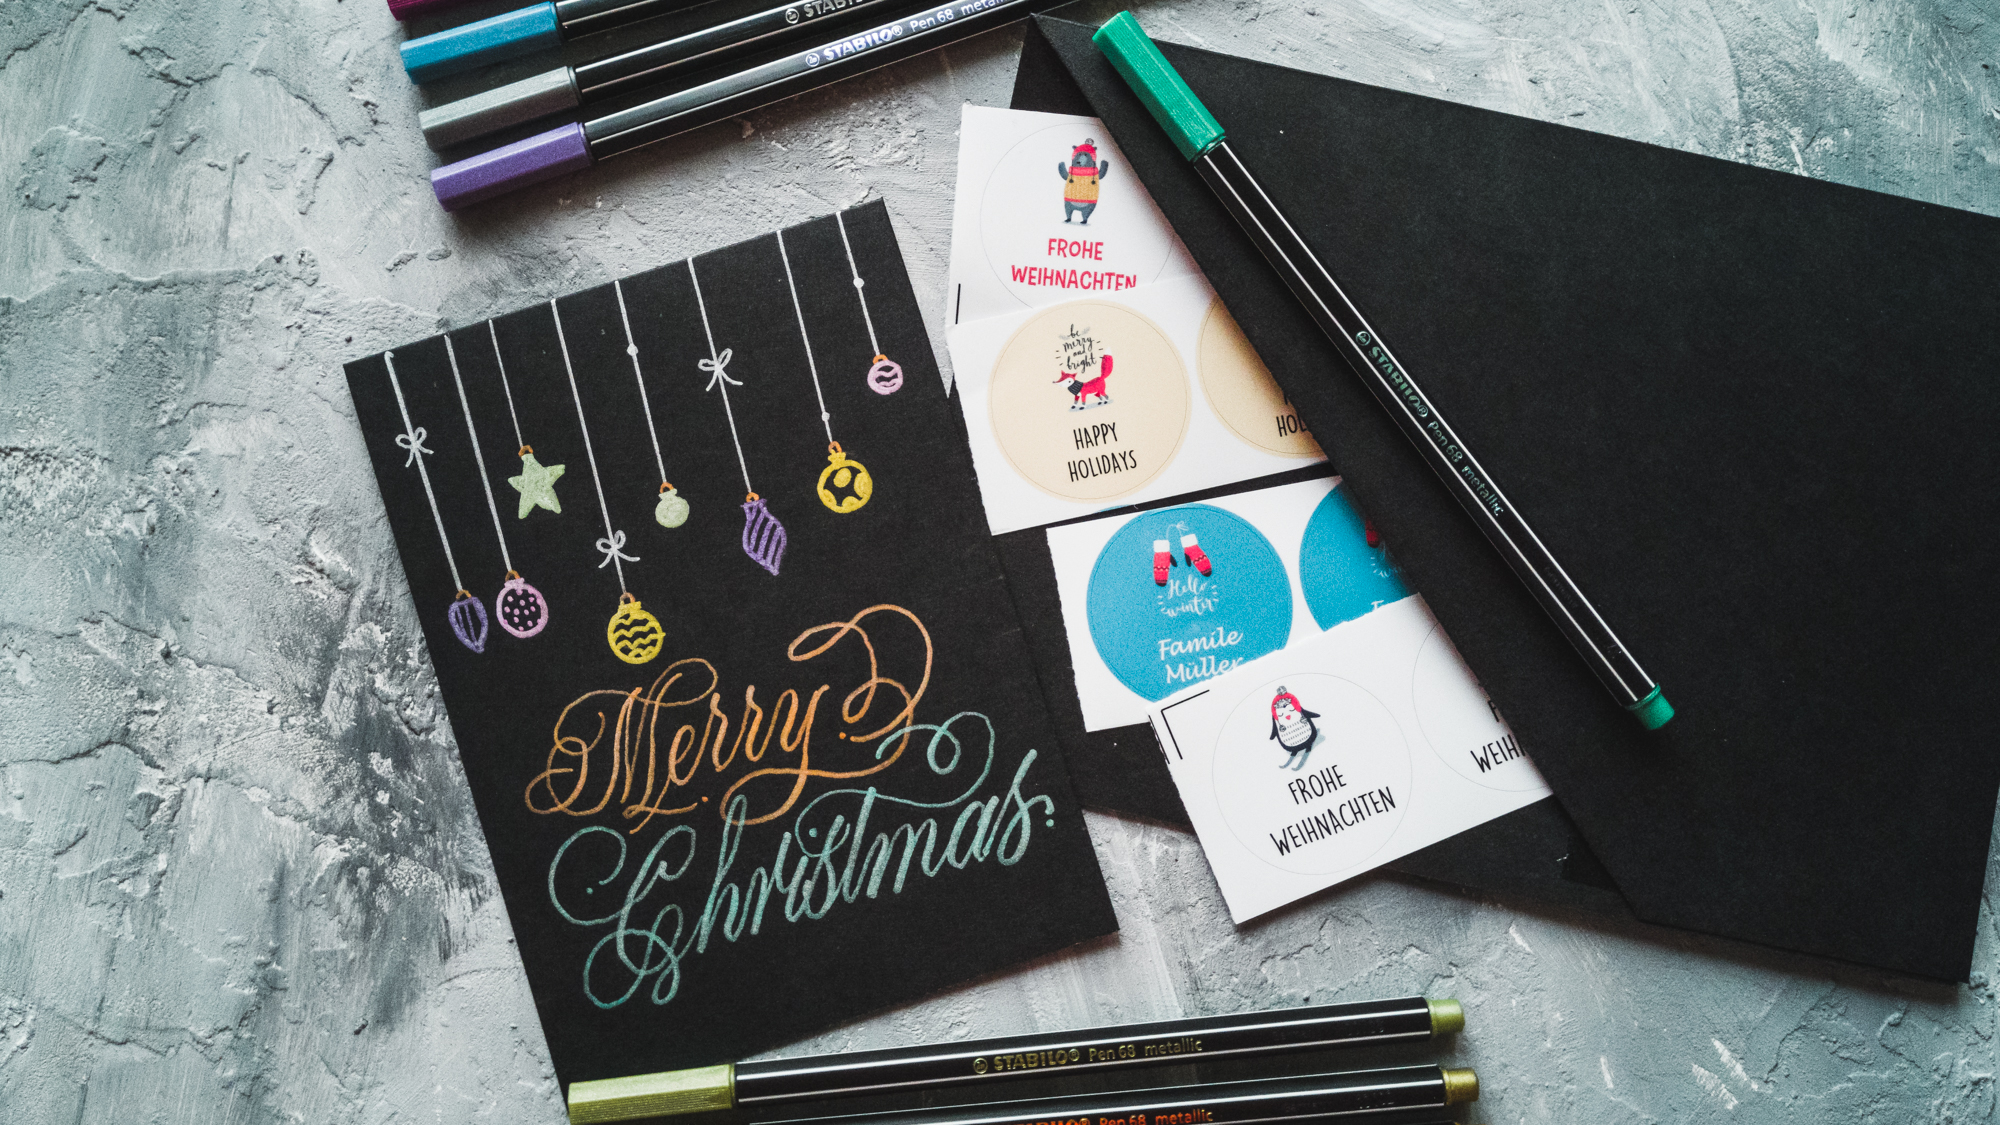
- Envelope along StickerKid Labels with a custom message
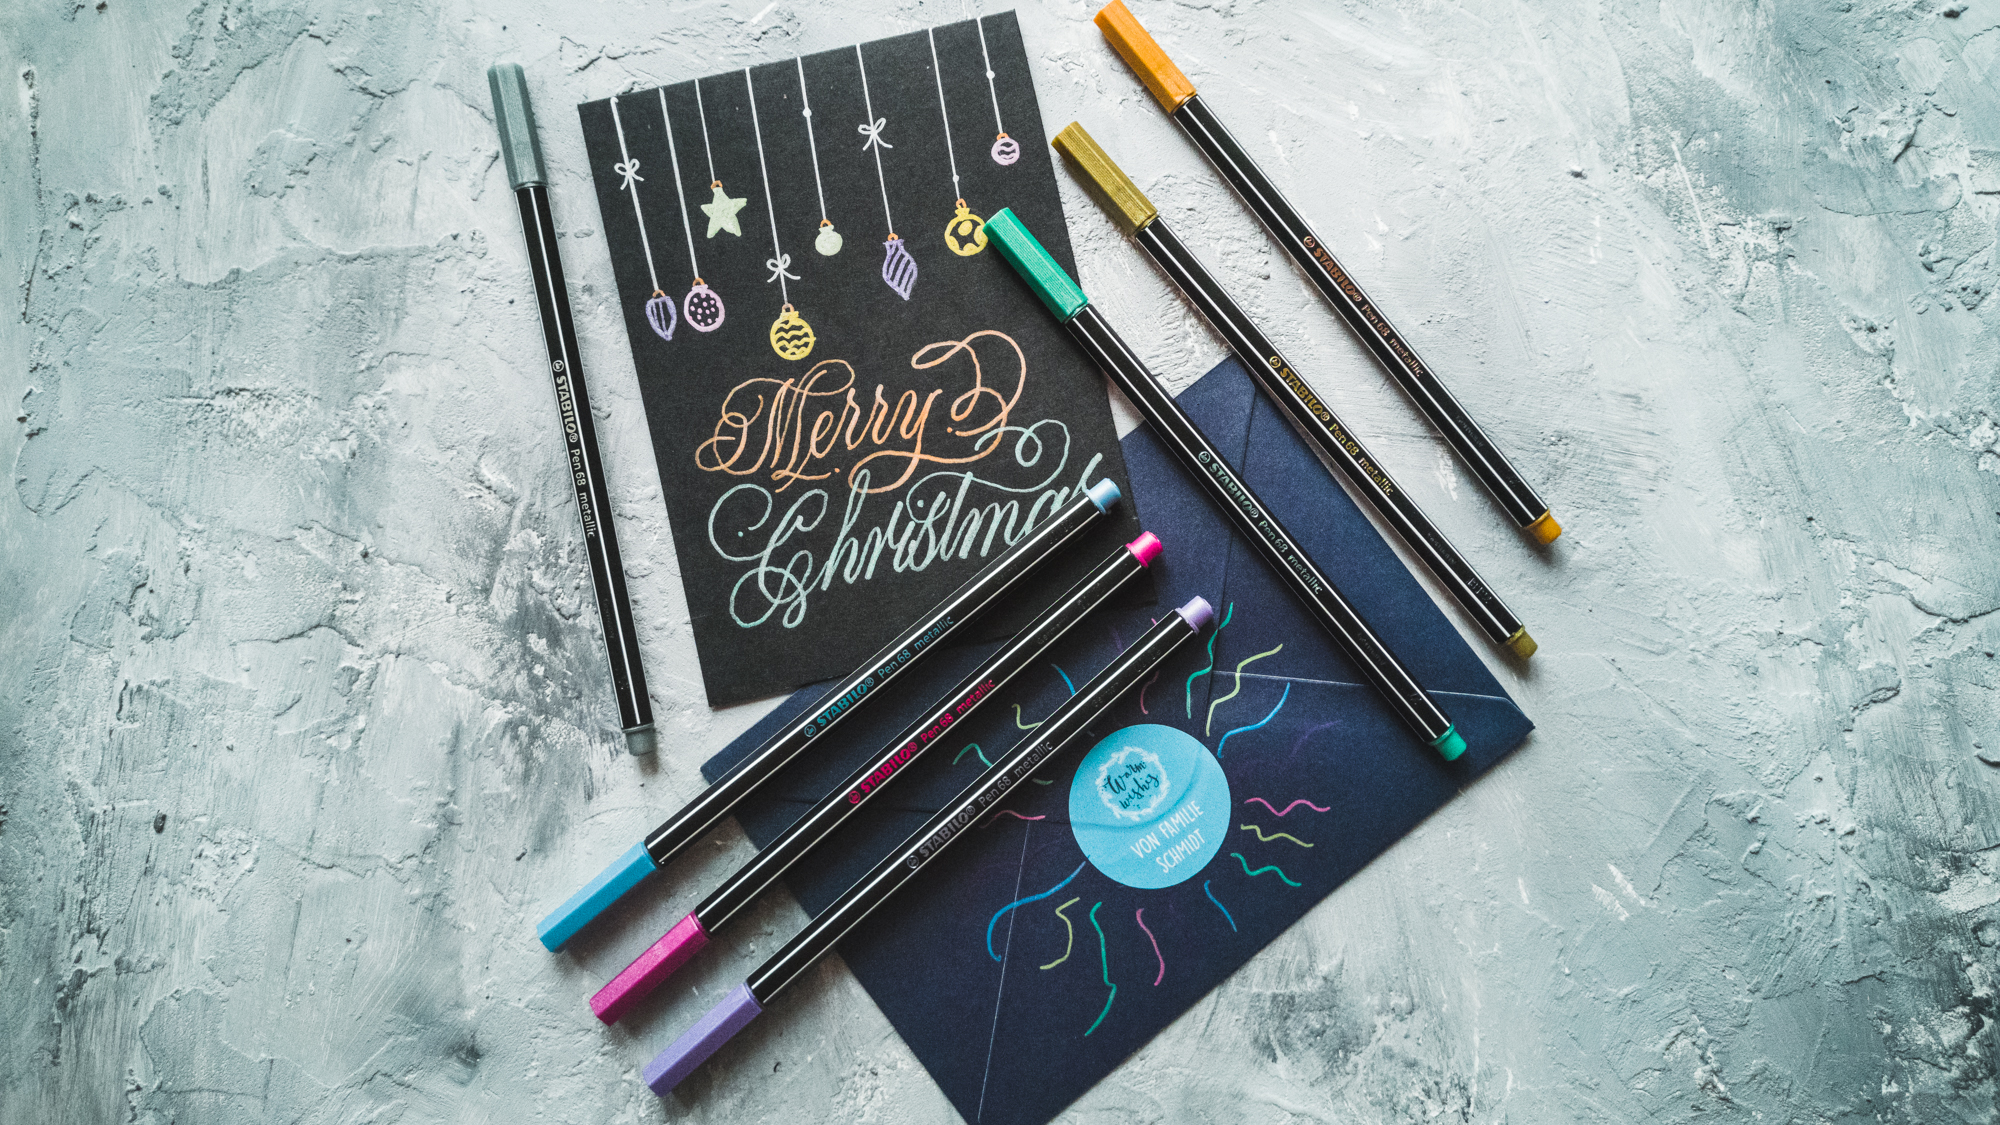
- STABILO Pen 68 metallic in as many colors as you have (1 of them is included for free with every StickerKid order from the 20th November until December 31st 2019)

Start by lining your card at the bottom, make 5 lines spaced about 1 cm apart each.
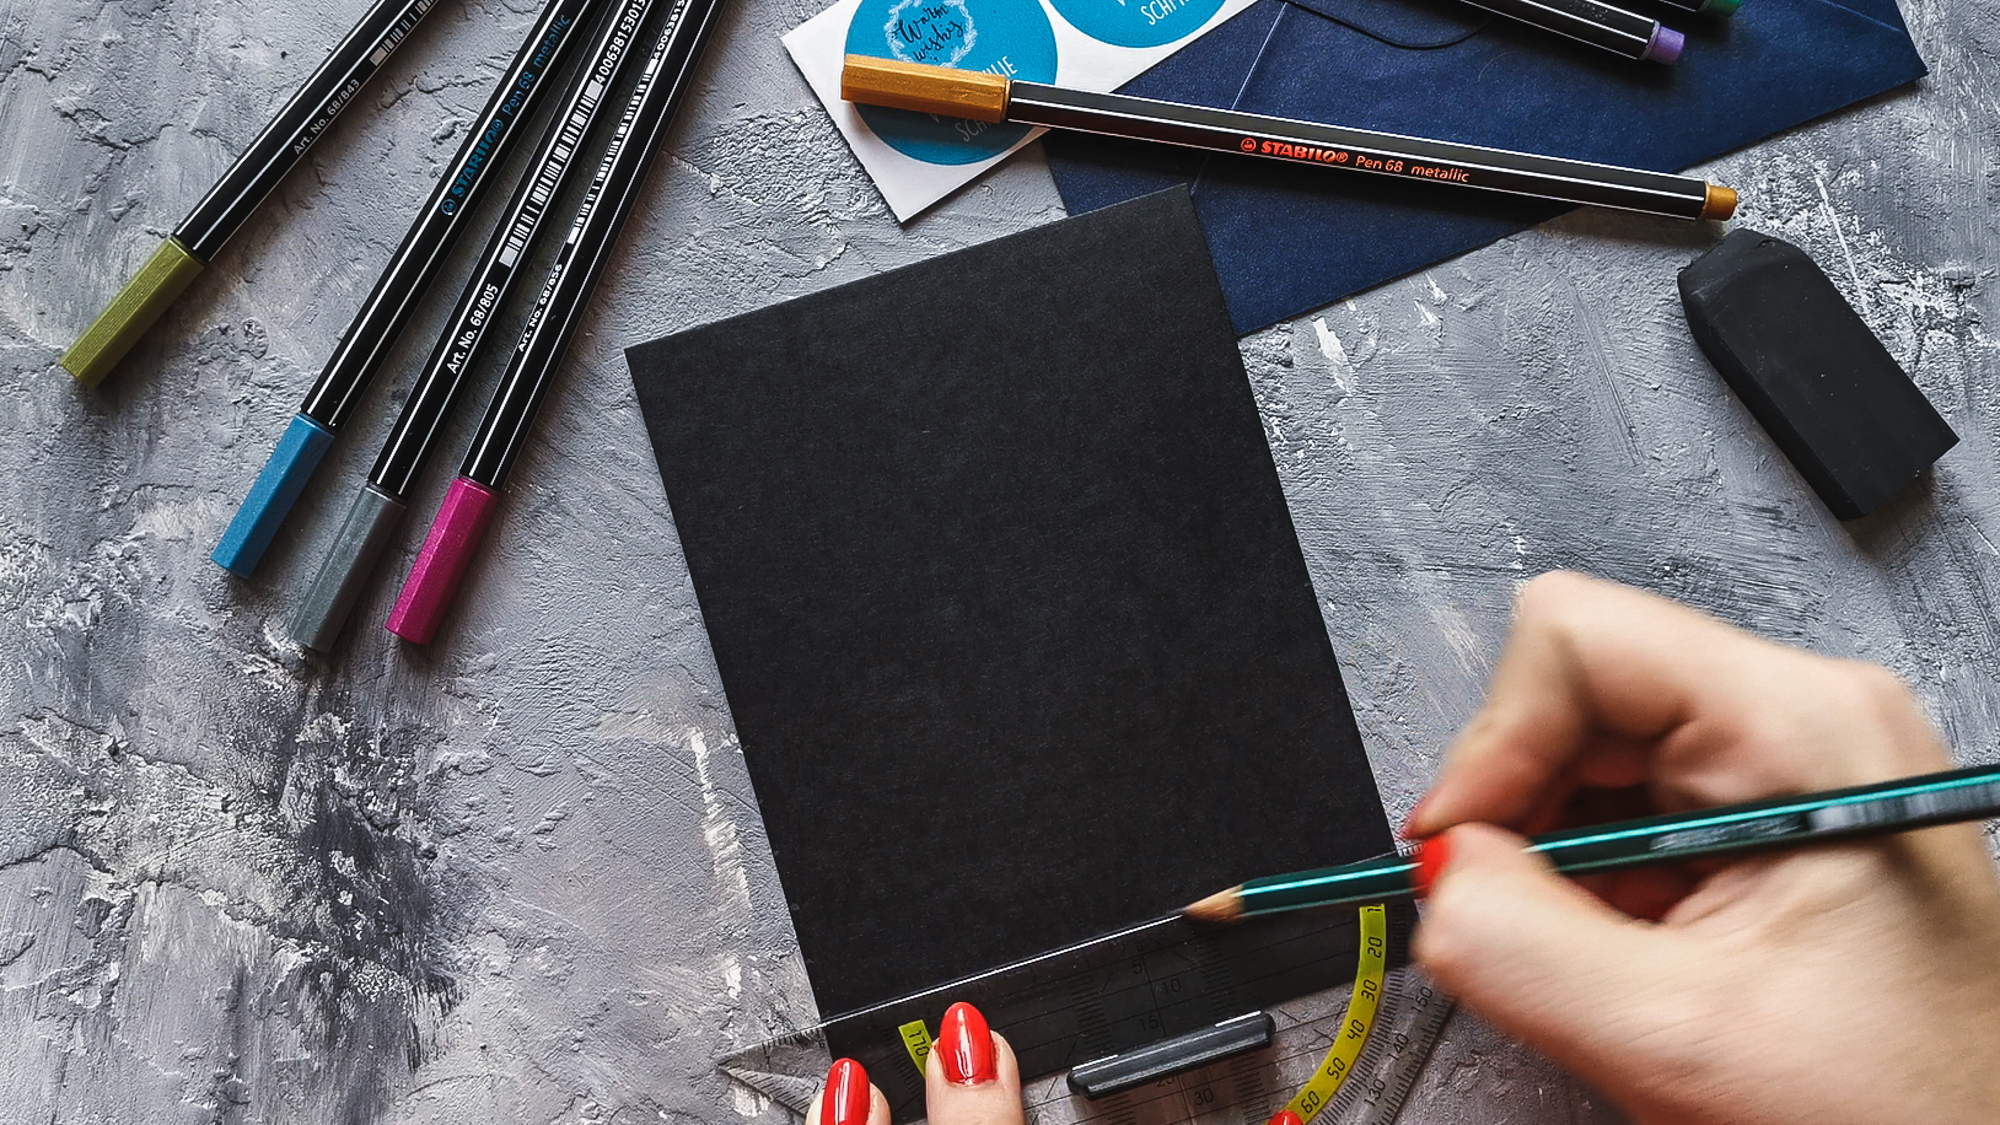
Once your lines are ready, start drafting your lettering on the lines, and sketch the ornaments to get a feel for the card. This allows you to play with the layout a bit and change things up, before you commit to your final design.
Use the Downloadable Christmas Guide to practice your Lettering a few times before you work on your final cards if you feel a little bit intimidated with the letters. Starting in Pencil will make sure your letters are centered and look the way you want them to.

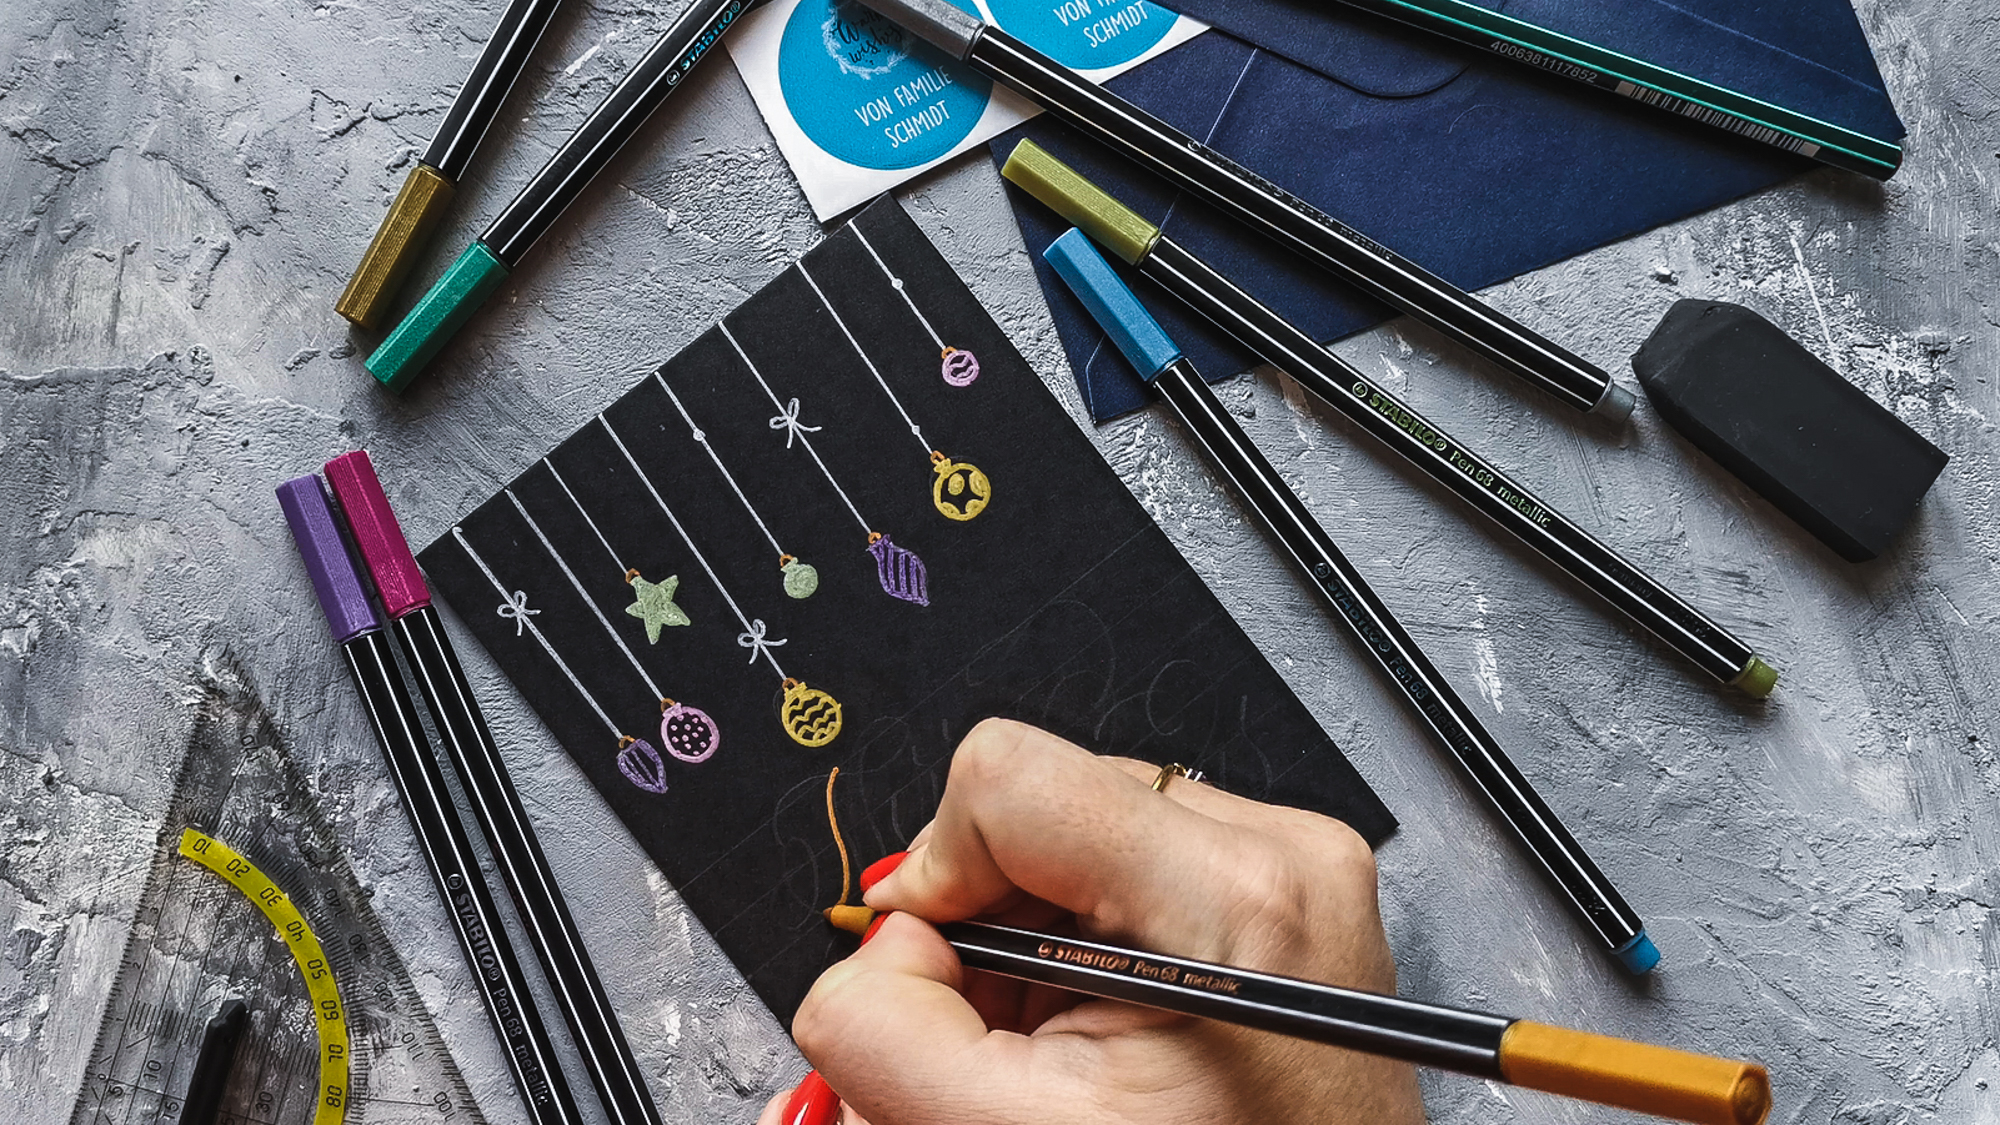
Once you are happy with your design, start adding colors. I like to make my strings straight, so I used the ruler to ensure my ornaments were hanging on straight lines.

Add little bows and pearls for some extra decorations.

Next fill in the ornaments, I like to keep these shapes organic. I believe the biggest charm of a handmade Christmas Card is some of its natural flaws. Don’t try to make everything perfect.

Try filling your ornaments with different patterns and shapes.

Once the ornaments are done, it’s time to start writing.
Trace the pencil lines carefully to make sure it looks as closely to the draft as possible.

I like to change colors during my lettering and to contrast the simplicity of the ornaments, I like my letters flourishy and decorated.

Once all of your lettering is done, give the card a few minutes to dry, and then erase all of the pencil lines you no longer need.

Now all that’s left is put your card in the envelope, grab your stickers and decorate your Happy Christmas Mail with it.
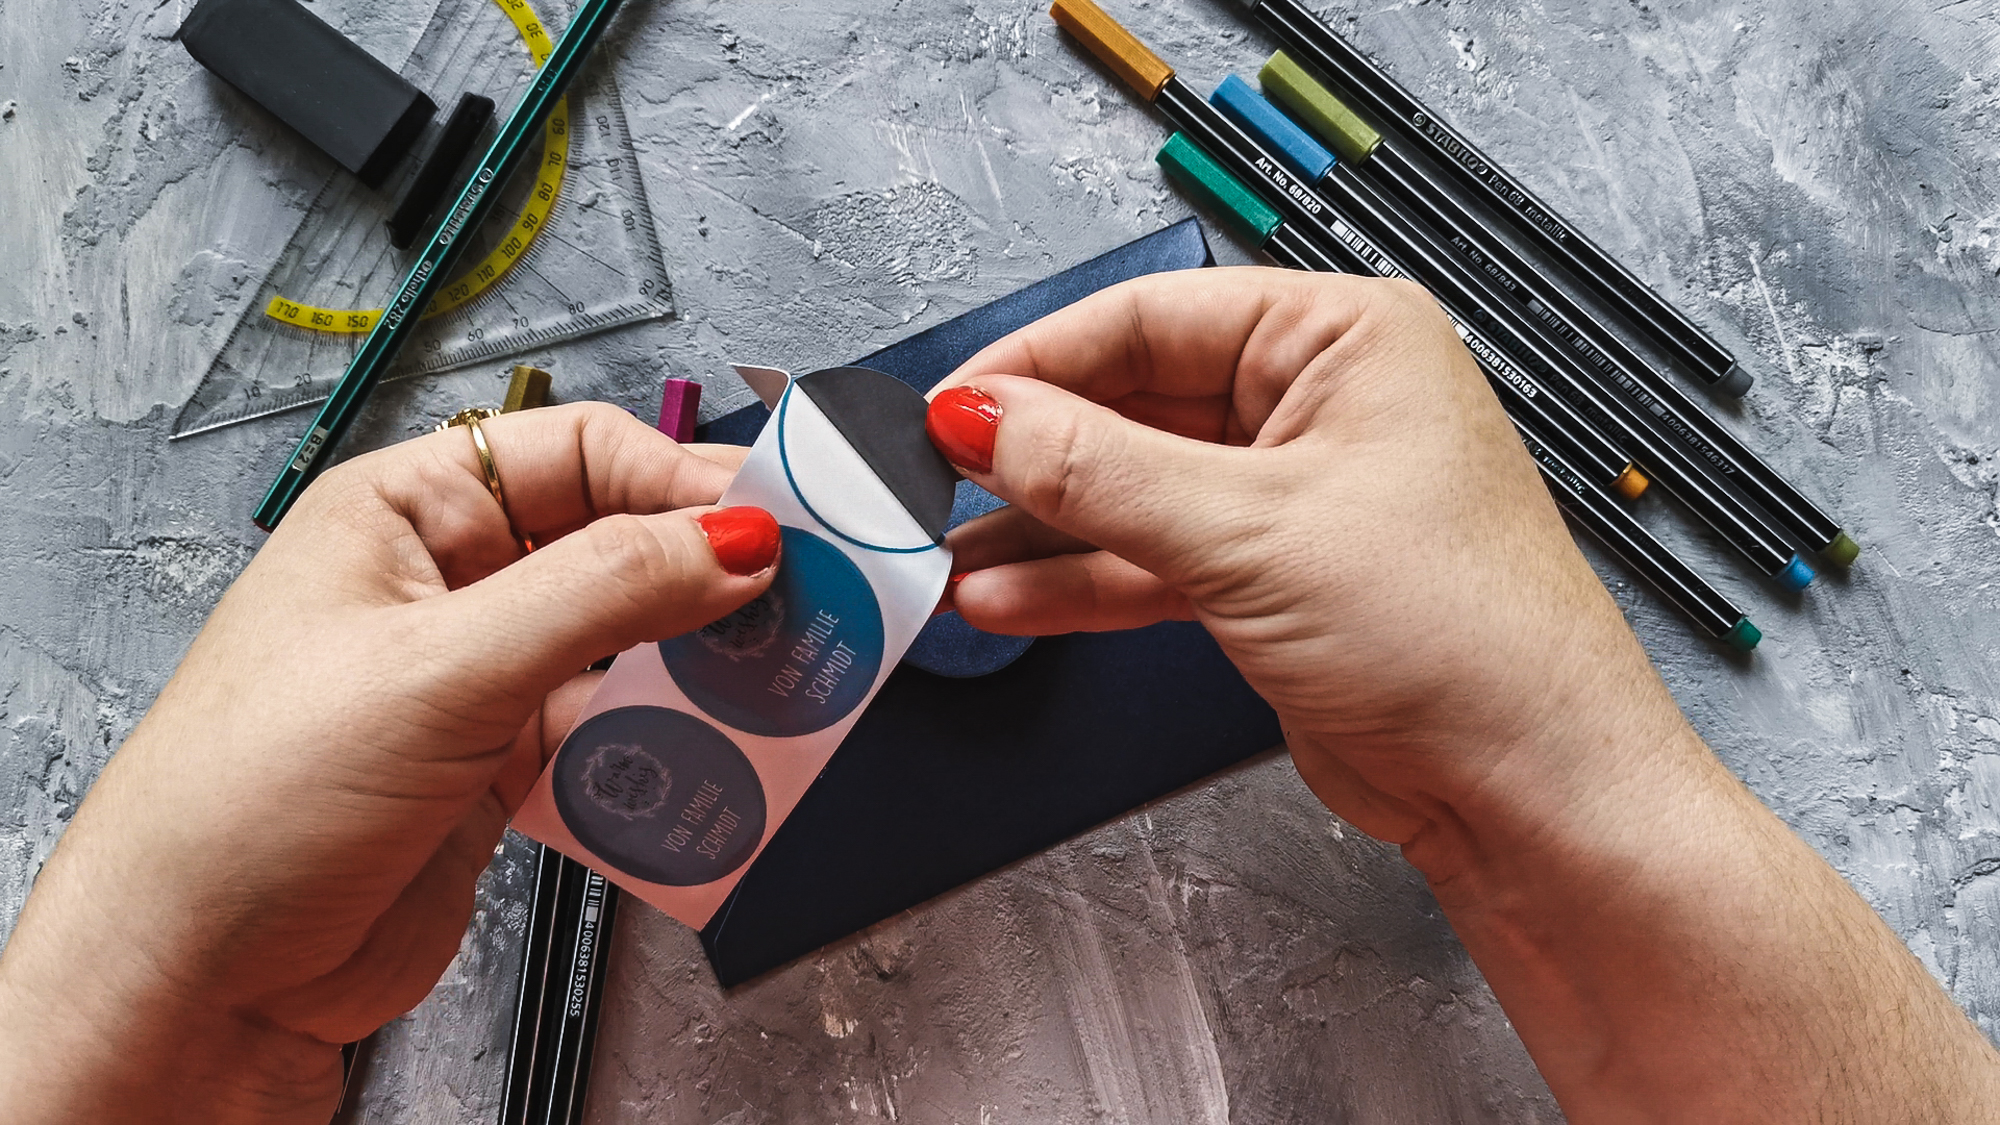

You could even add some additional sparkle with the STABILO Pen 68 metallic too.

And that’s just one of the things you could do with these pens. They could also be used to Decorate Christmas Ornaments with. Check out my Free PDF Christmas Guide it covers a few more Card Ideas and comes with a few practice pages to get your Lettering started.