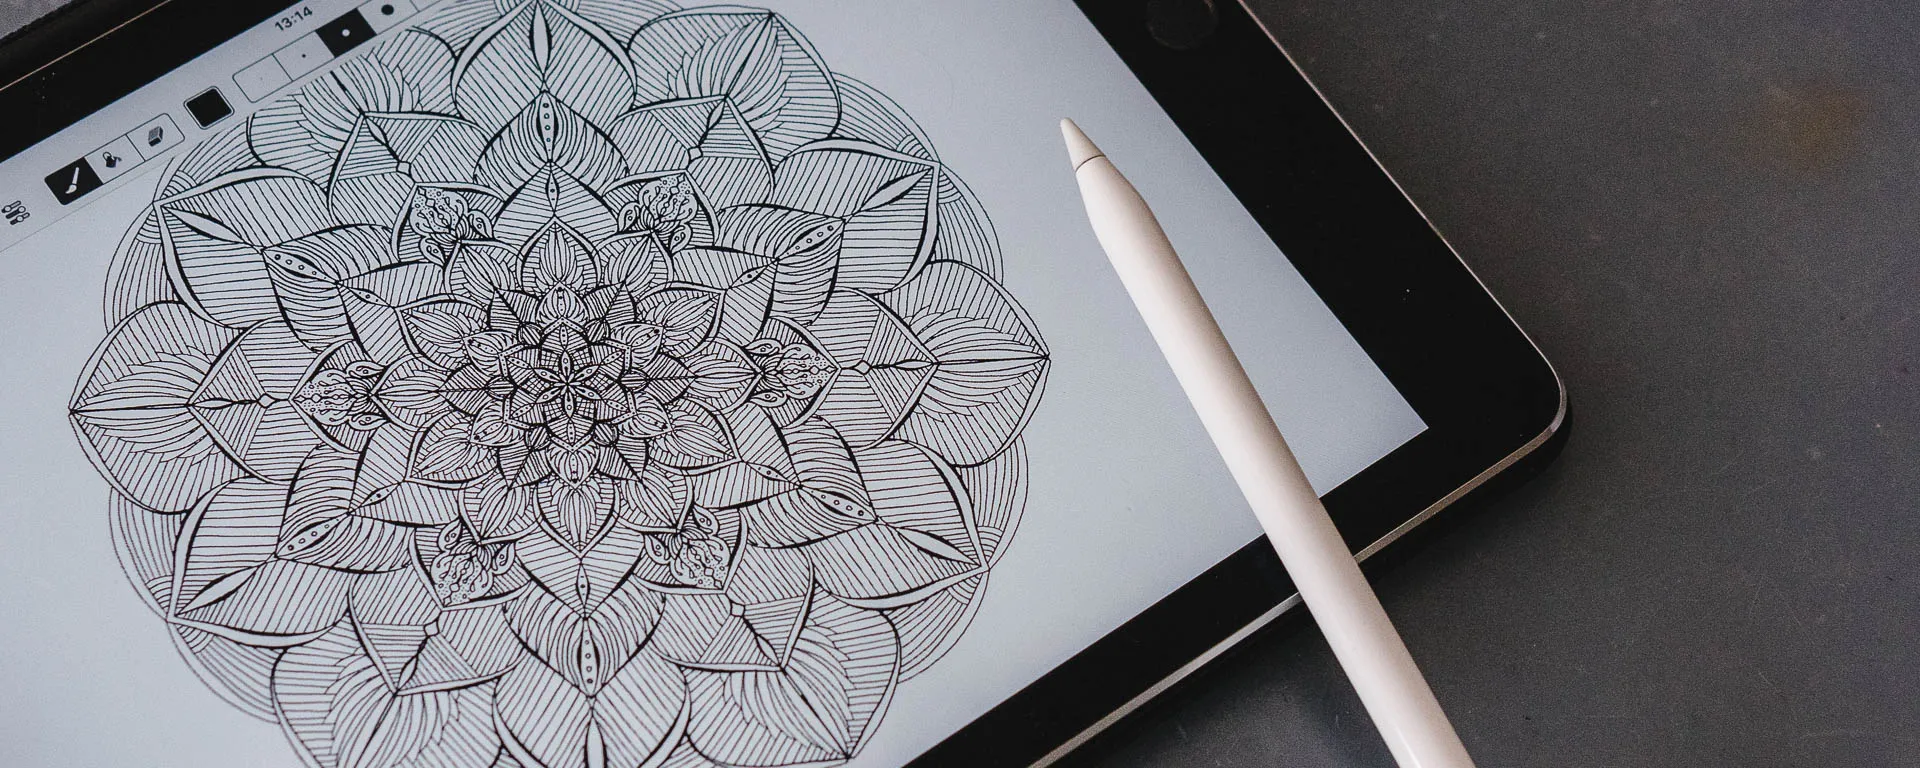
I’ve never considered myself an artist and probably won’t call myself that for the rest of my life. I can’t draw. Well, at least not without help.
Using Amaziograph the whole being-artsy-thing might actually be worth a shot.
Amaziowhat?
Amaziowhat?Maybe you’ve never heard of Amaziograph, maybe you have. Amaziograph is an App for iPad. A Drawing App. A Symmetry App. A bit more Info:
- The App is not free, here in Switzerland it’s 1 CHF. Absolutely worth it.
- It is not pressure sensitive. So you can use it with either your finger, a cheap stylus, an expensive stylus or the Apple Pencil equally. The only advantage the Pencil has over your finger is the fact, that you’ll be a little bit more exact with where your line lands.
- You only have a limited brush library
- App is landscape mode only (which is my preffered way anyways, but just so you know)
- You can’t set the image size, it’s the amount of pixels your iPad has or a little less, if you want better performance.
- It features 10 different symmetry types.
- It has a unique color mixing palette.
This seems like a lot of restrictions, but I don’t think like they are a disadvantage. I usually use the app mostly just in black and white with maybe one or two different brush sizes. I like the fact, that there isn’t an overwhelming amount of options, and the fact that it isn’t pressure sensitive really hasn’t bothered me at all.
A few years ago I was obsessed with zentangling and drew flowers like I draw them in Amaziograph now in hundreds. And I mean hundreds. Back then I had three different black pens that gave me three different thicknesses. I just had the space the paper gave me. I never bothered that the possibilities weren’t endless.
But the coolest thing about Amaziograph is the symmetry part. It will mirror elements, so instead of bothering with creating something remotely symmetrical, you can actually focus on the detail you put into your work. It looks just neater and nicer and prettier. Especially if you are not a super talented person with drawing, like me.
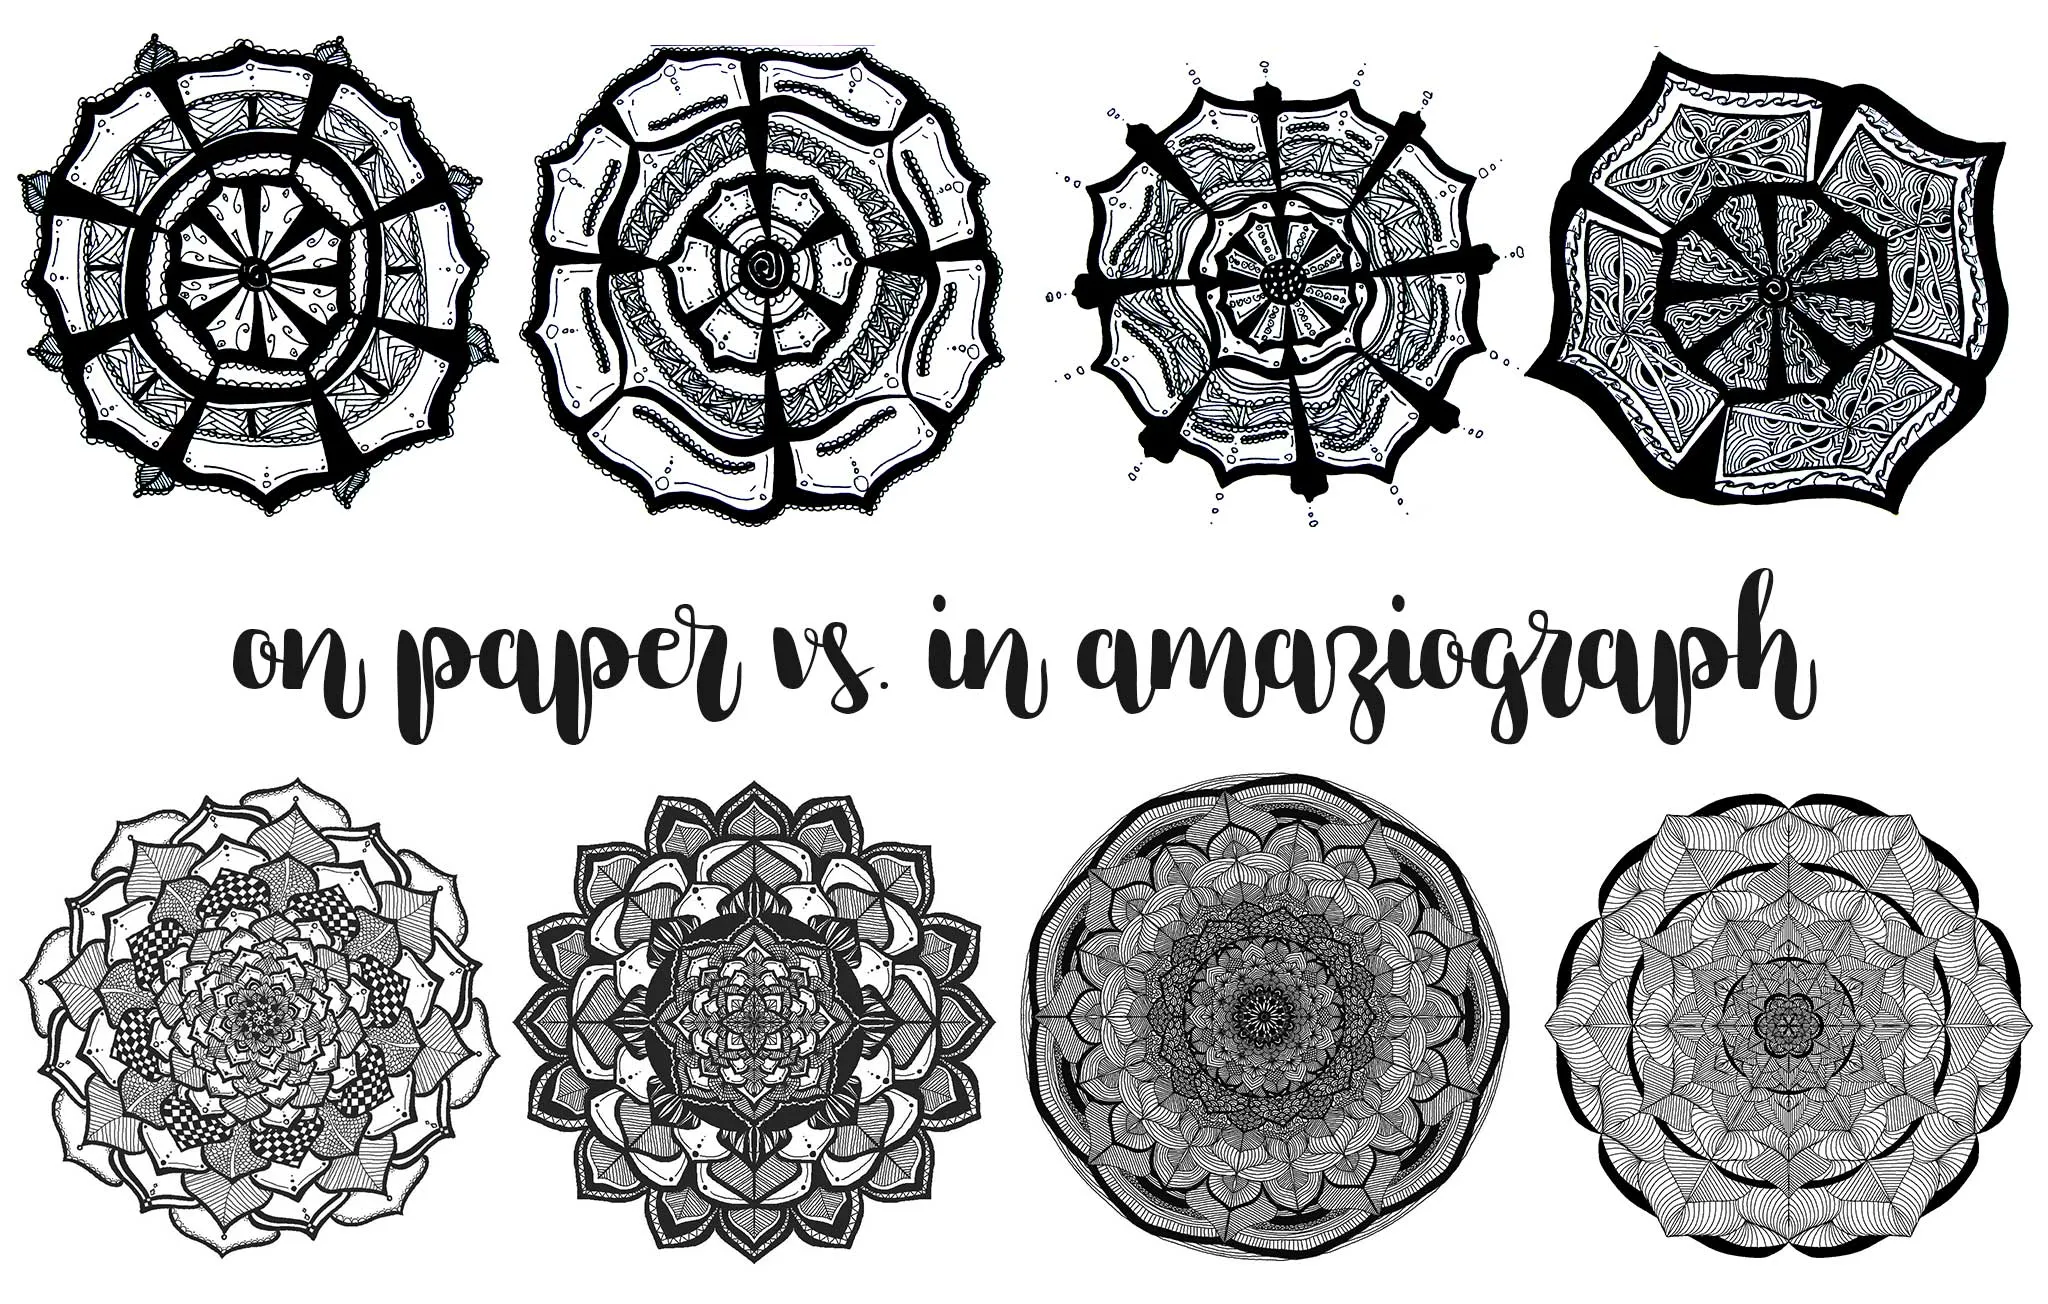
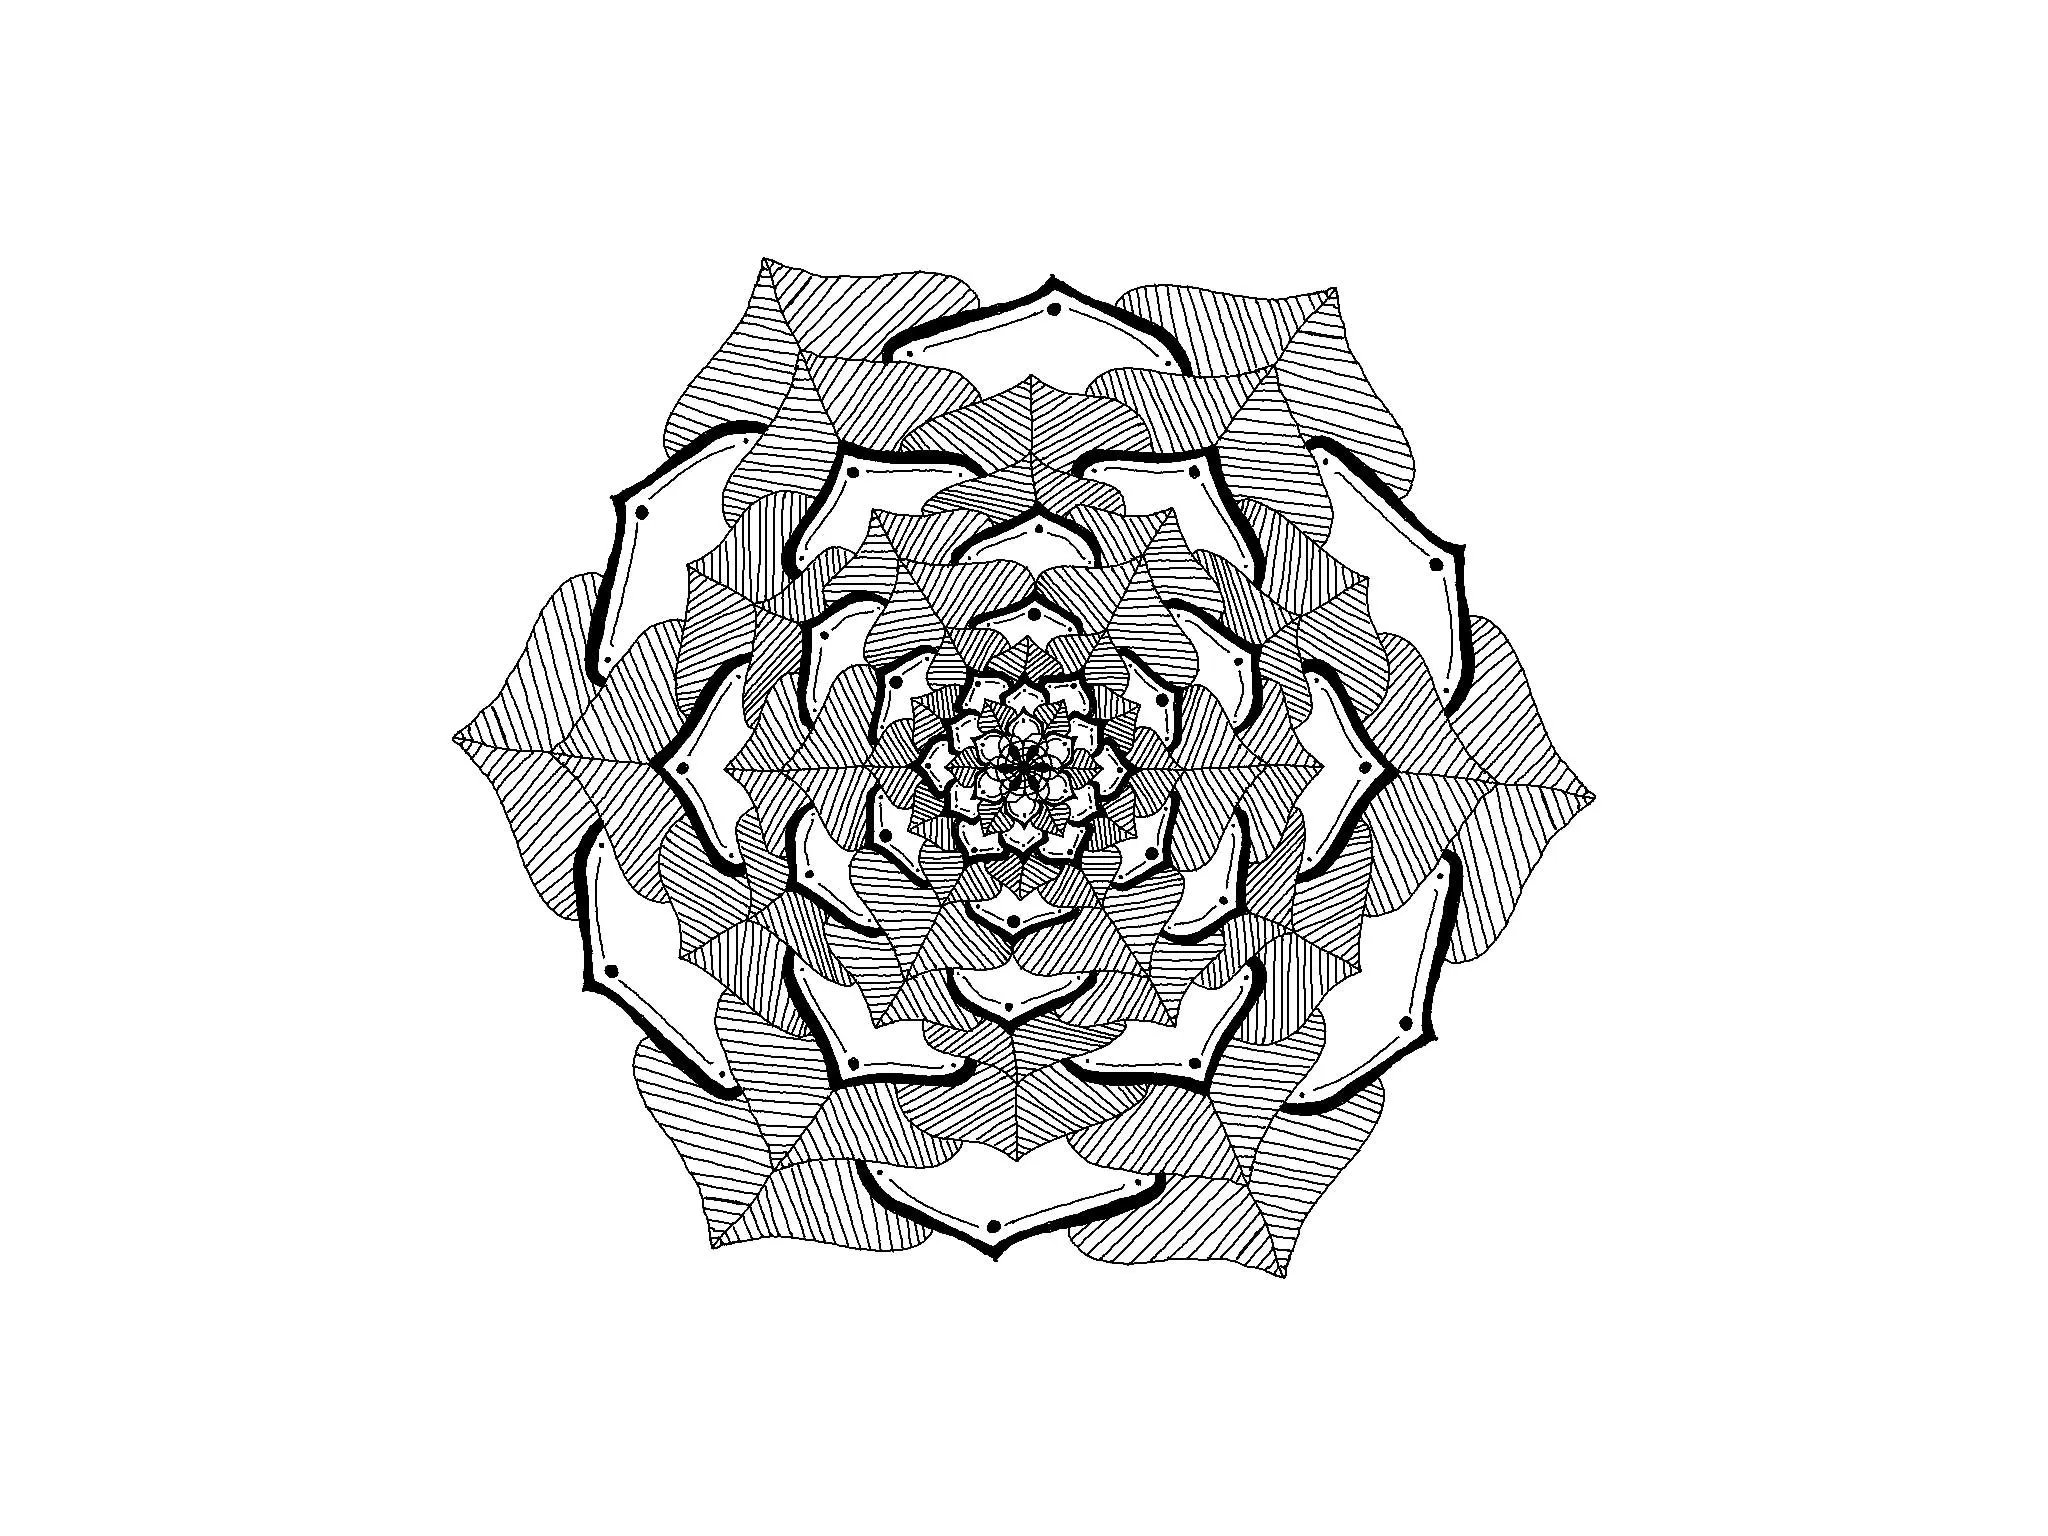
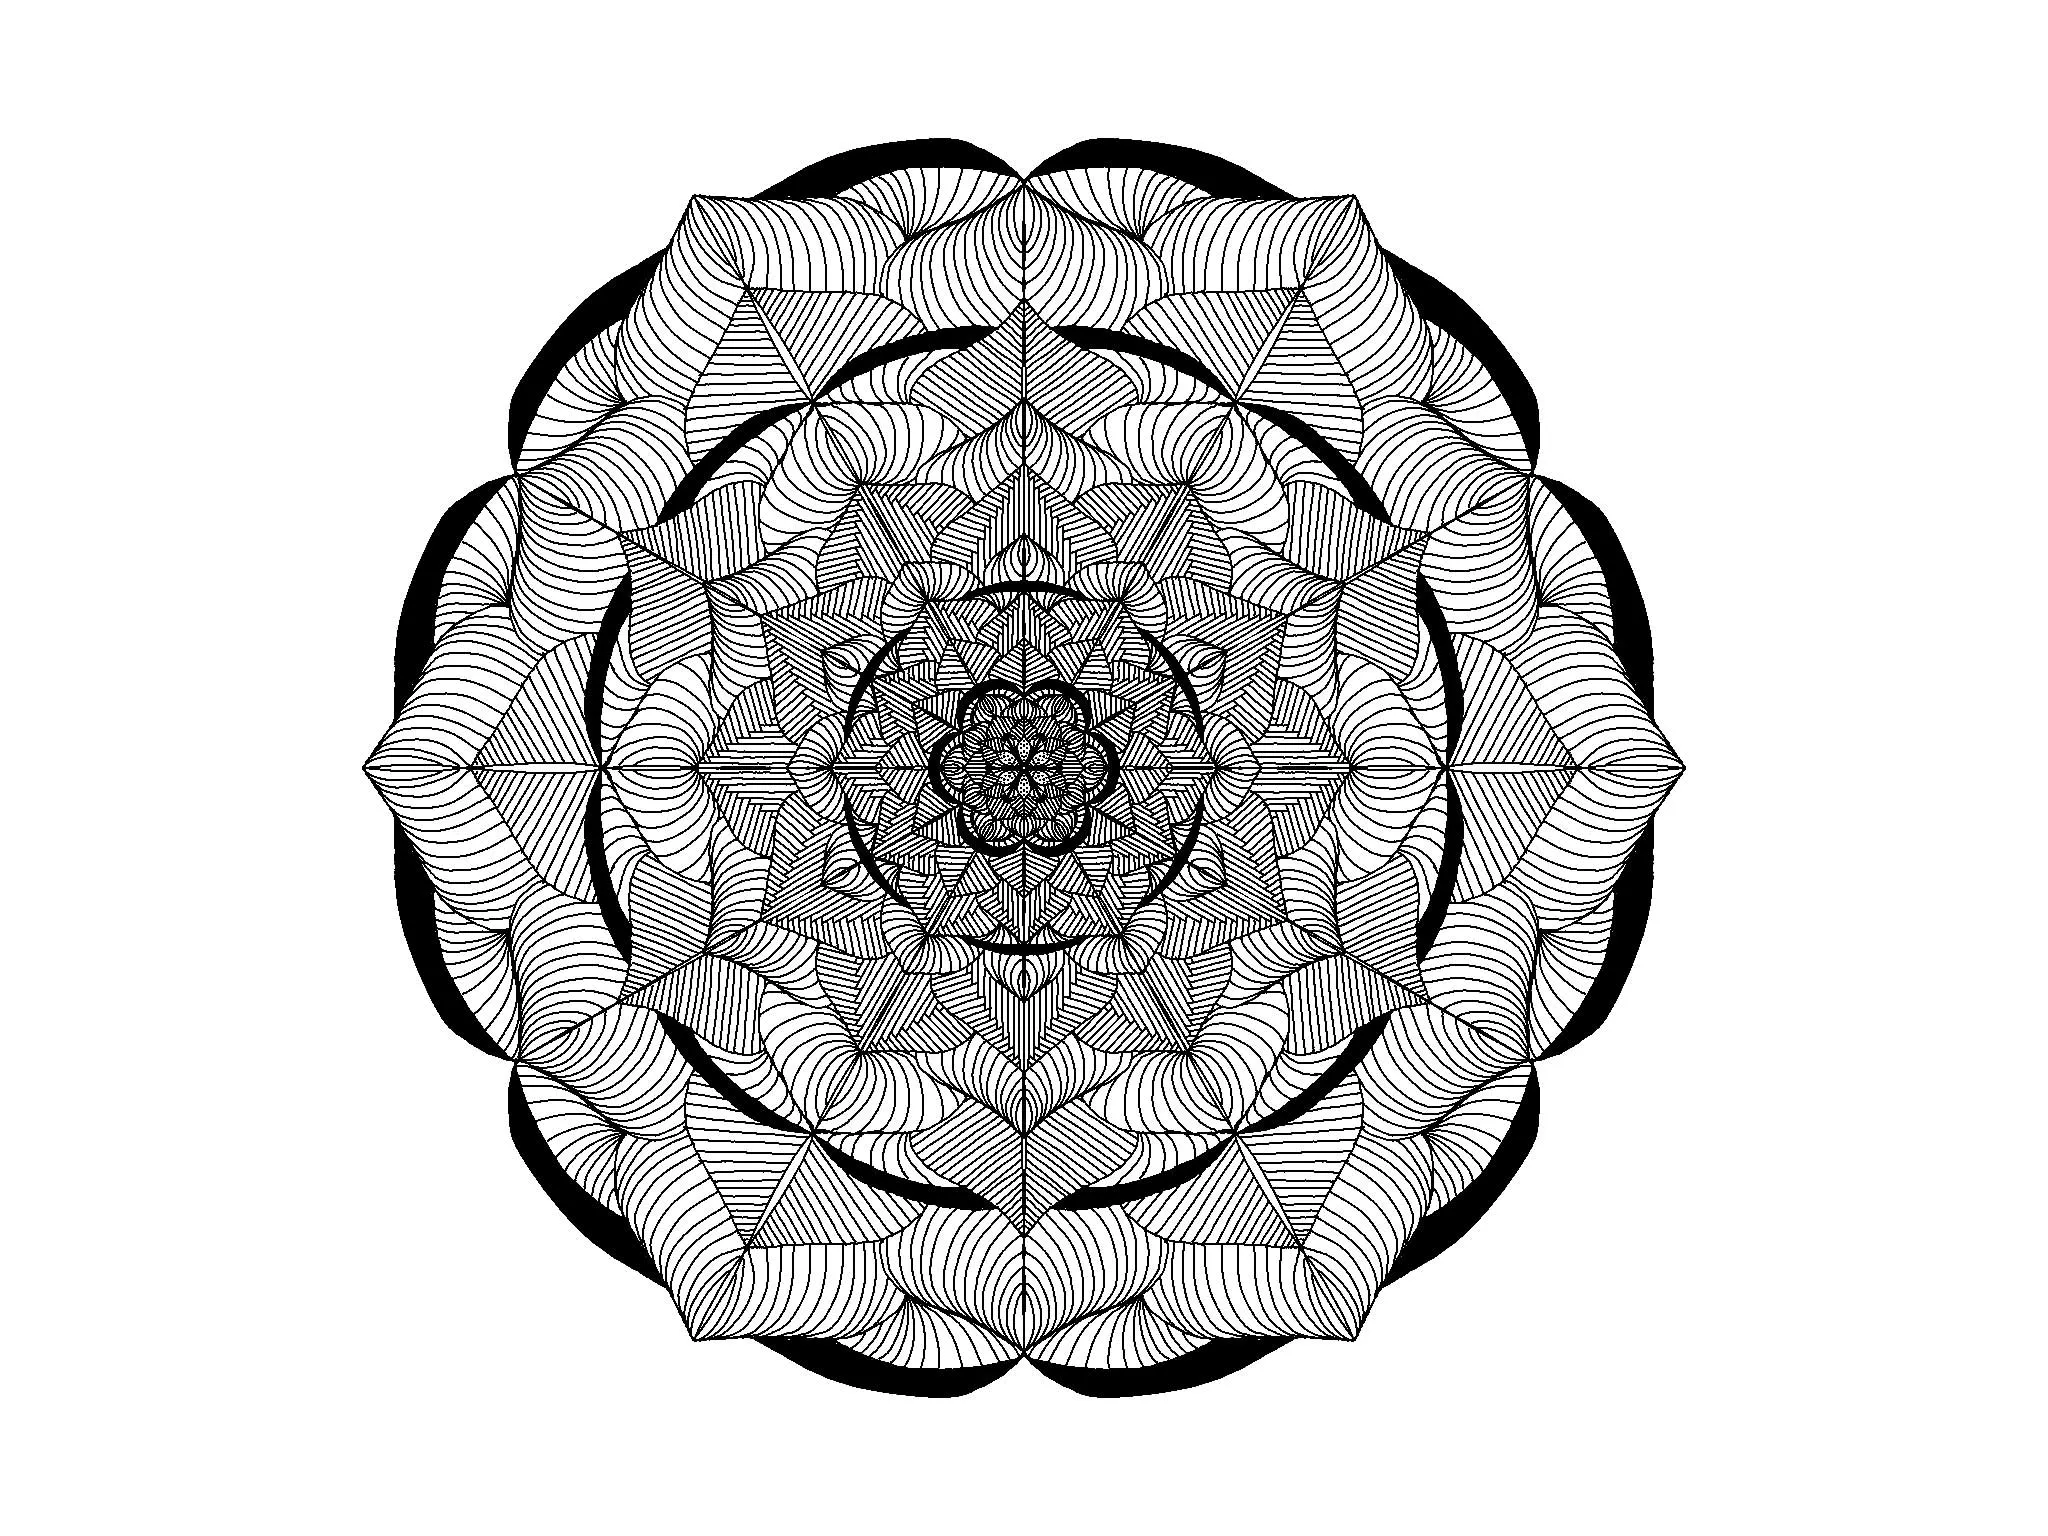
If you check the image below, you can see a quick comparison of 4 flowers I drew on paper a few years ago and some flowers I did in Amaziograph. I’ve only had the App for a few months but my style has already shifted. In the beginning I wanted to create more organic designs, so I went mostly with the rotation type. But then I decided to go a little more geometric. I started going with the 2 mirror Kaleidoscope and shifted to easier patterns, which creates a more consitent style and I just really like how “clean” the flowers feel. (clean is definitely not the word I am looking for here, I might change that as soon as my brain is working again…)
Settings
SettingsThere’s different brush settings, color mixing stuff and obviously the different symmetry types.
Symmetry Types
Symmetry TypesIn this video I show you each type, by creating a piece in about 1 minute. I tried doing one as fast as possible, so you can see that even with very little effort you can get some pretty decent results.
If you don’t have the patience for watching this in realtime, there is a 1 minute version over on Instagram.
And all of the end results to look at:
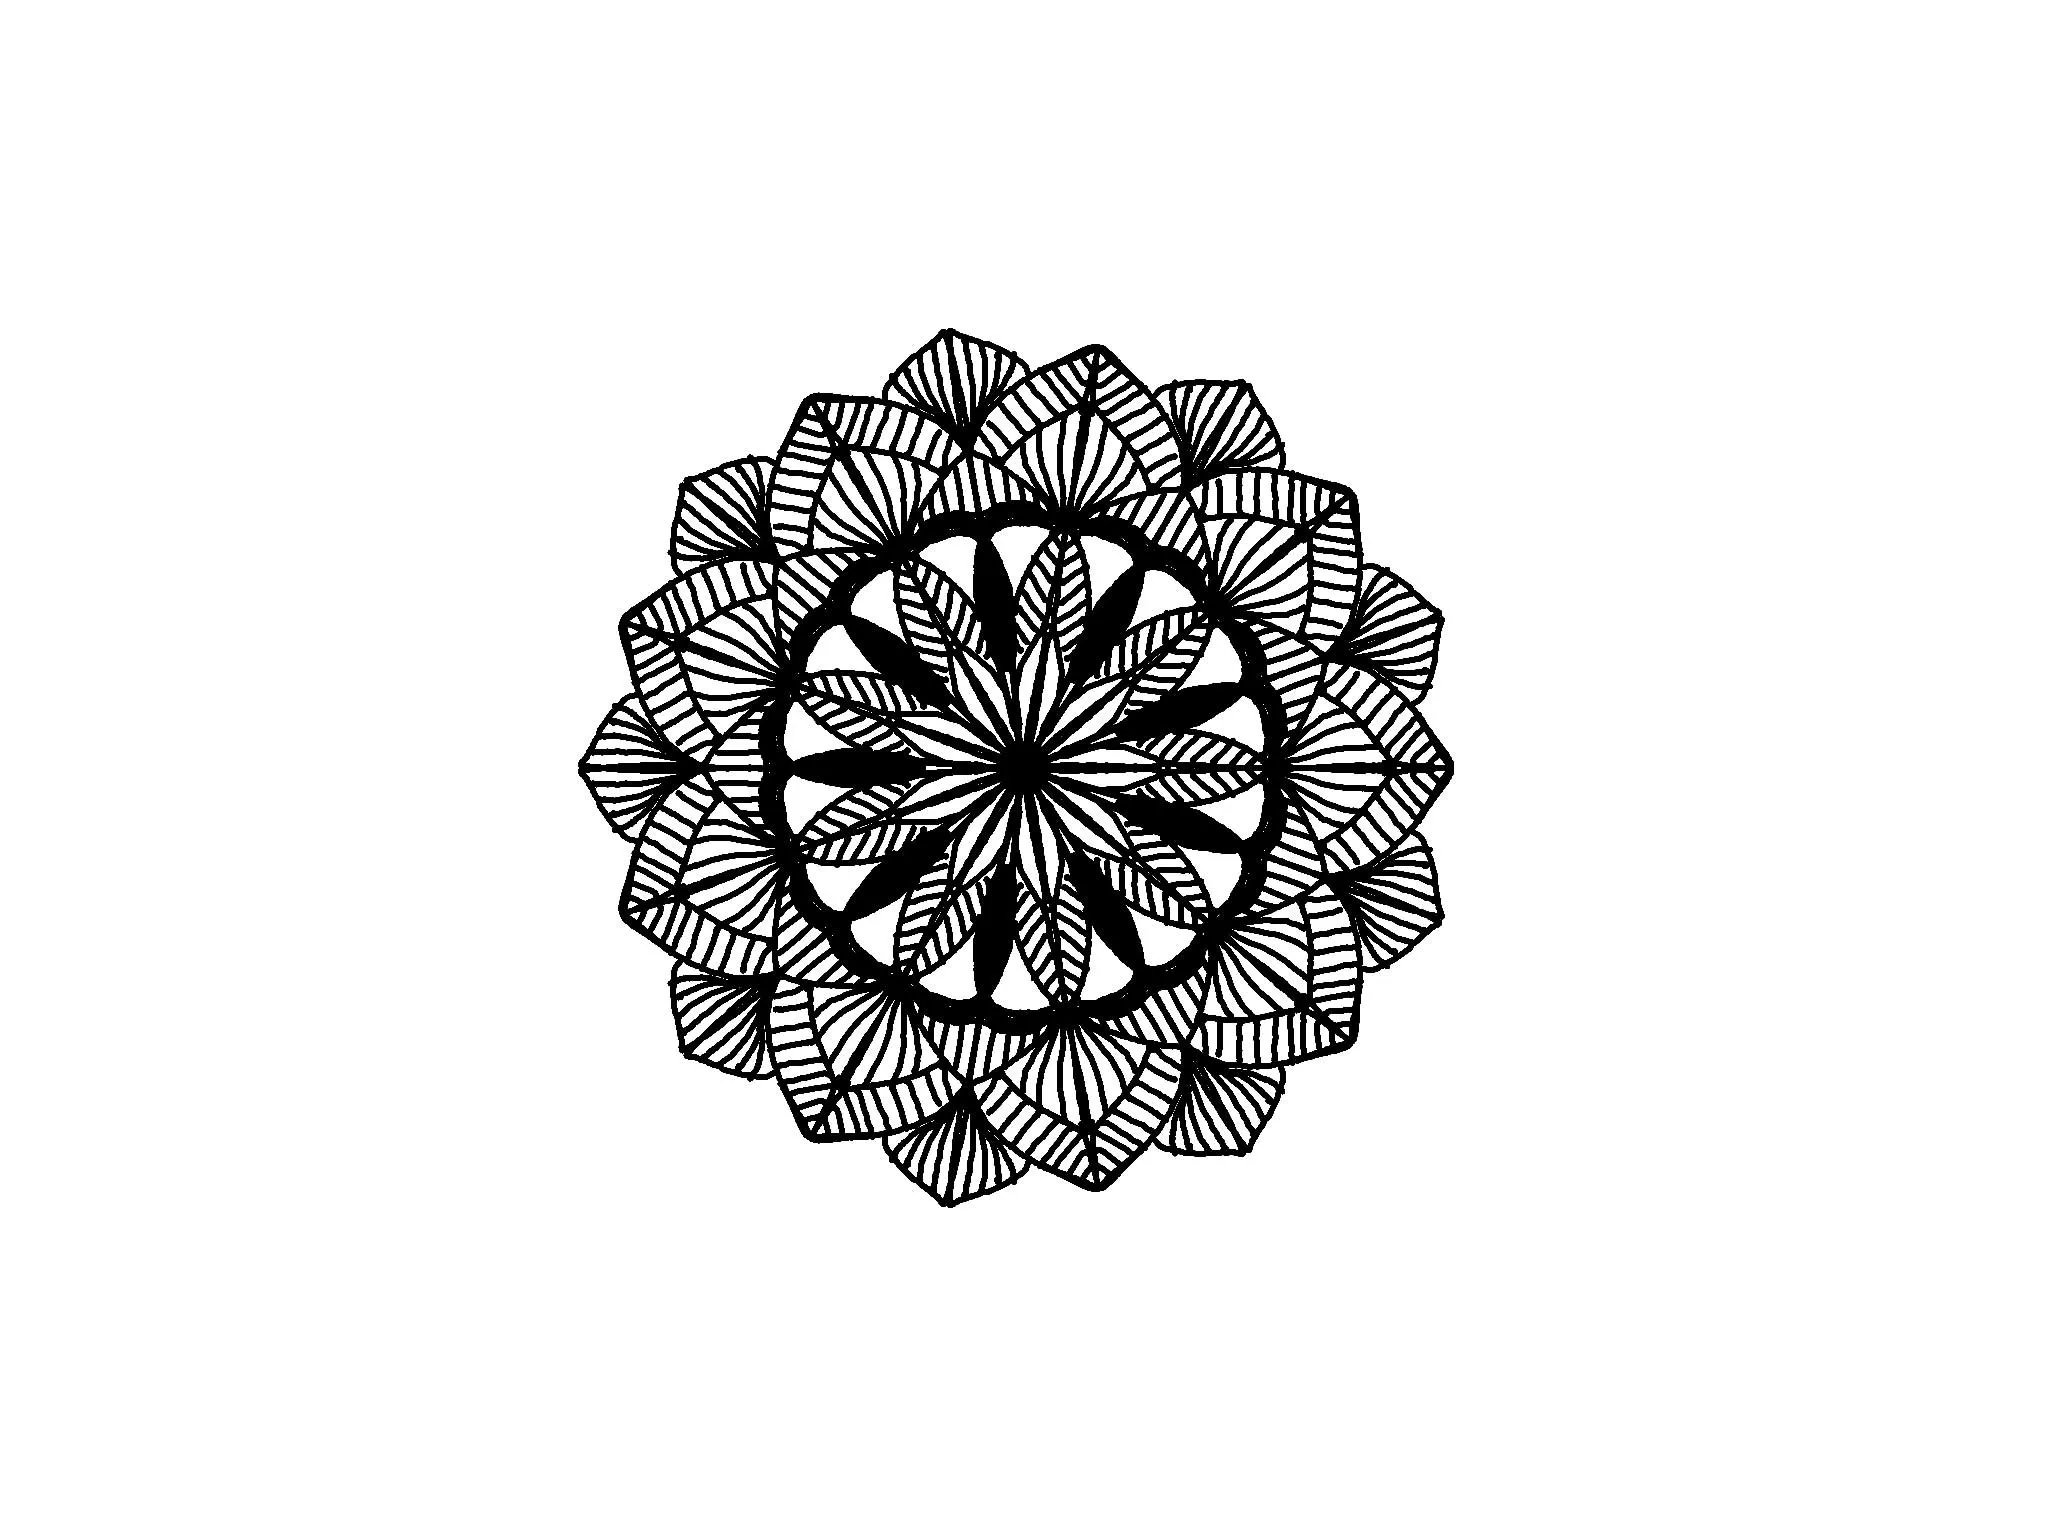
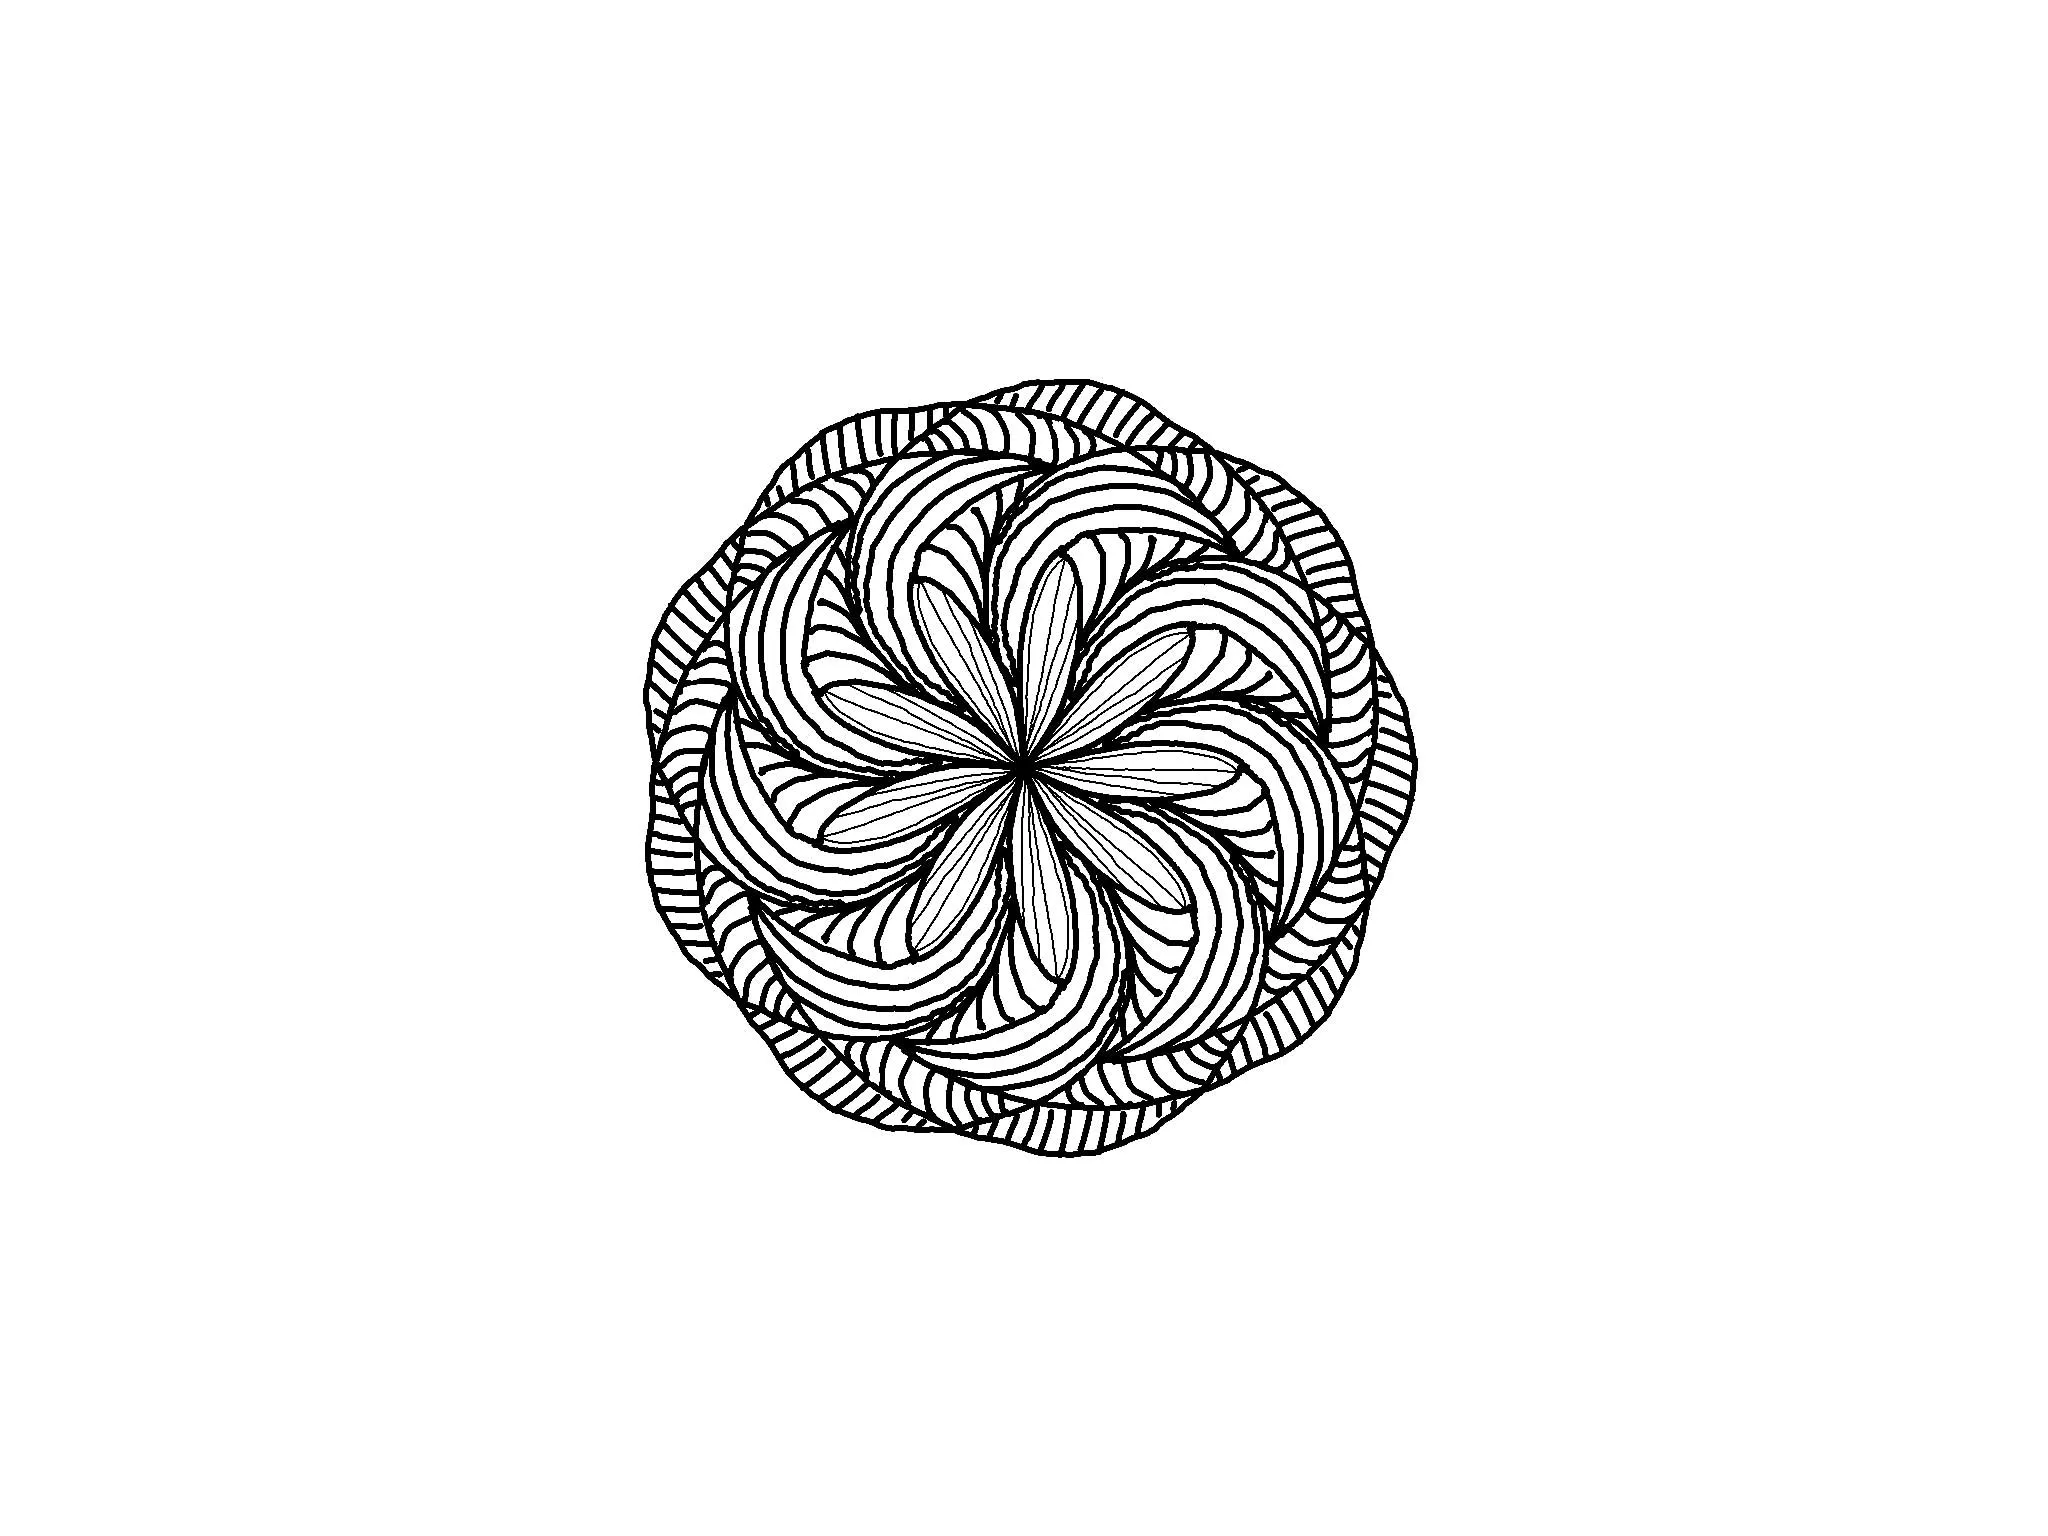
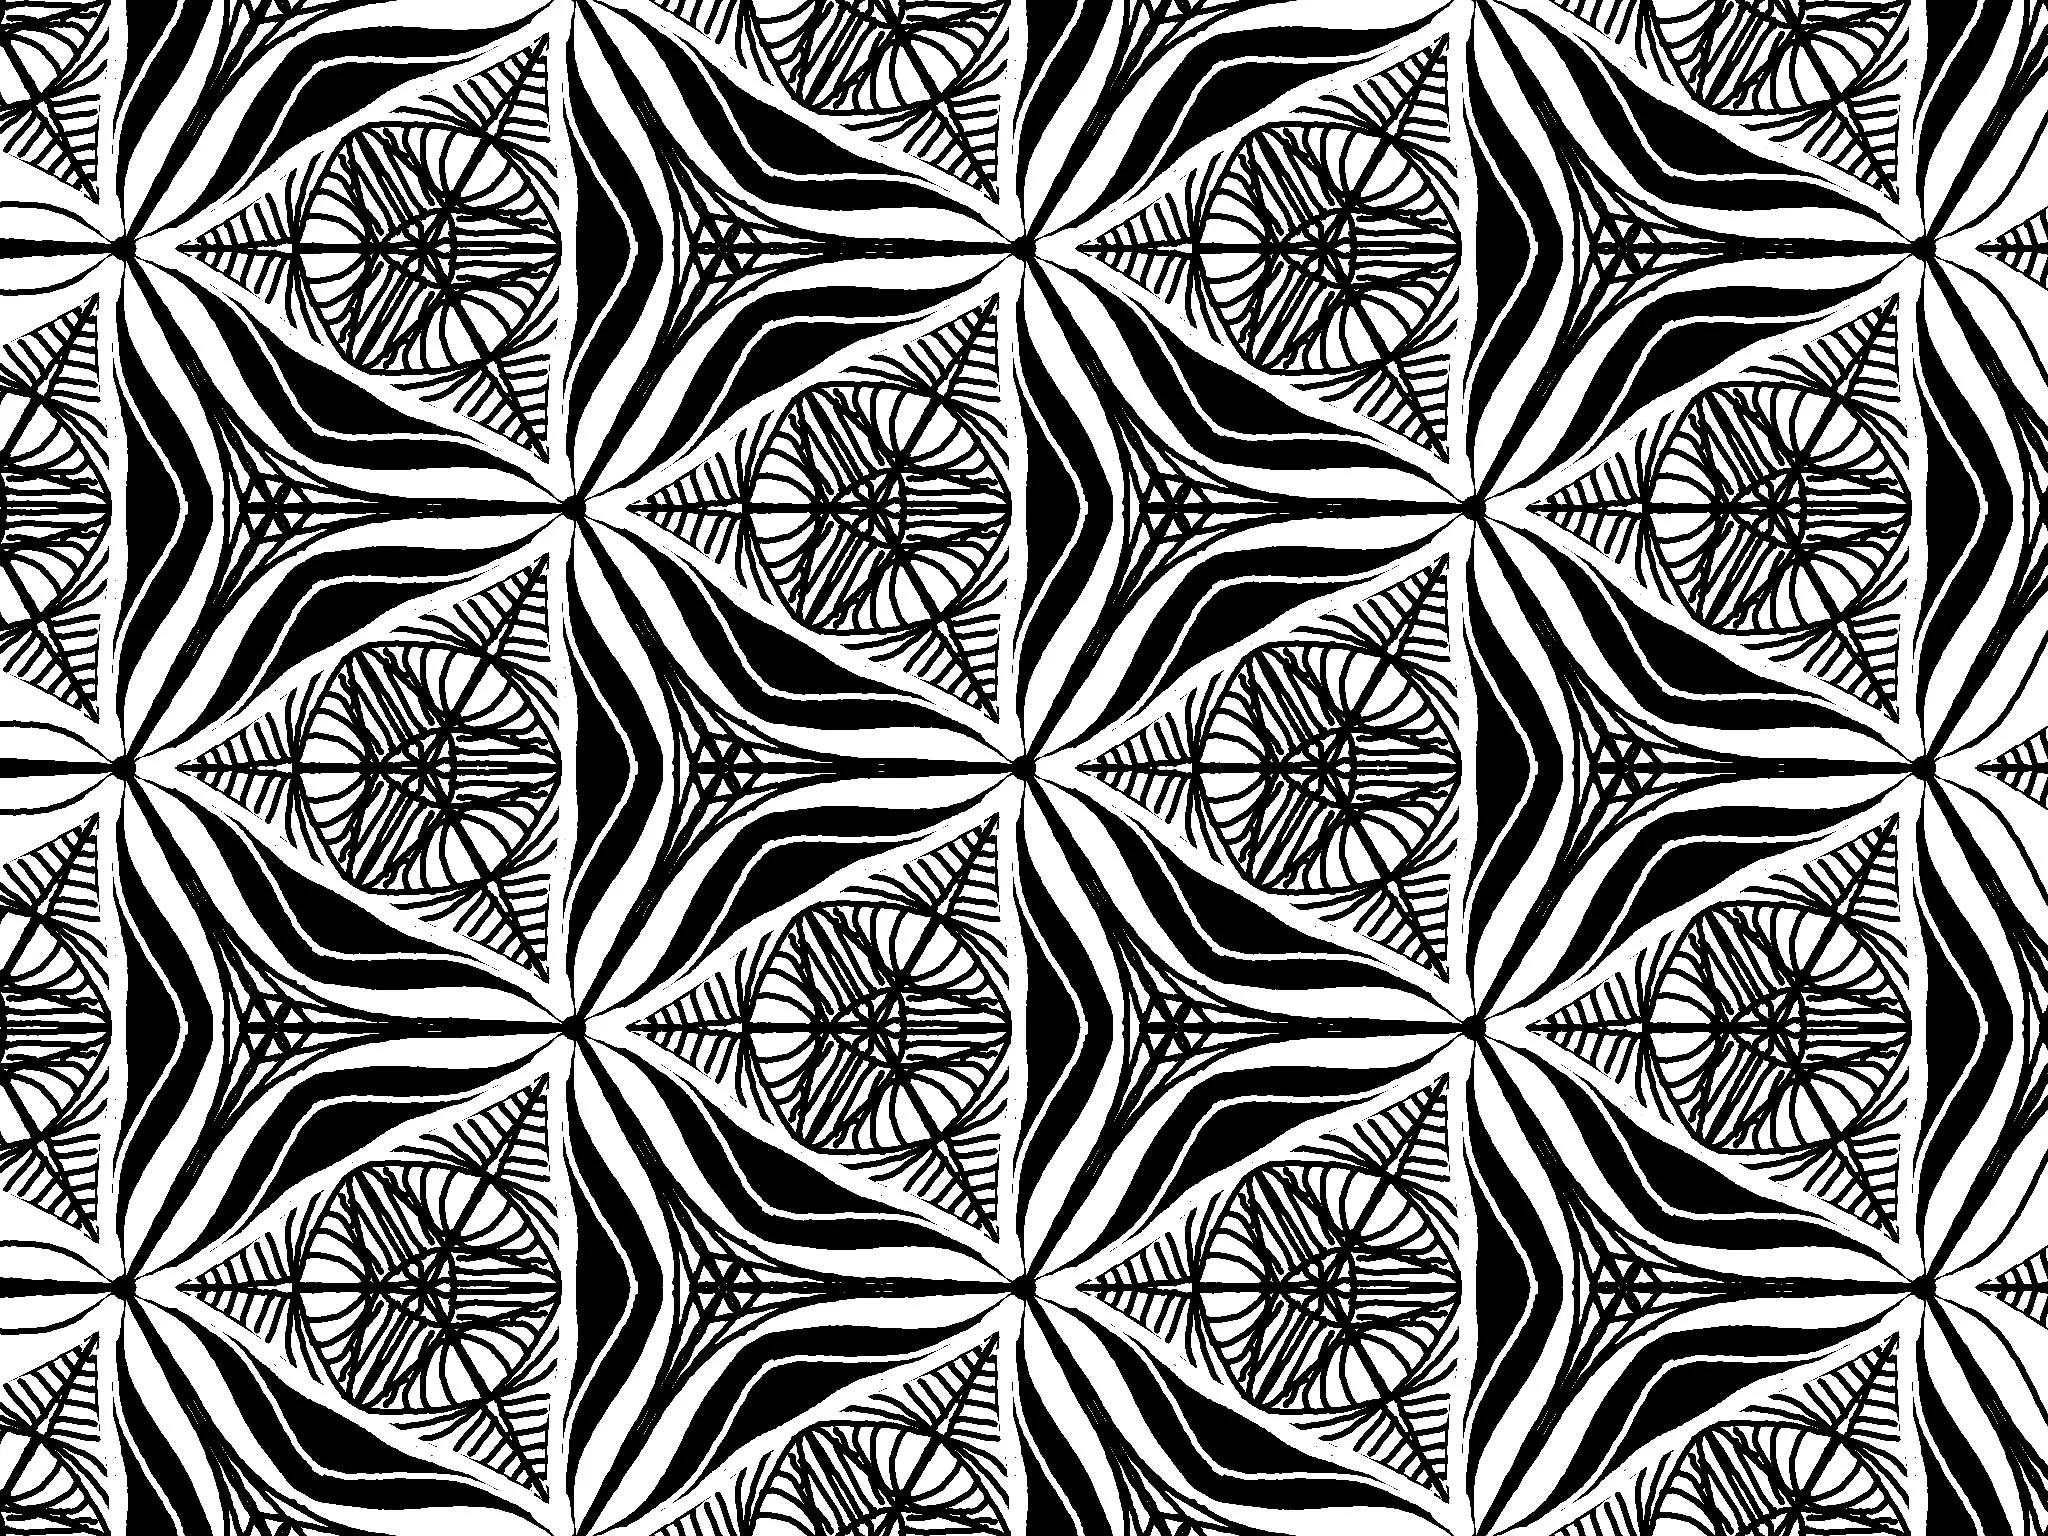
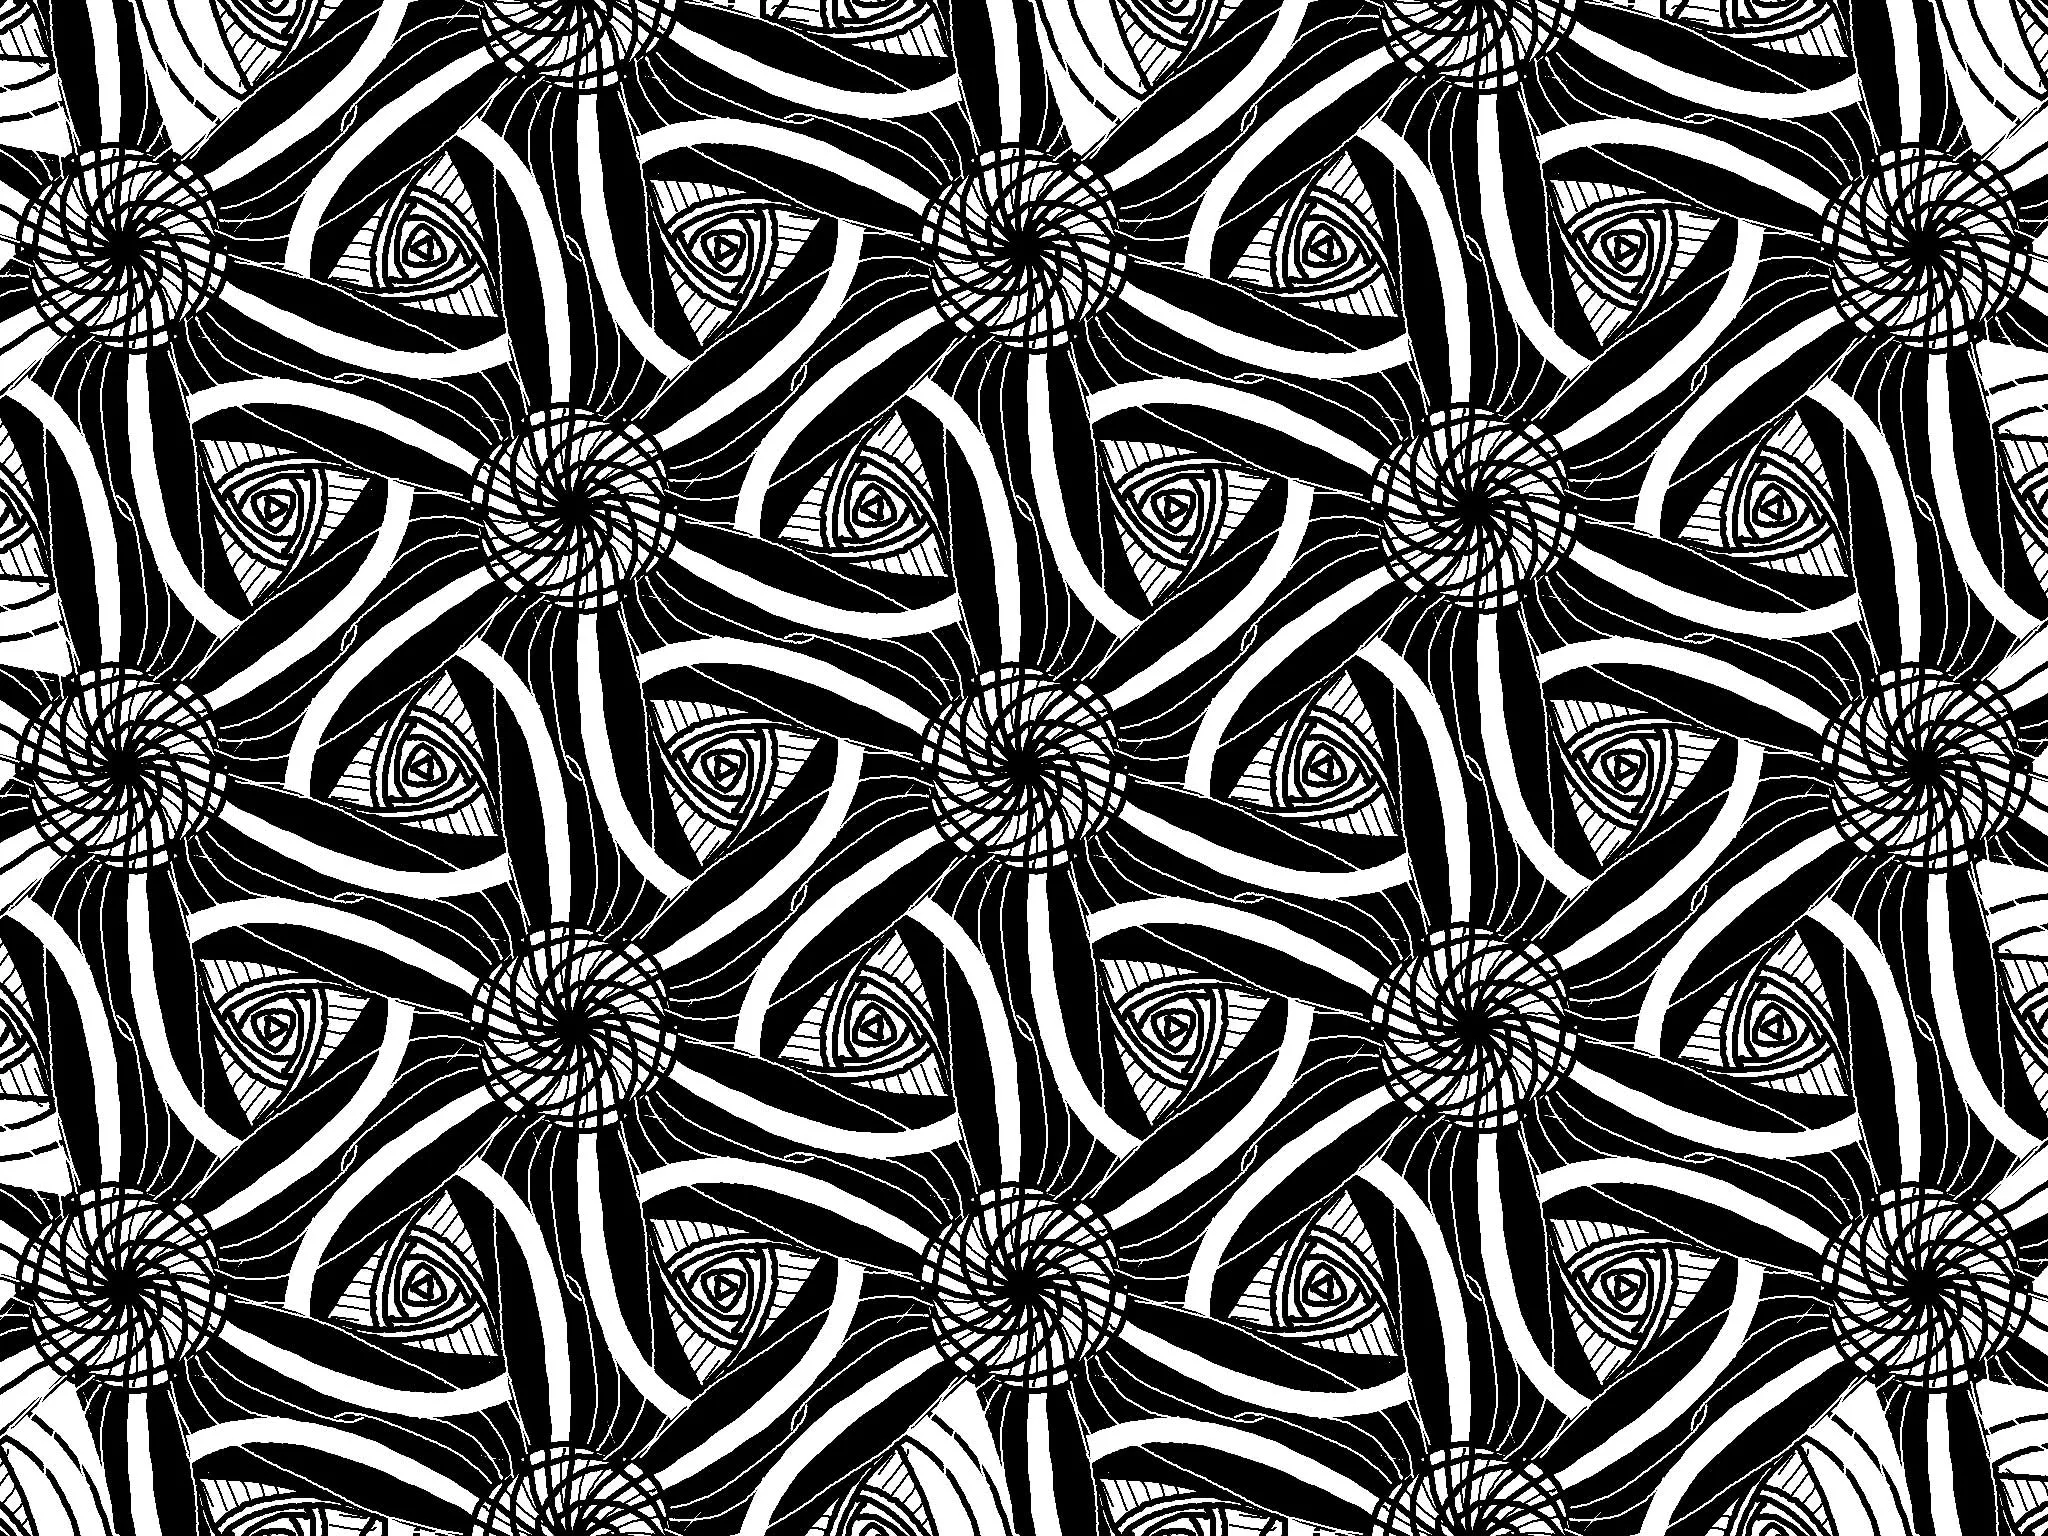

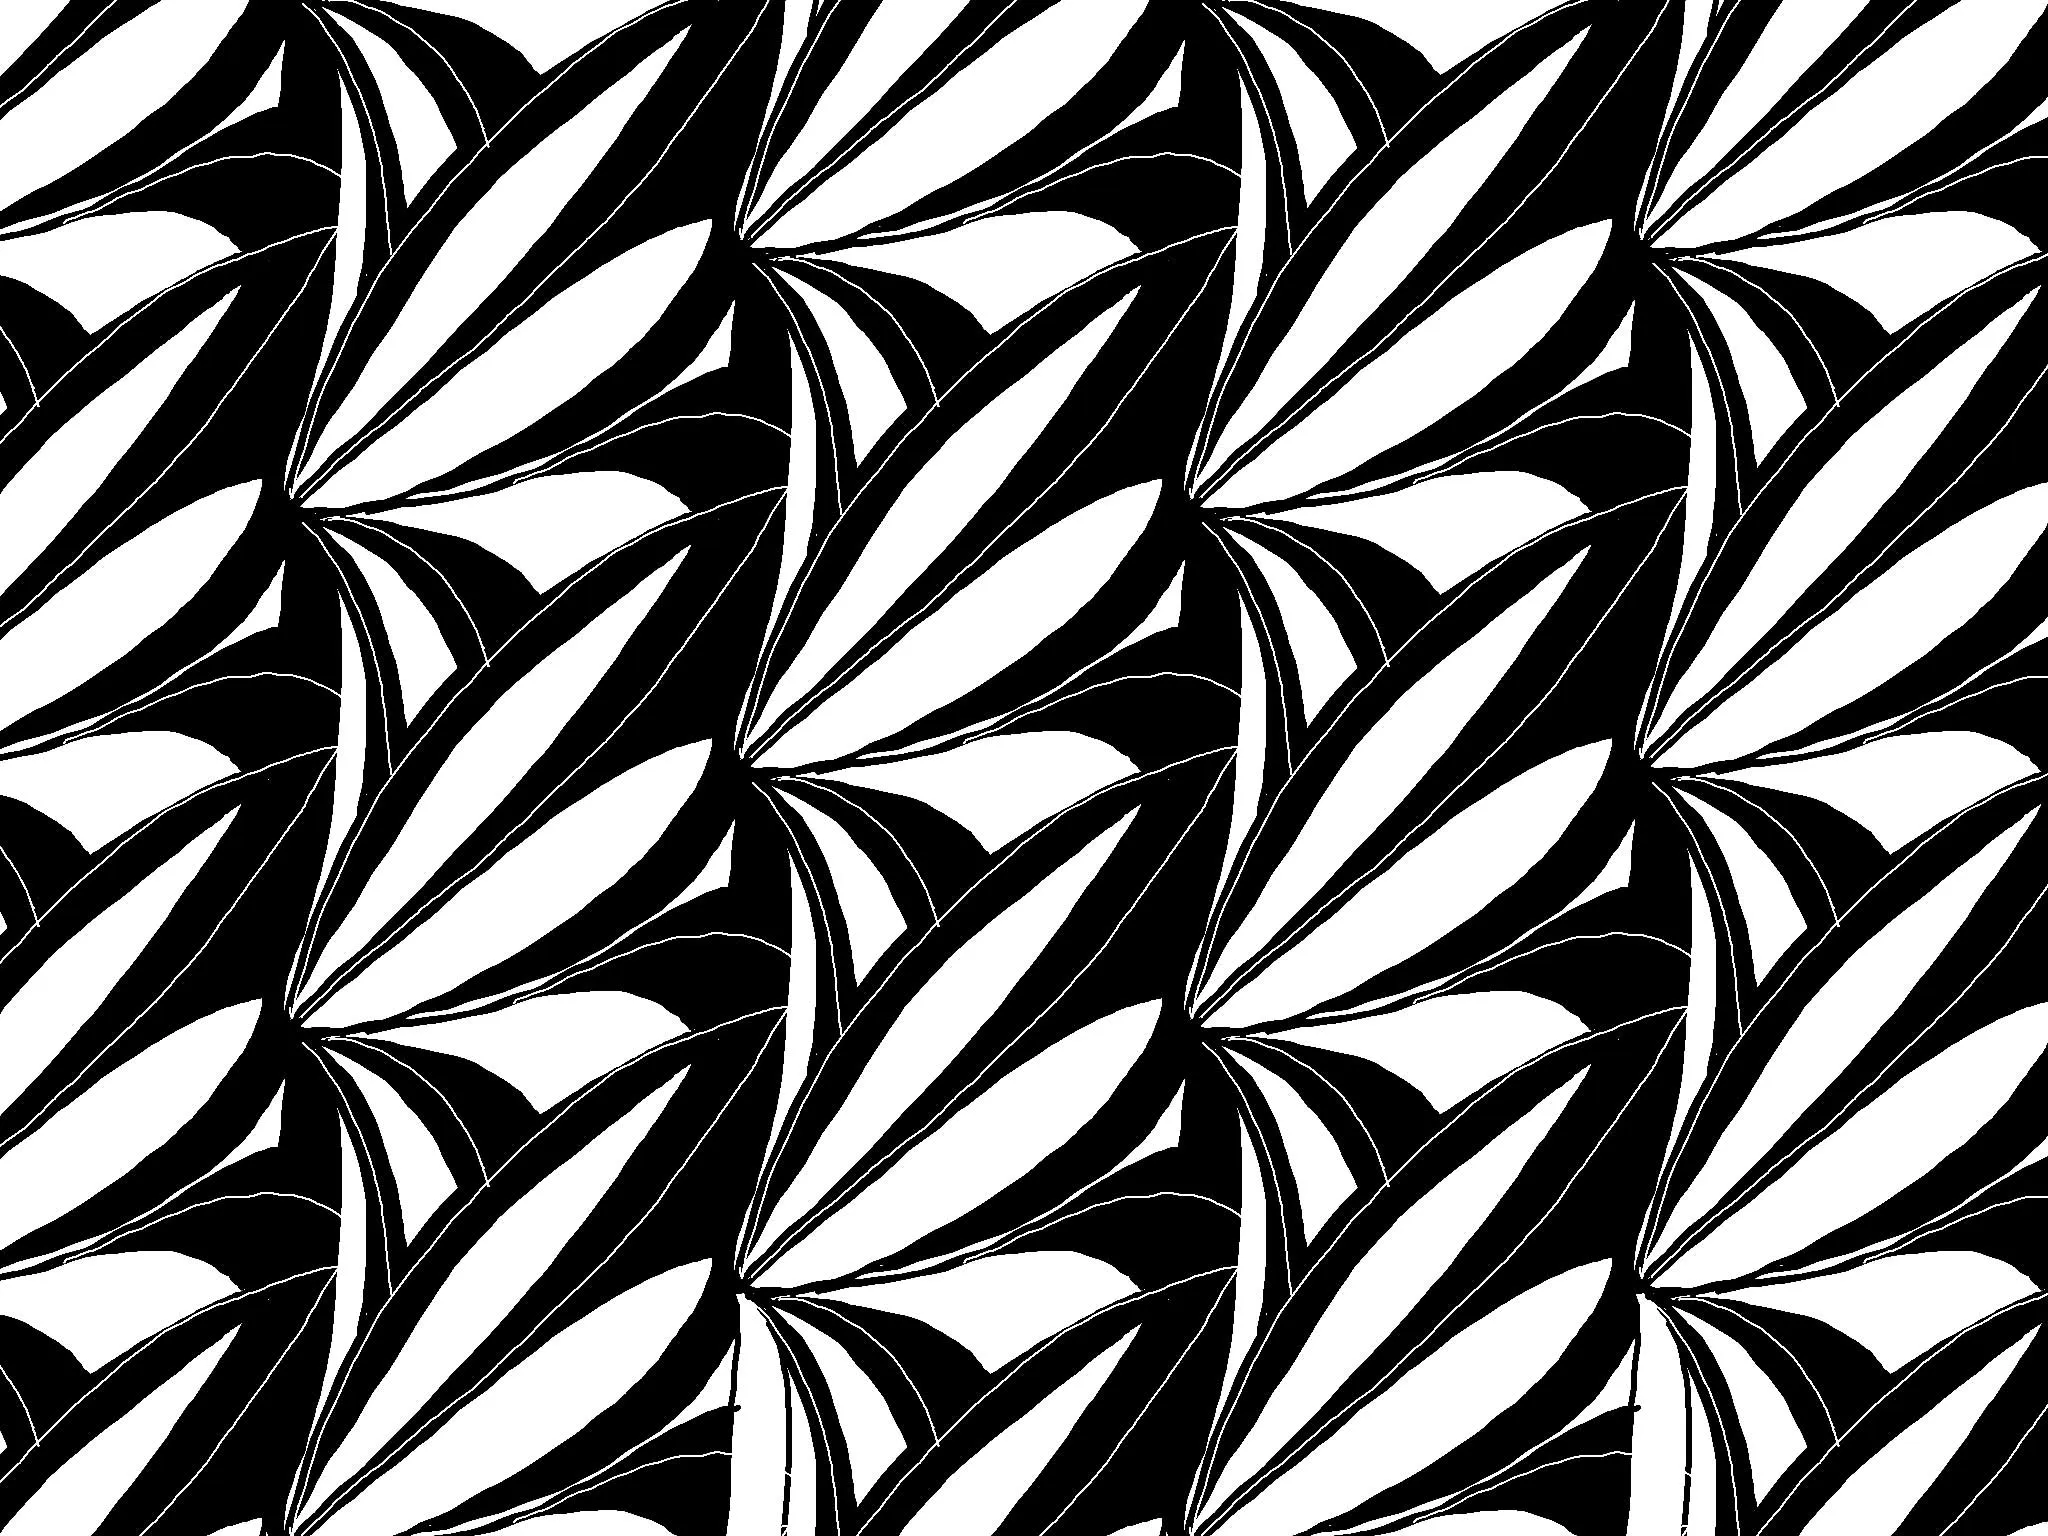
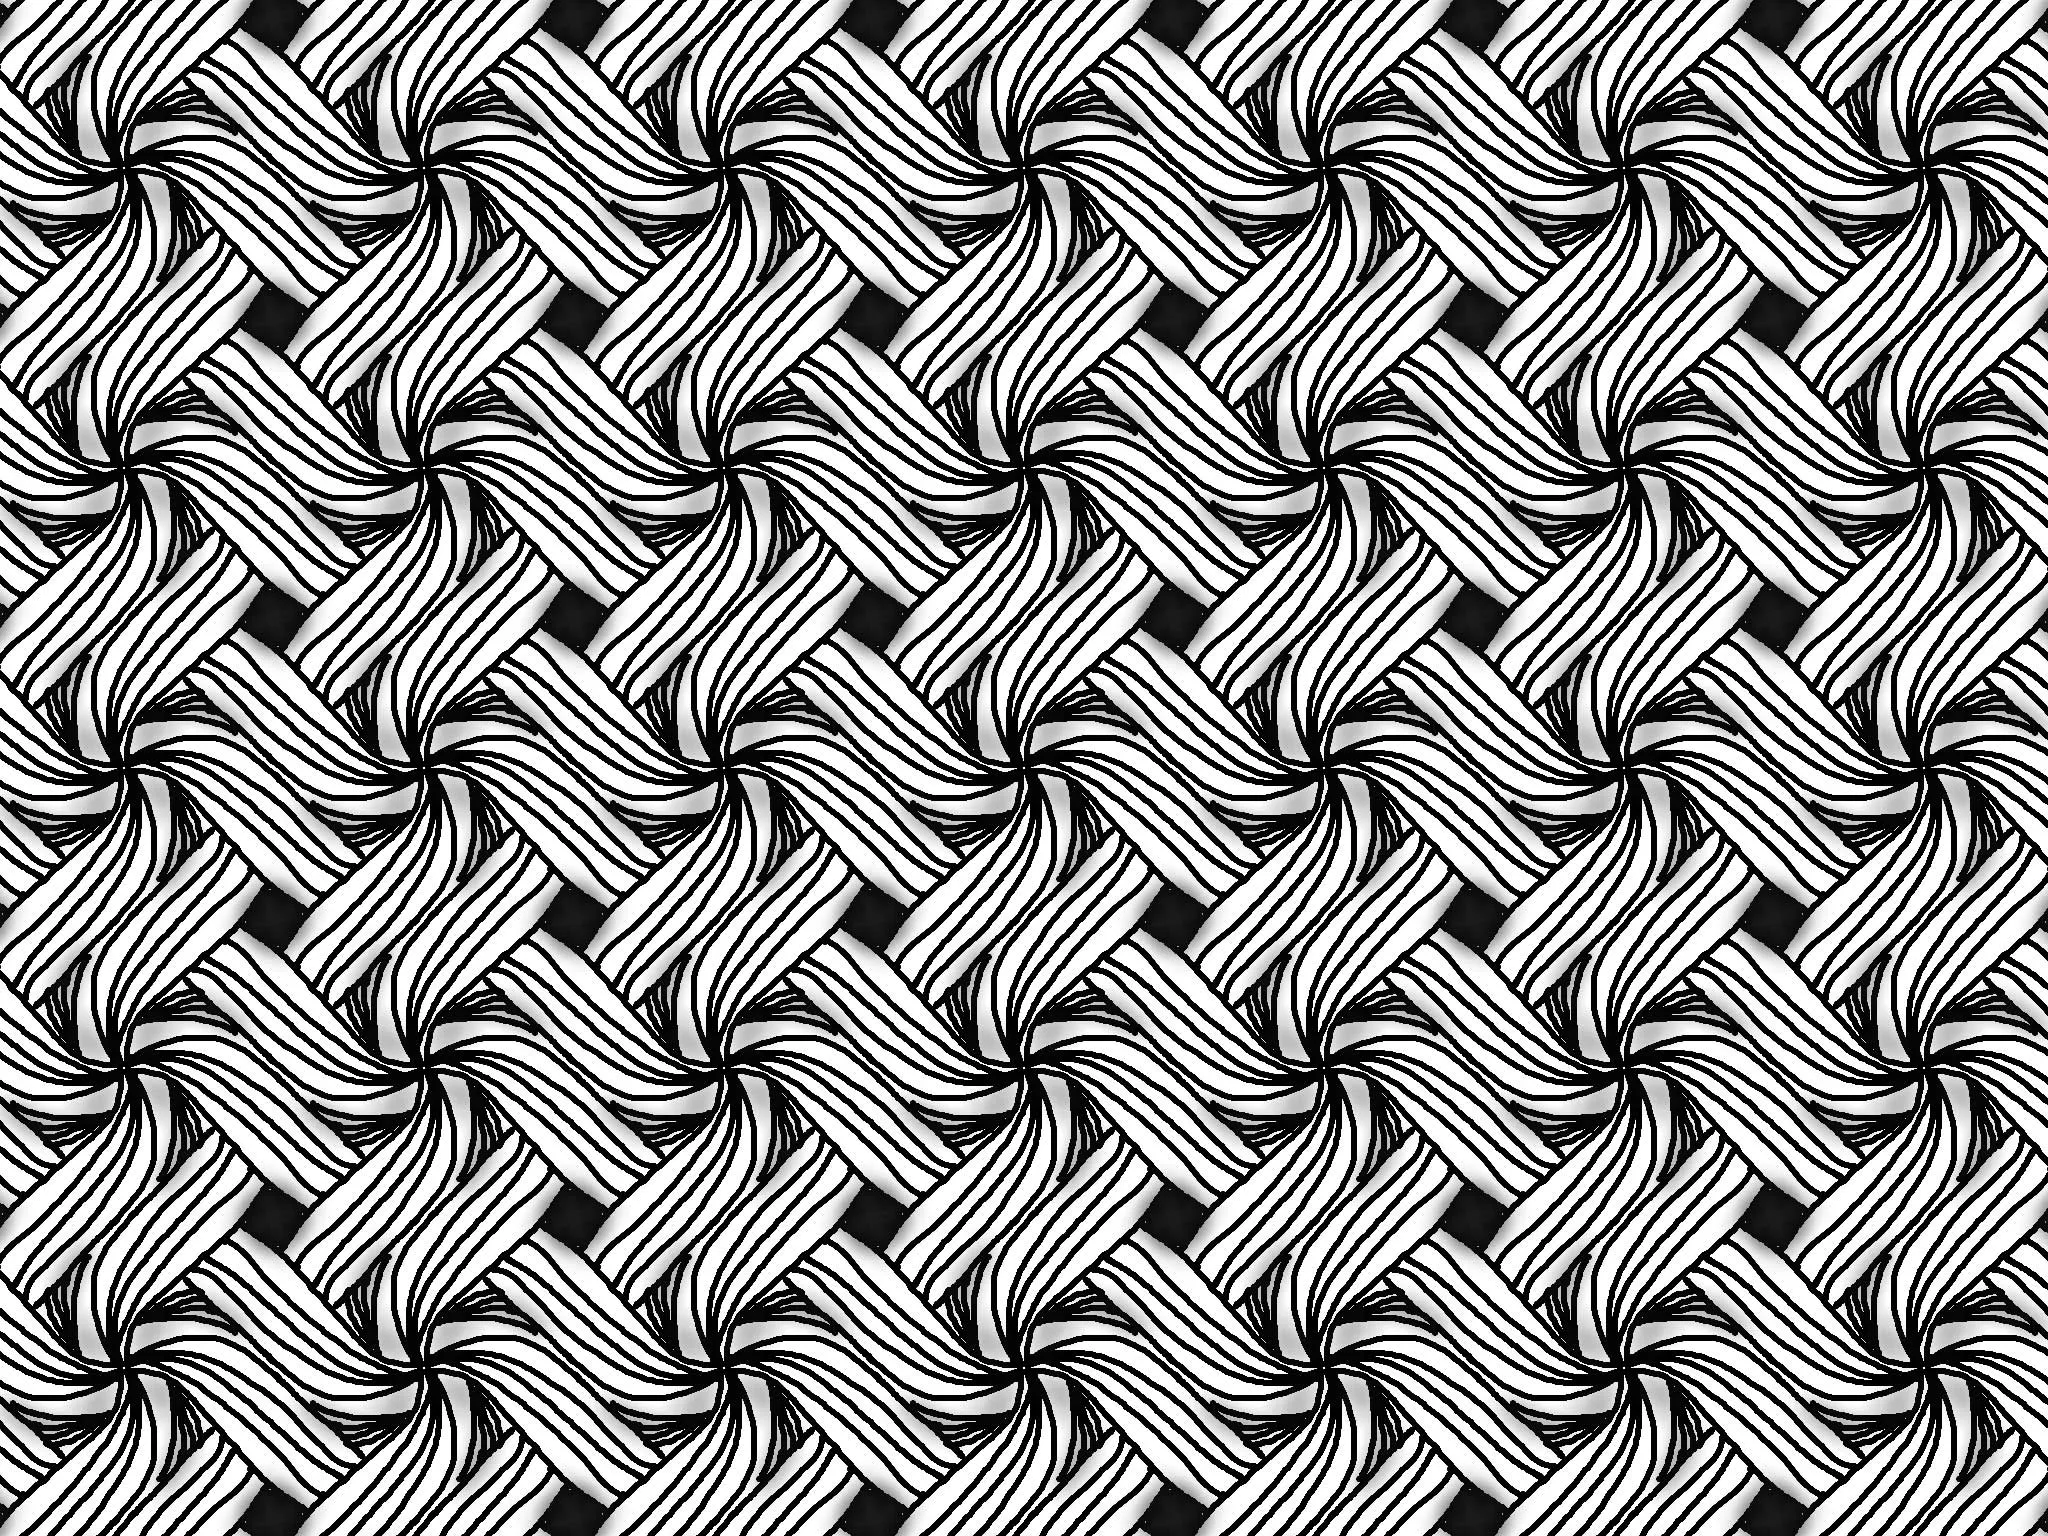

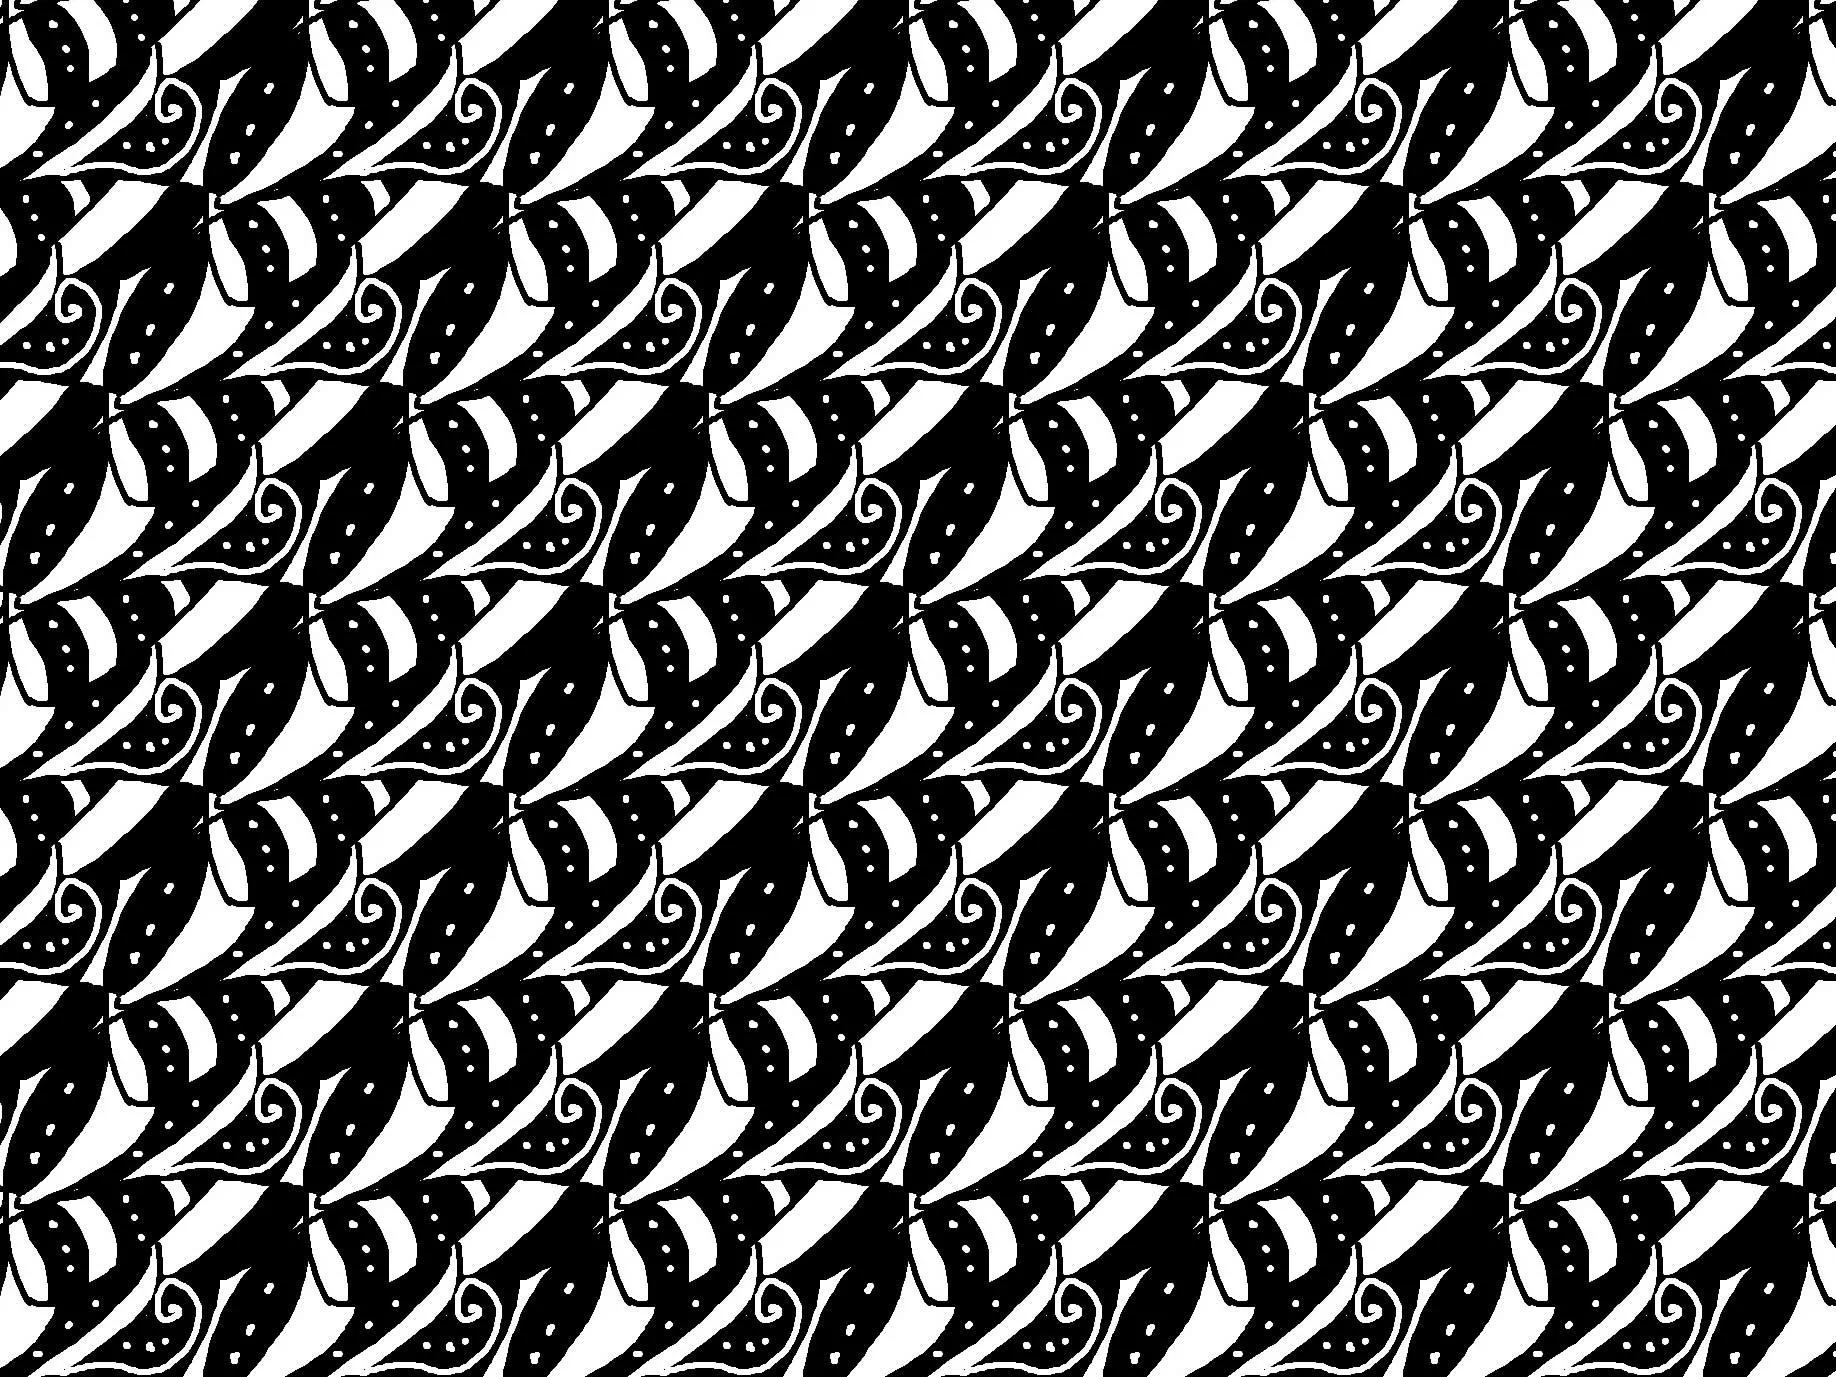
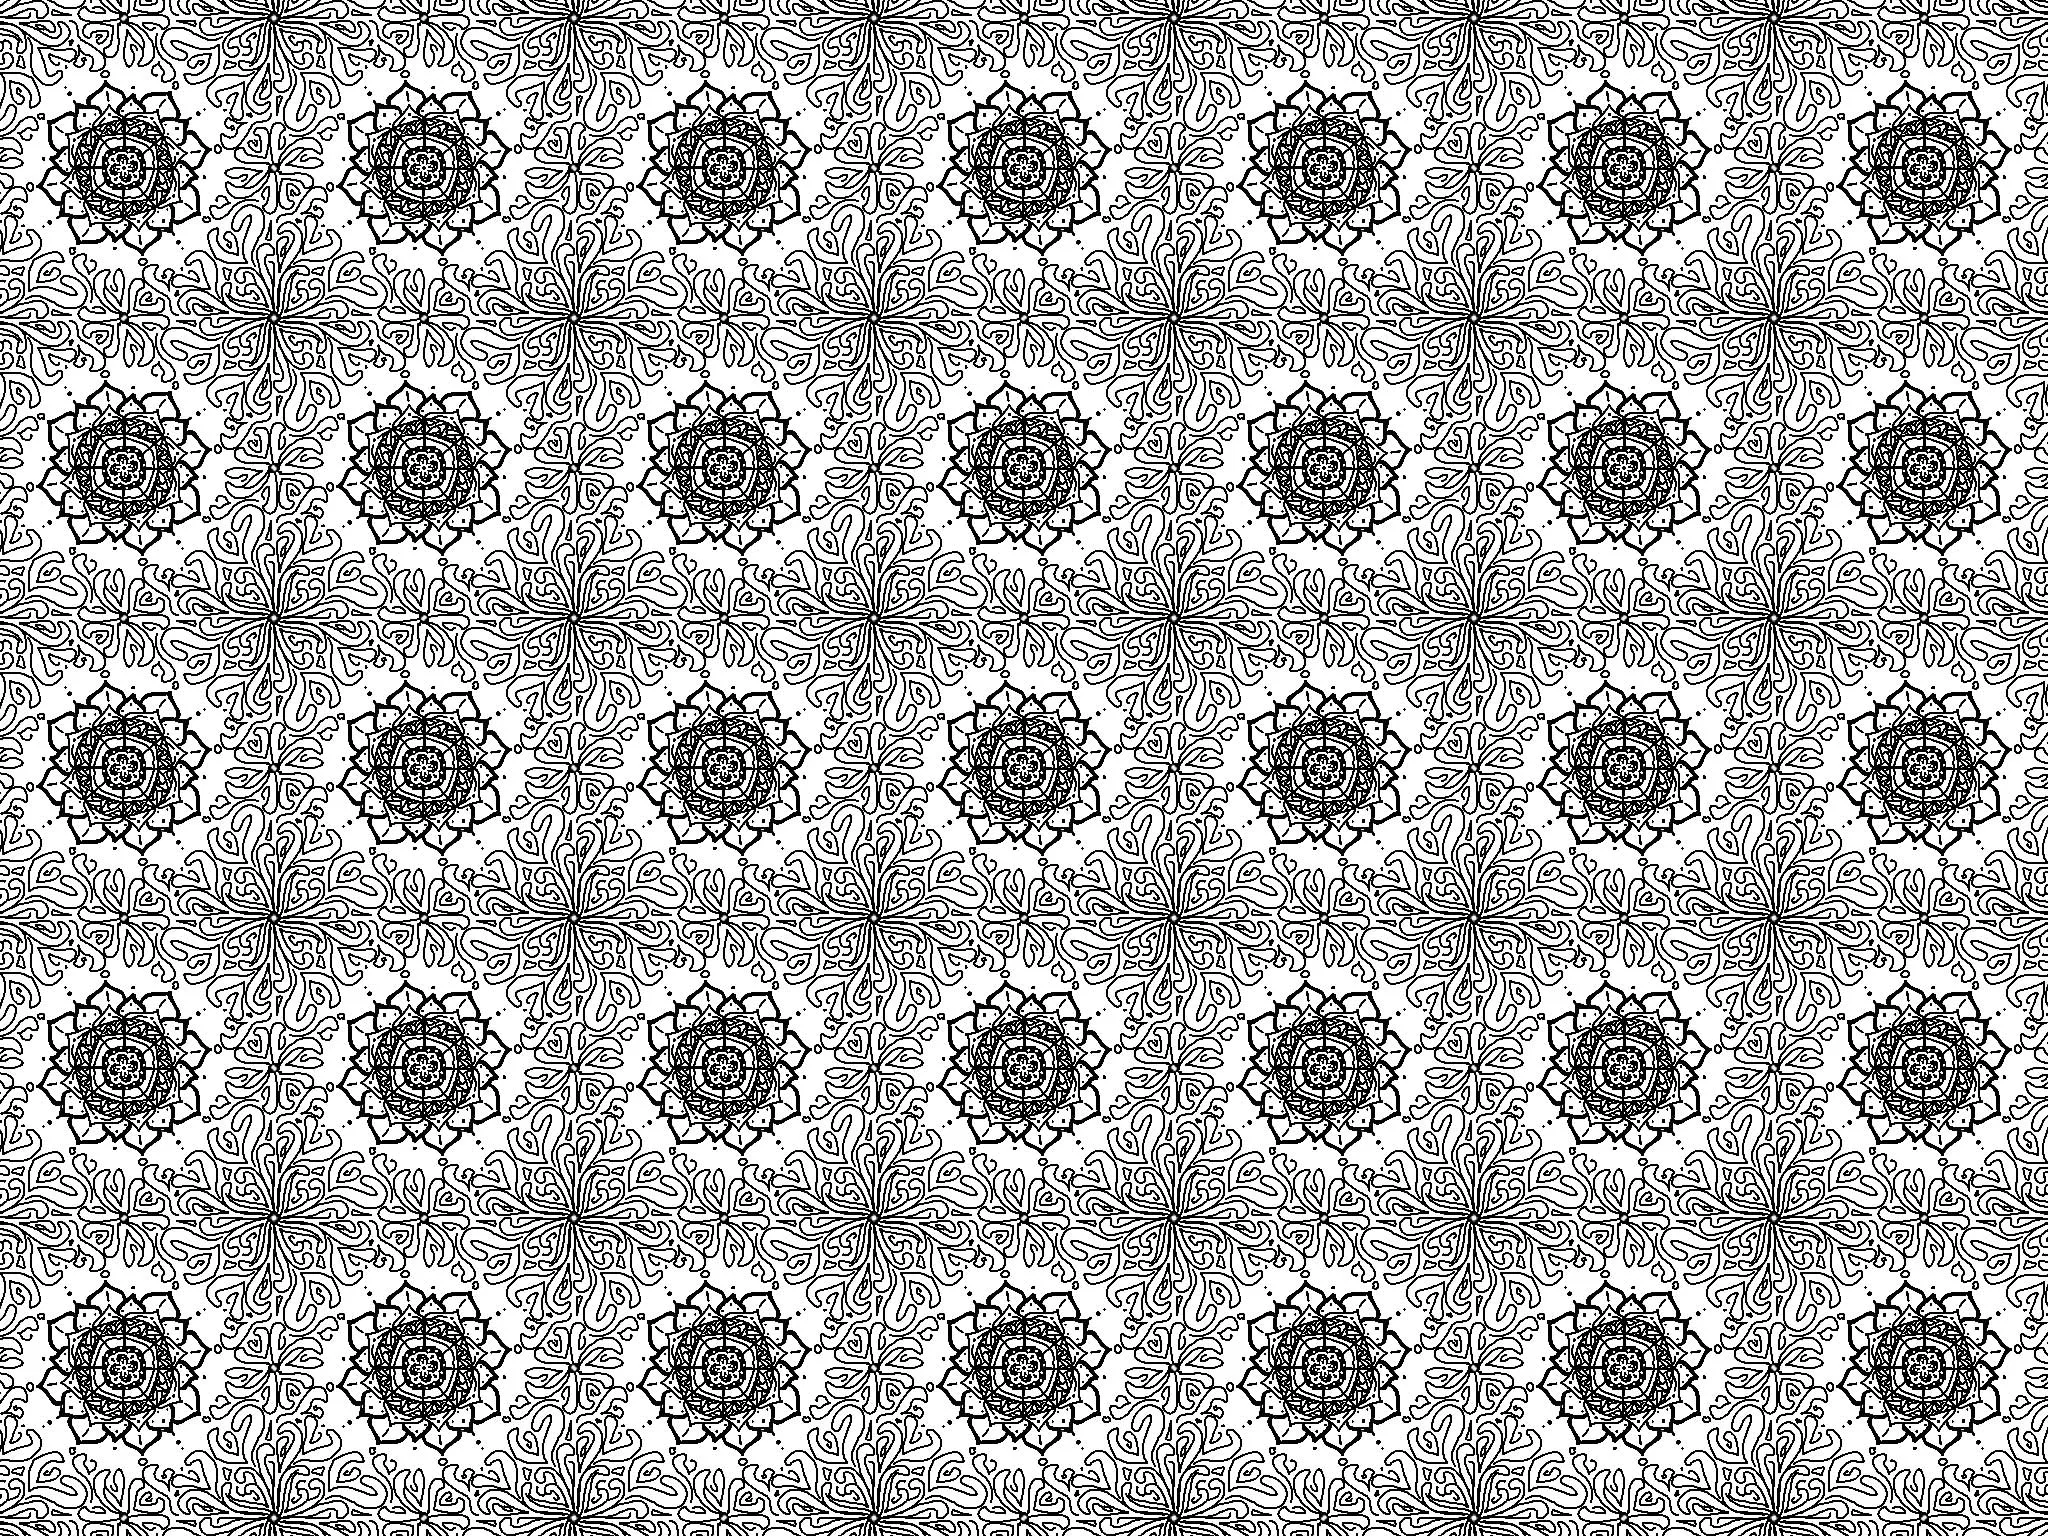
Amaziograph is already pretty impressive if you just sit down really quickly and scribble a little. But it’s even better if you take those 10 minutes and focus on just one design instead of 10.
Following a few exxamples of my gallery. I prefer some symmetry types and really can’t work with outhers, which you might have gathered from my video already.
Examples
ExamplesType: Squares + Kaleidoscope
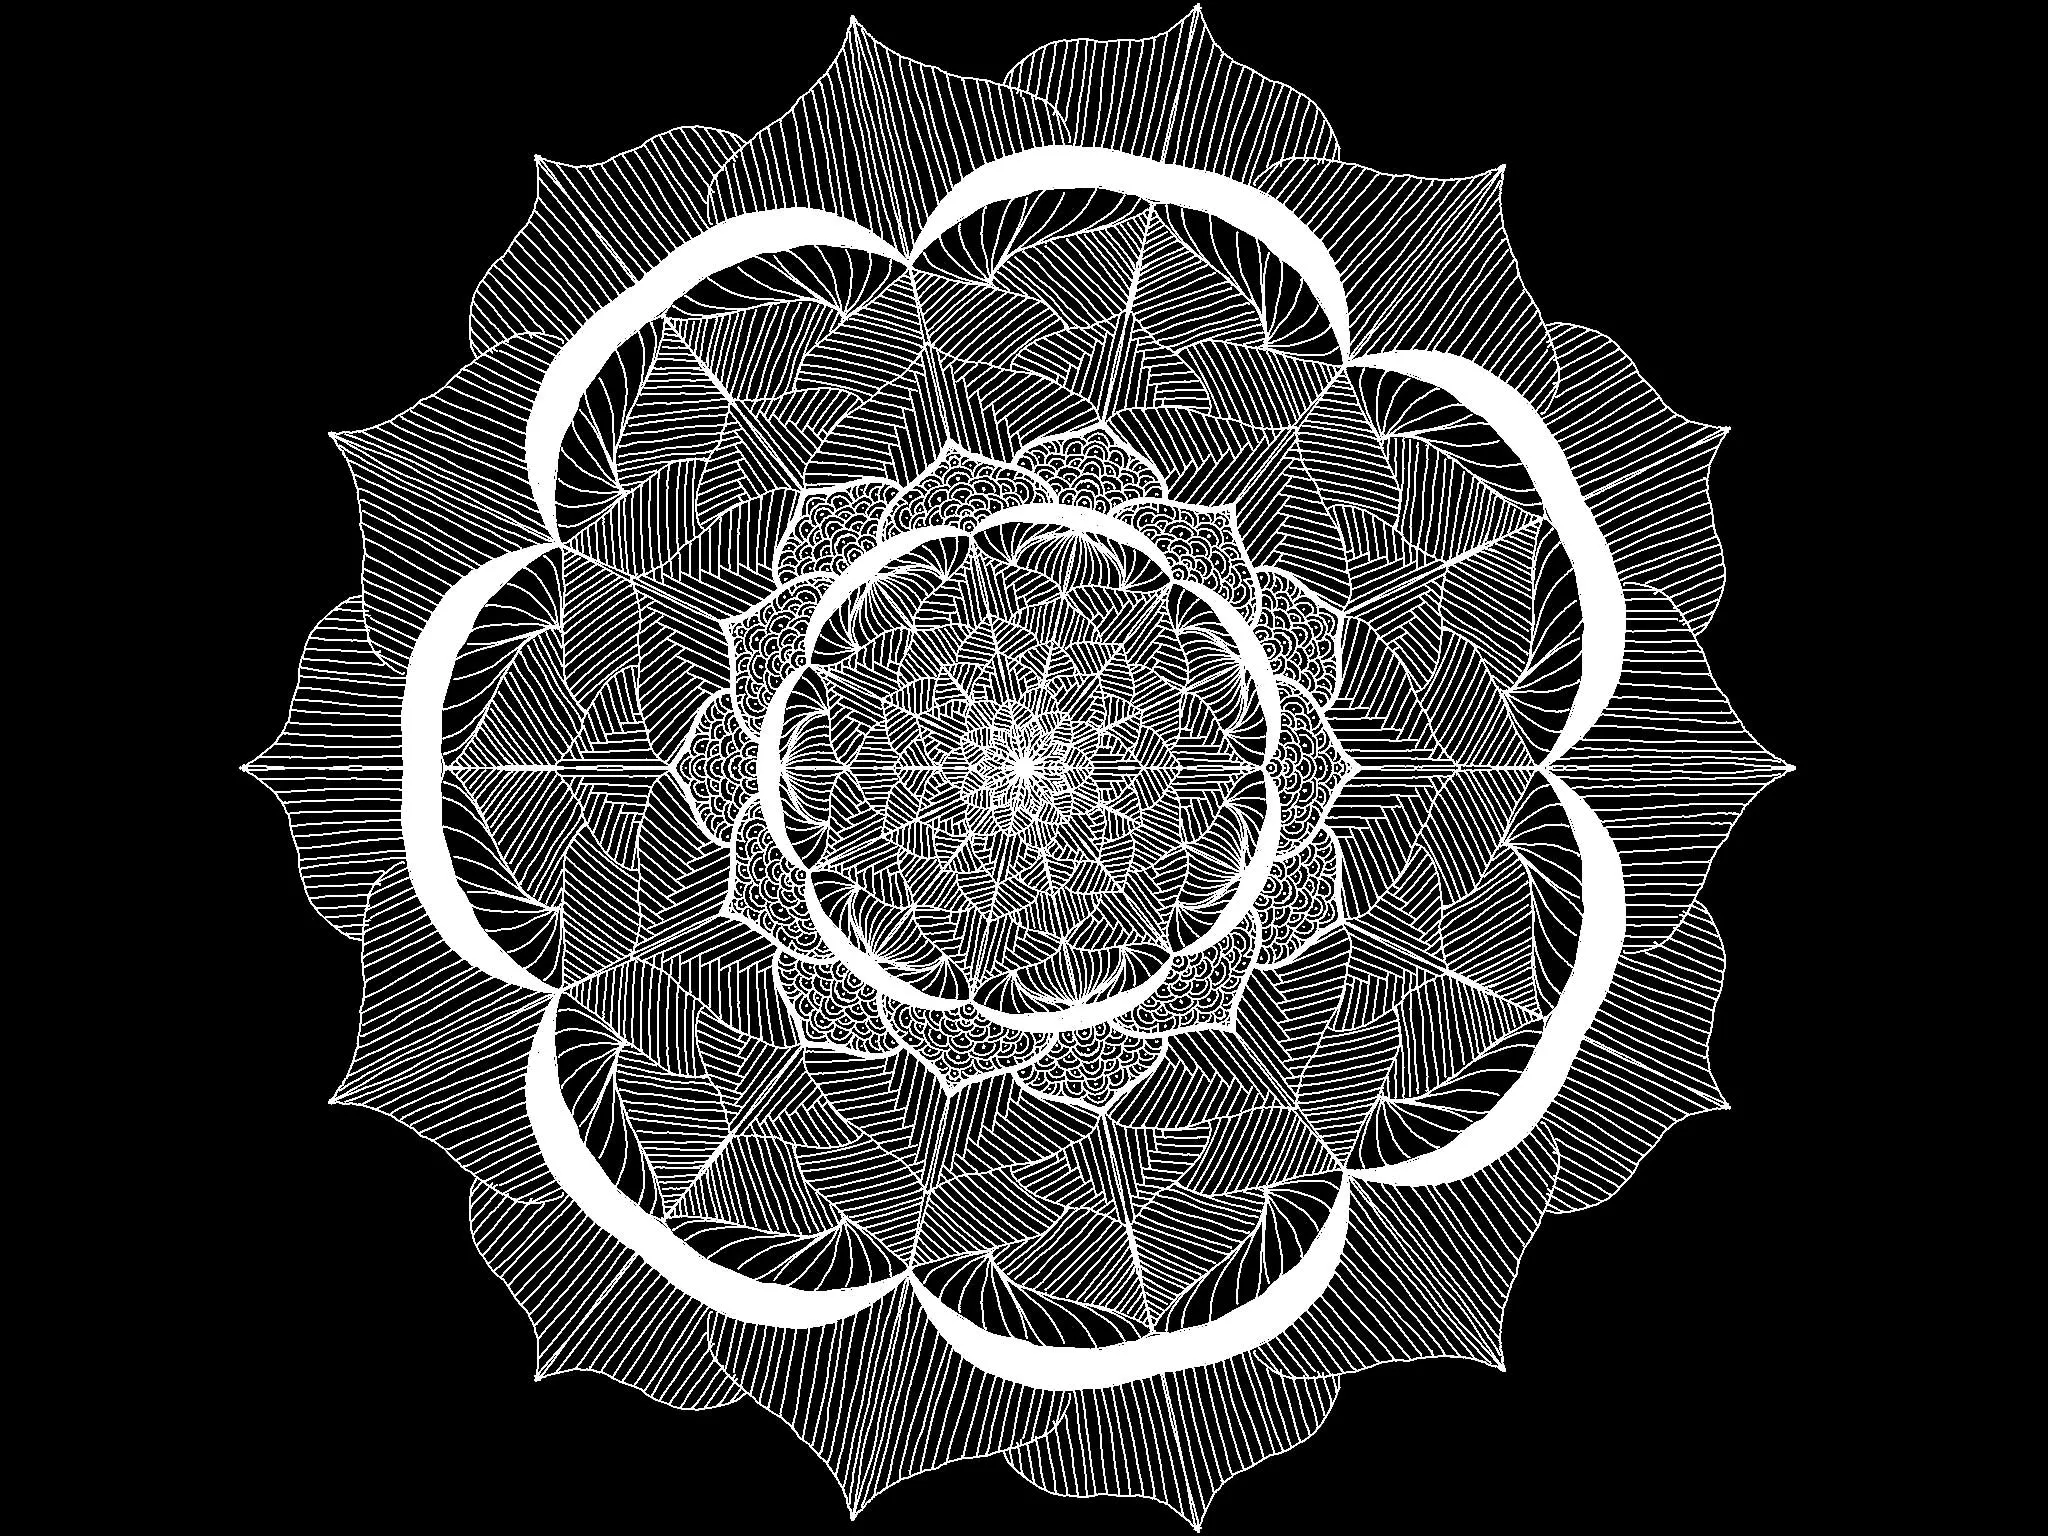
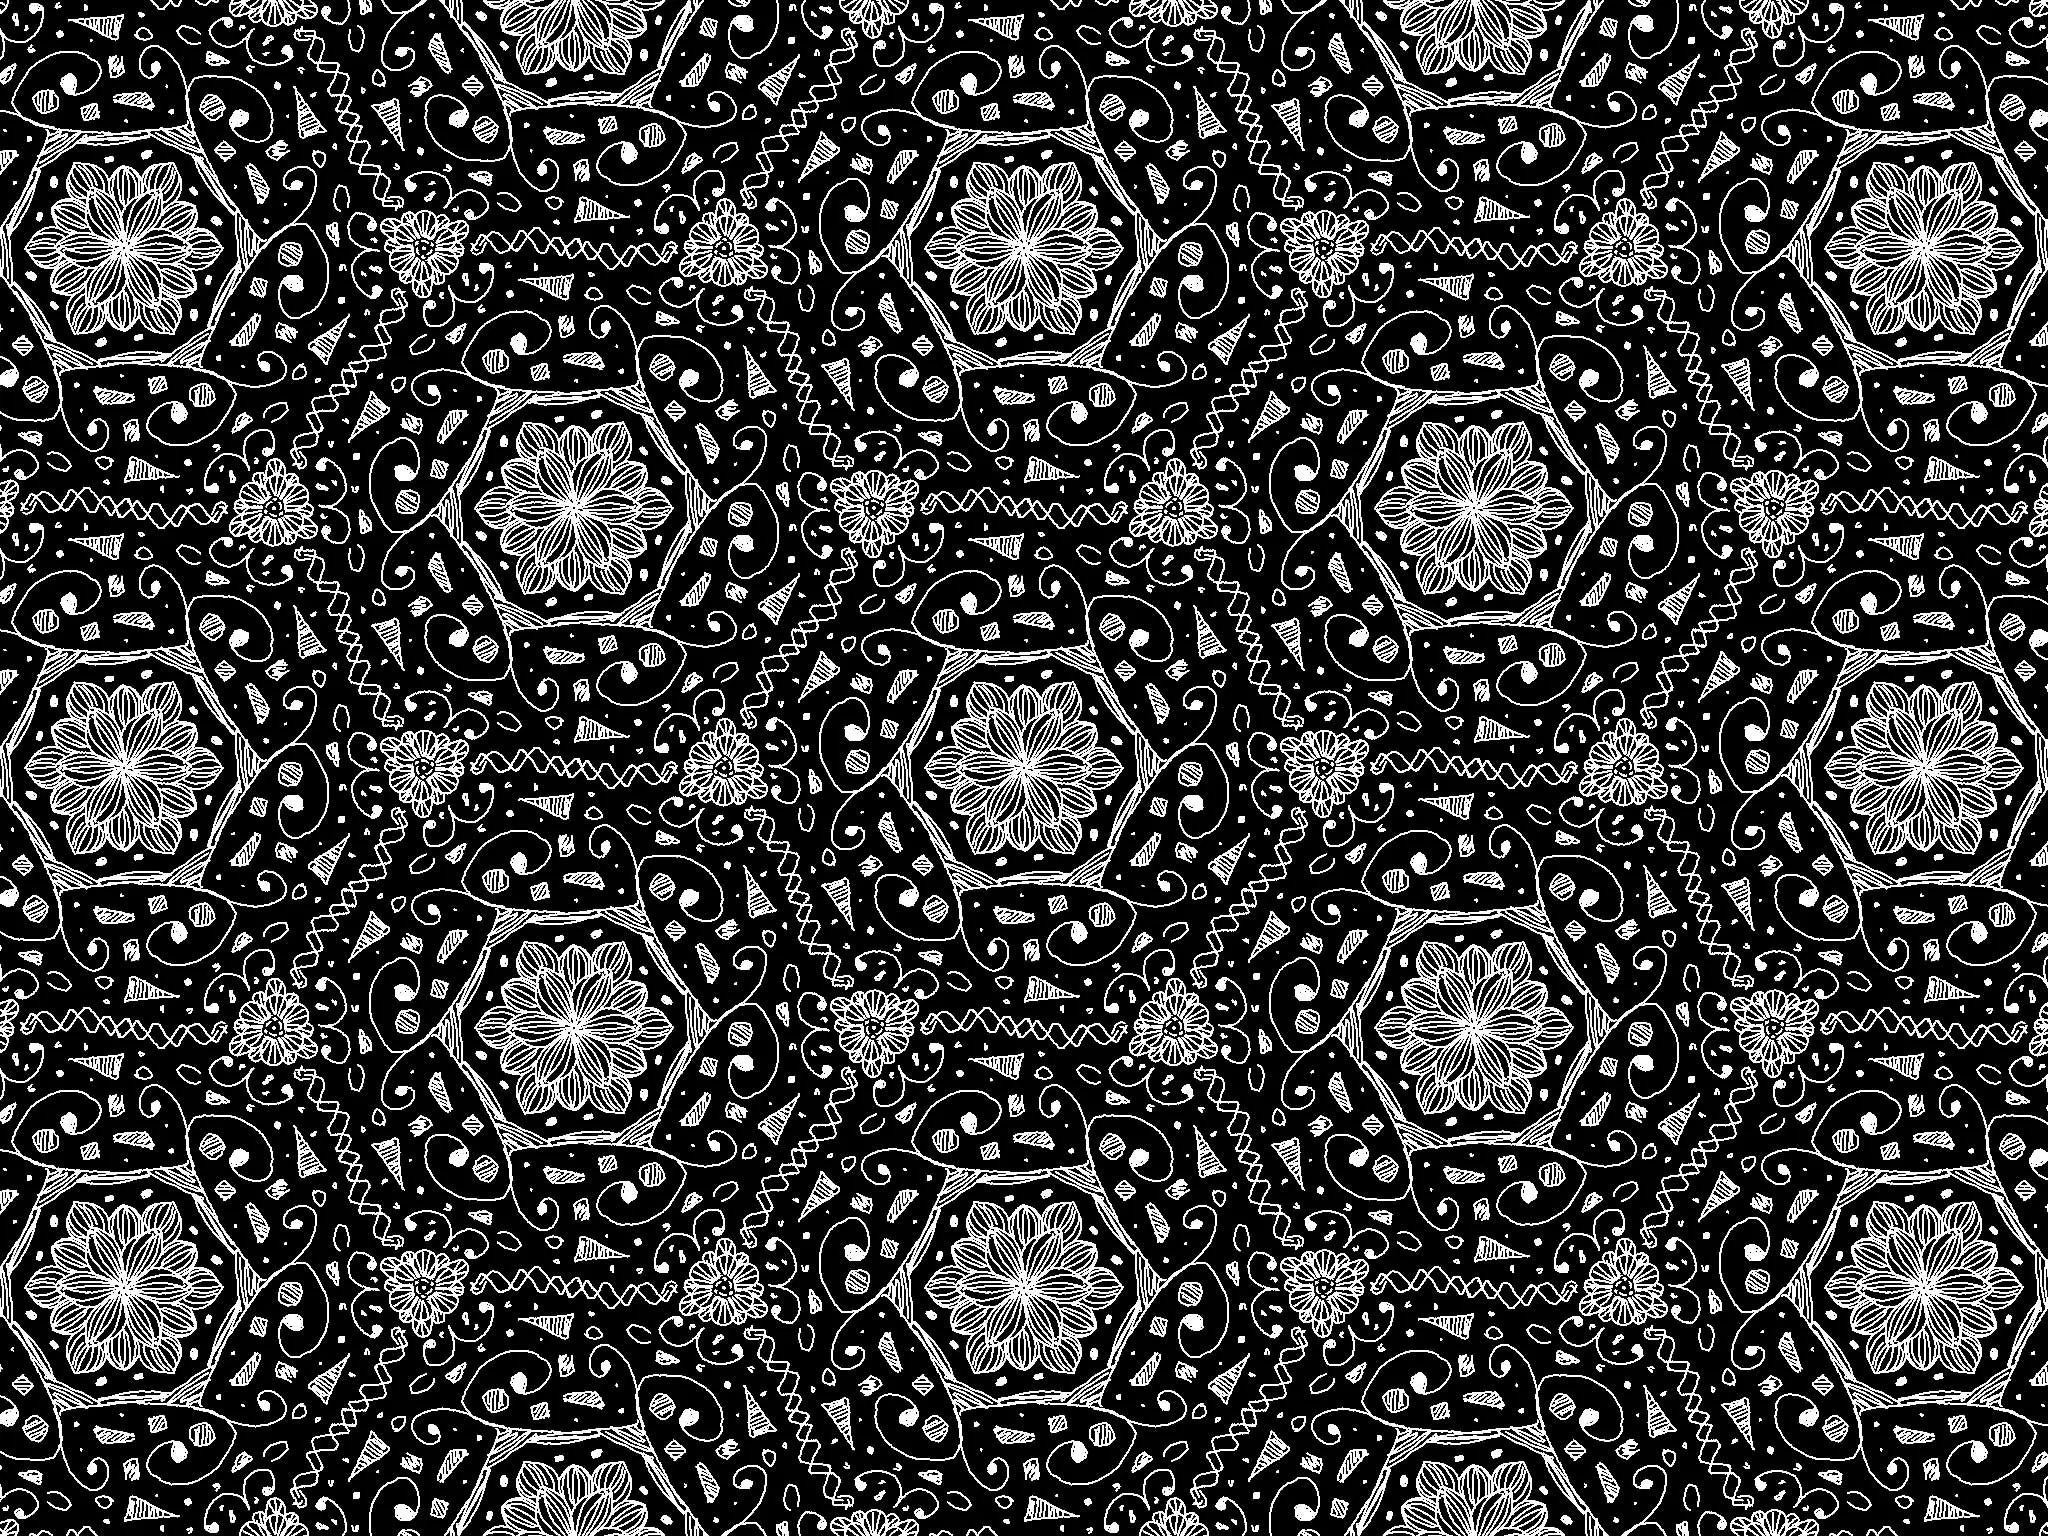
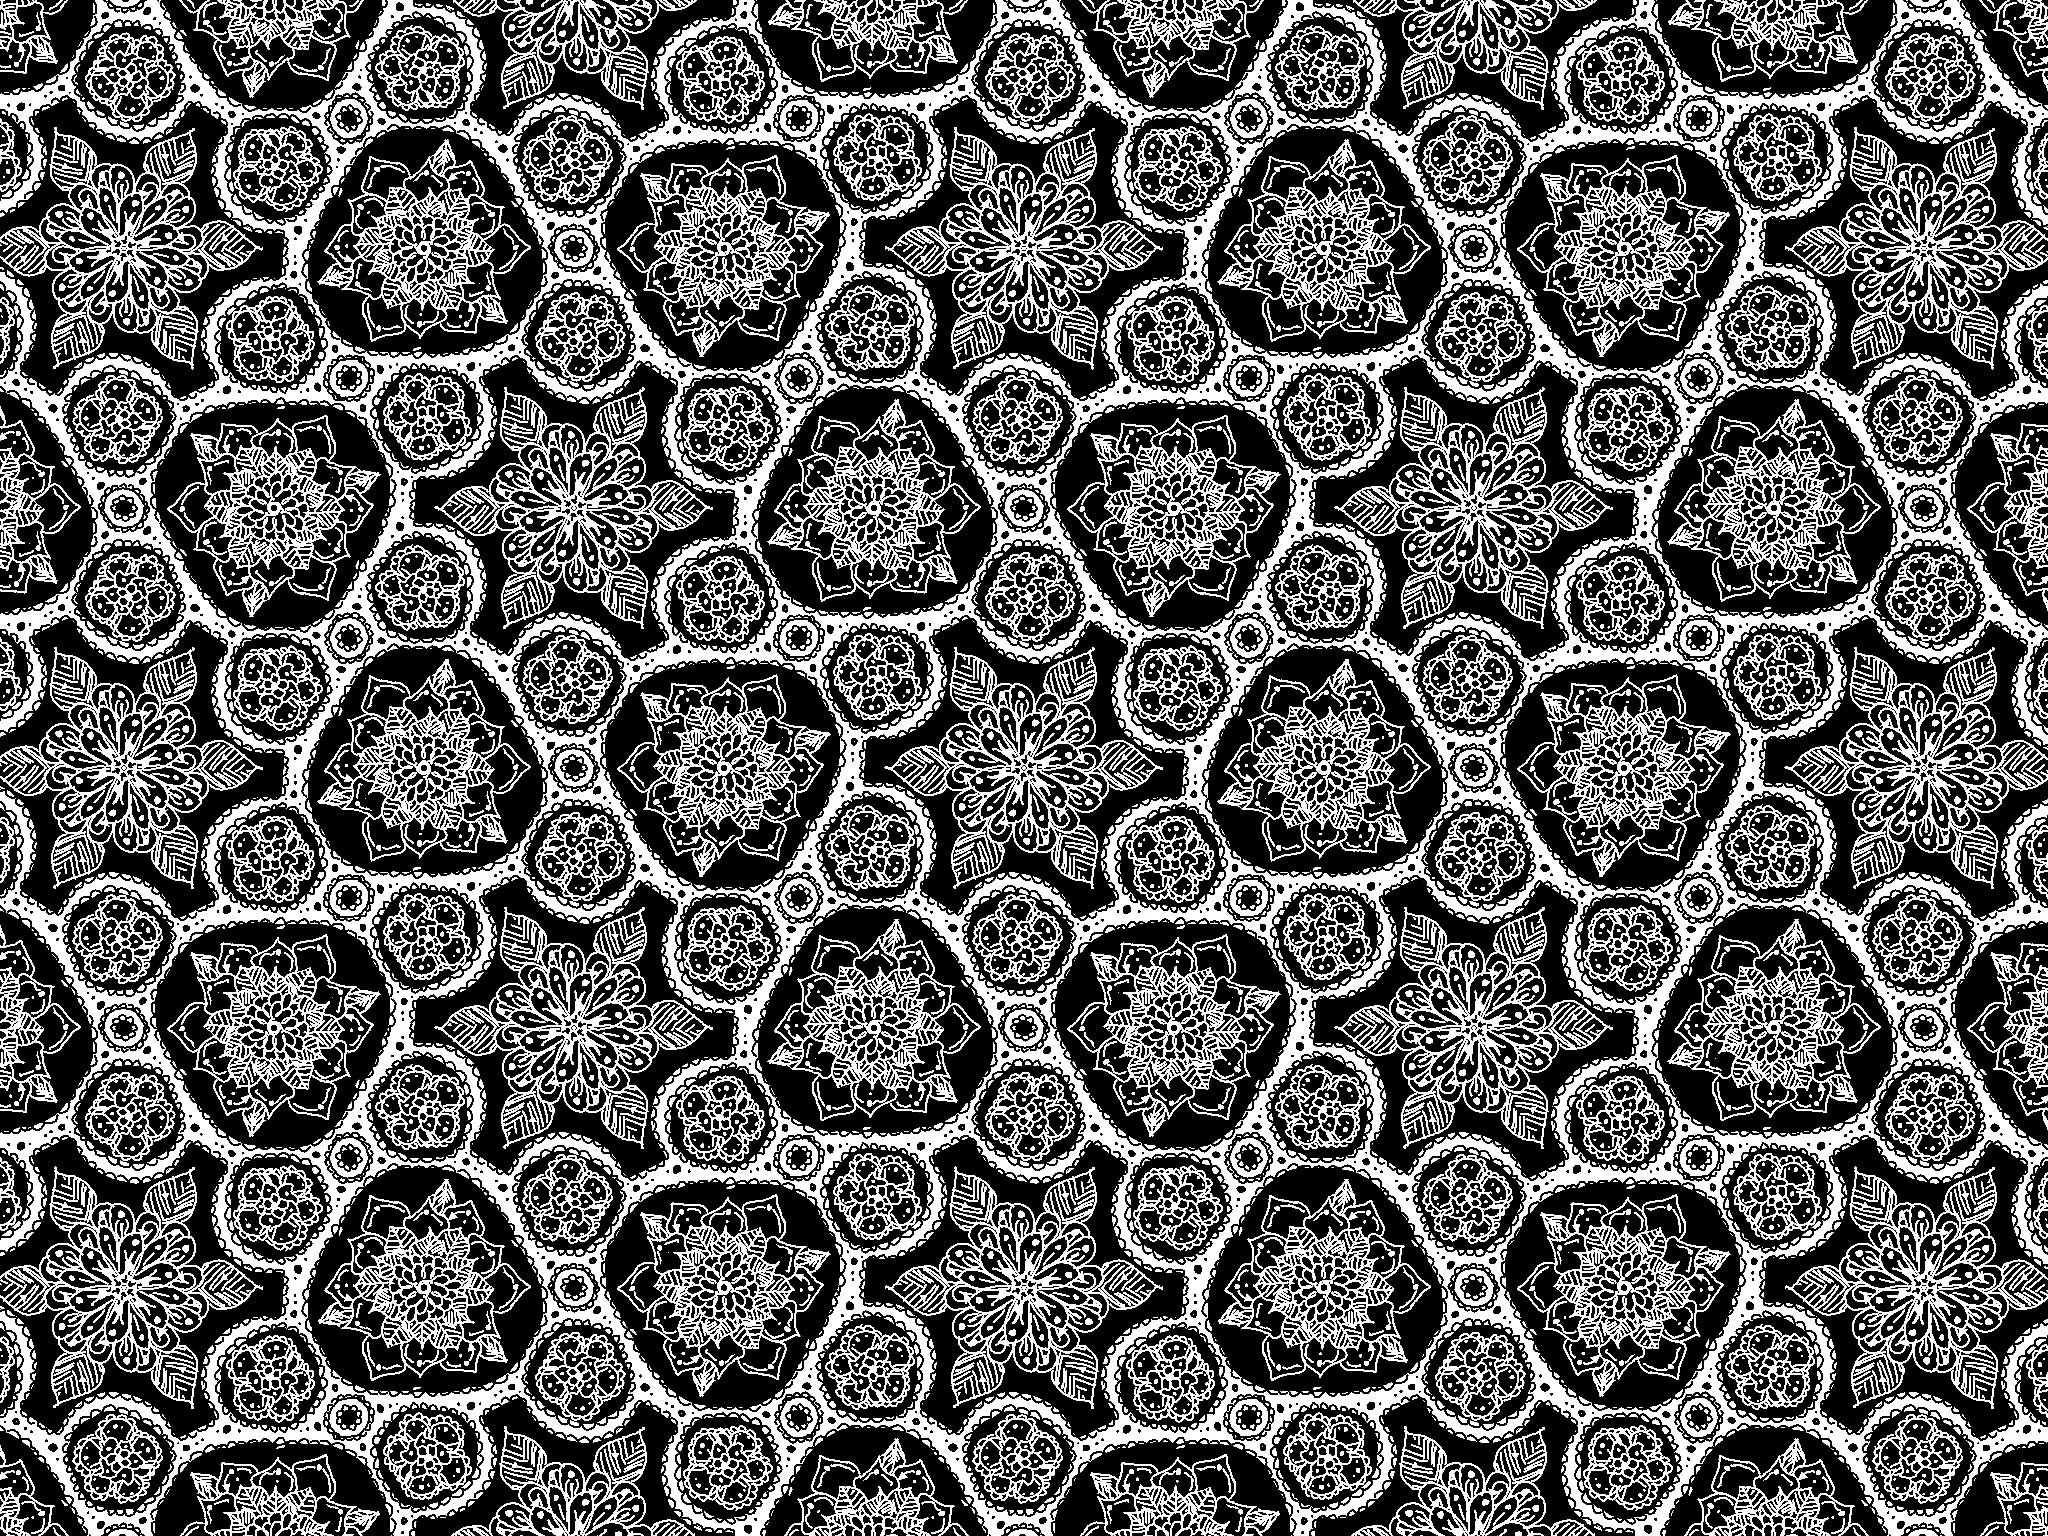
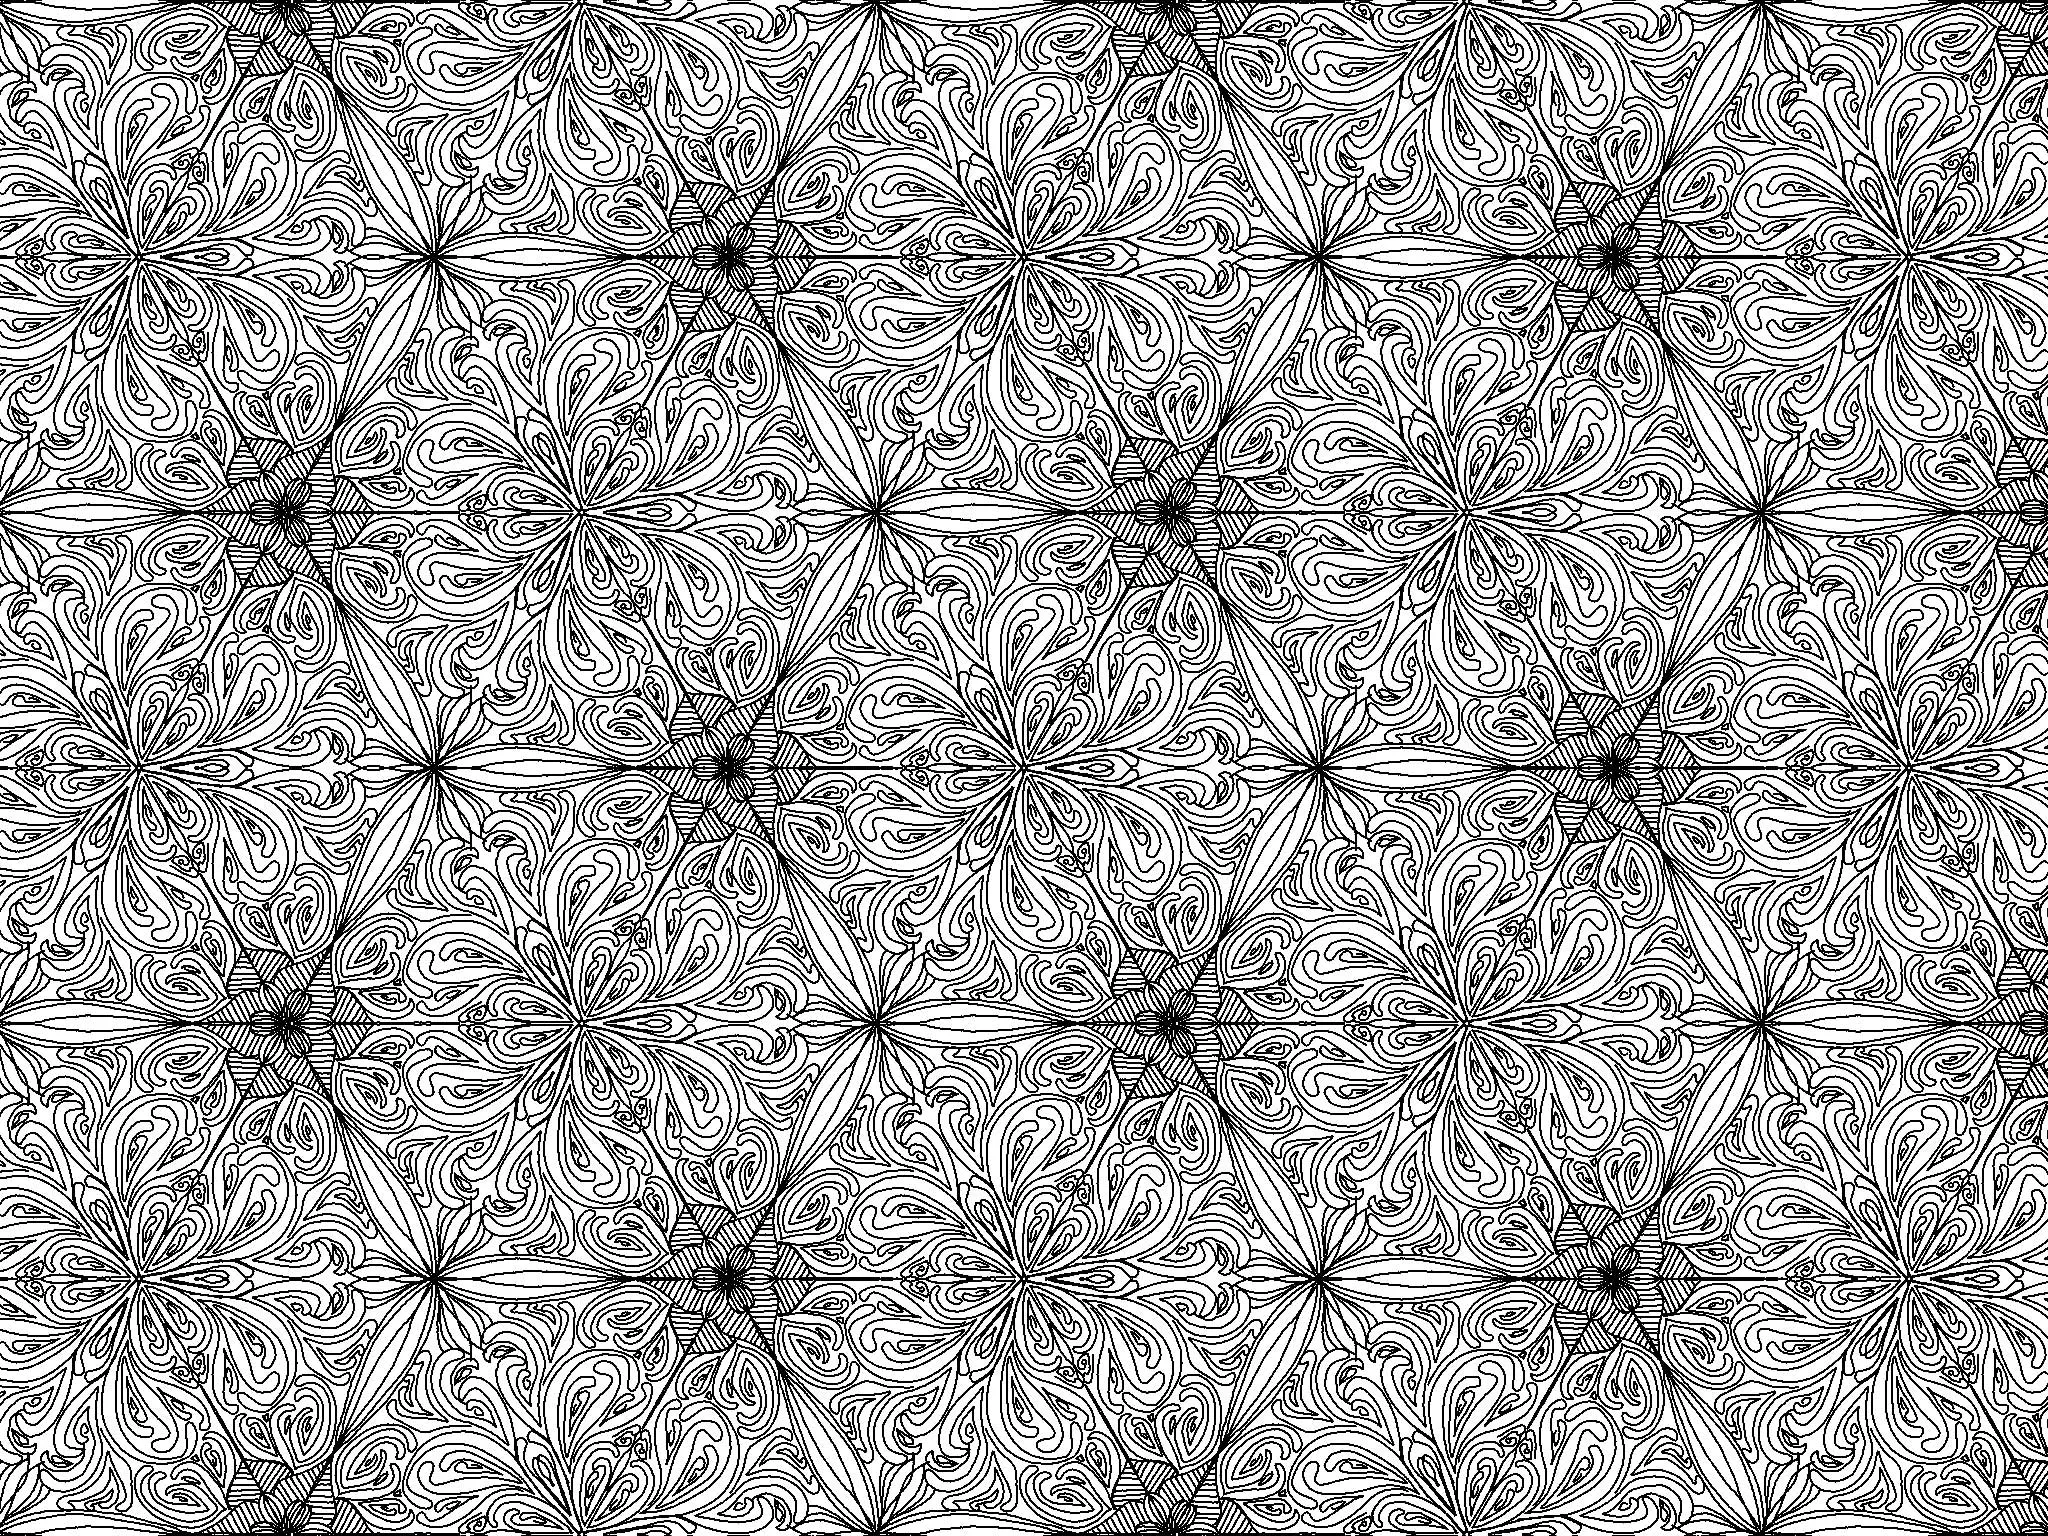
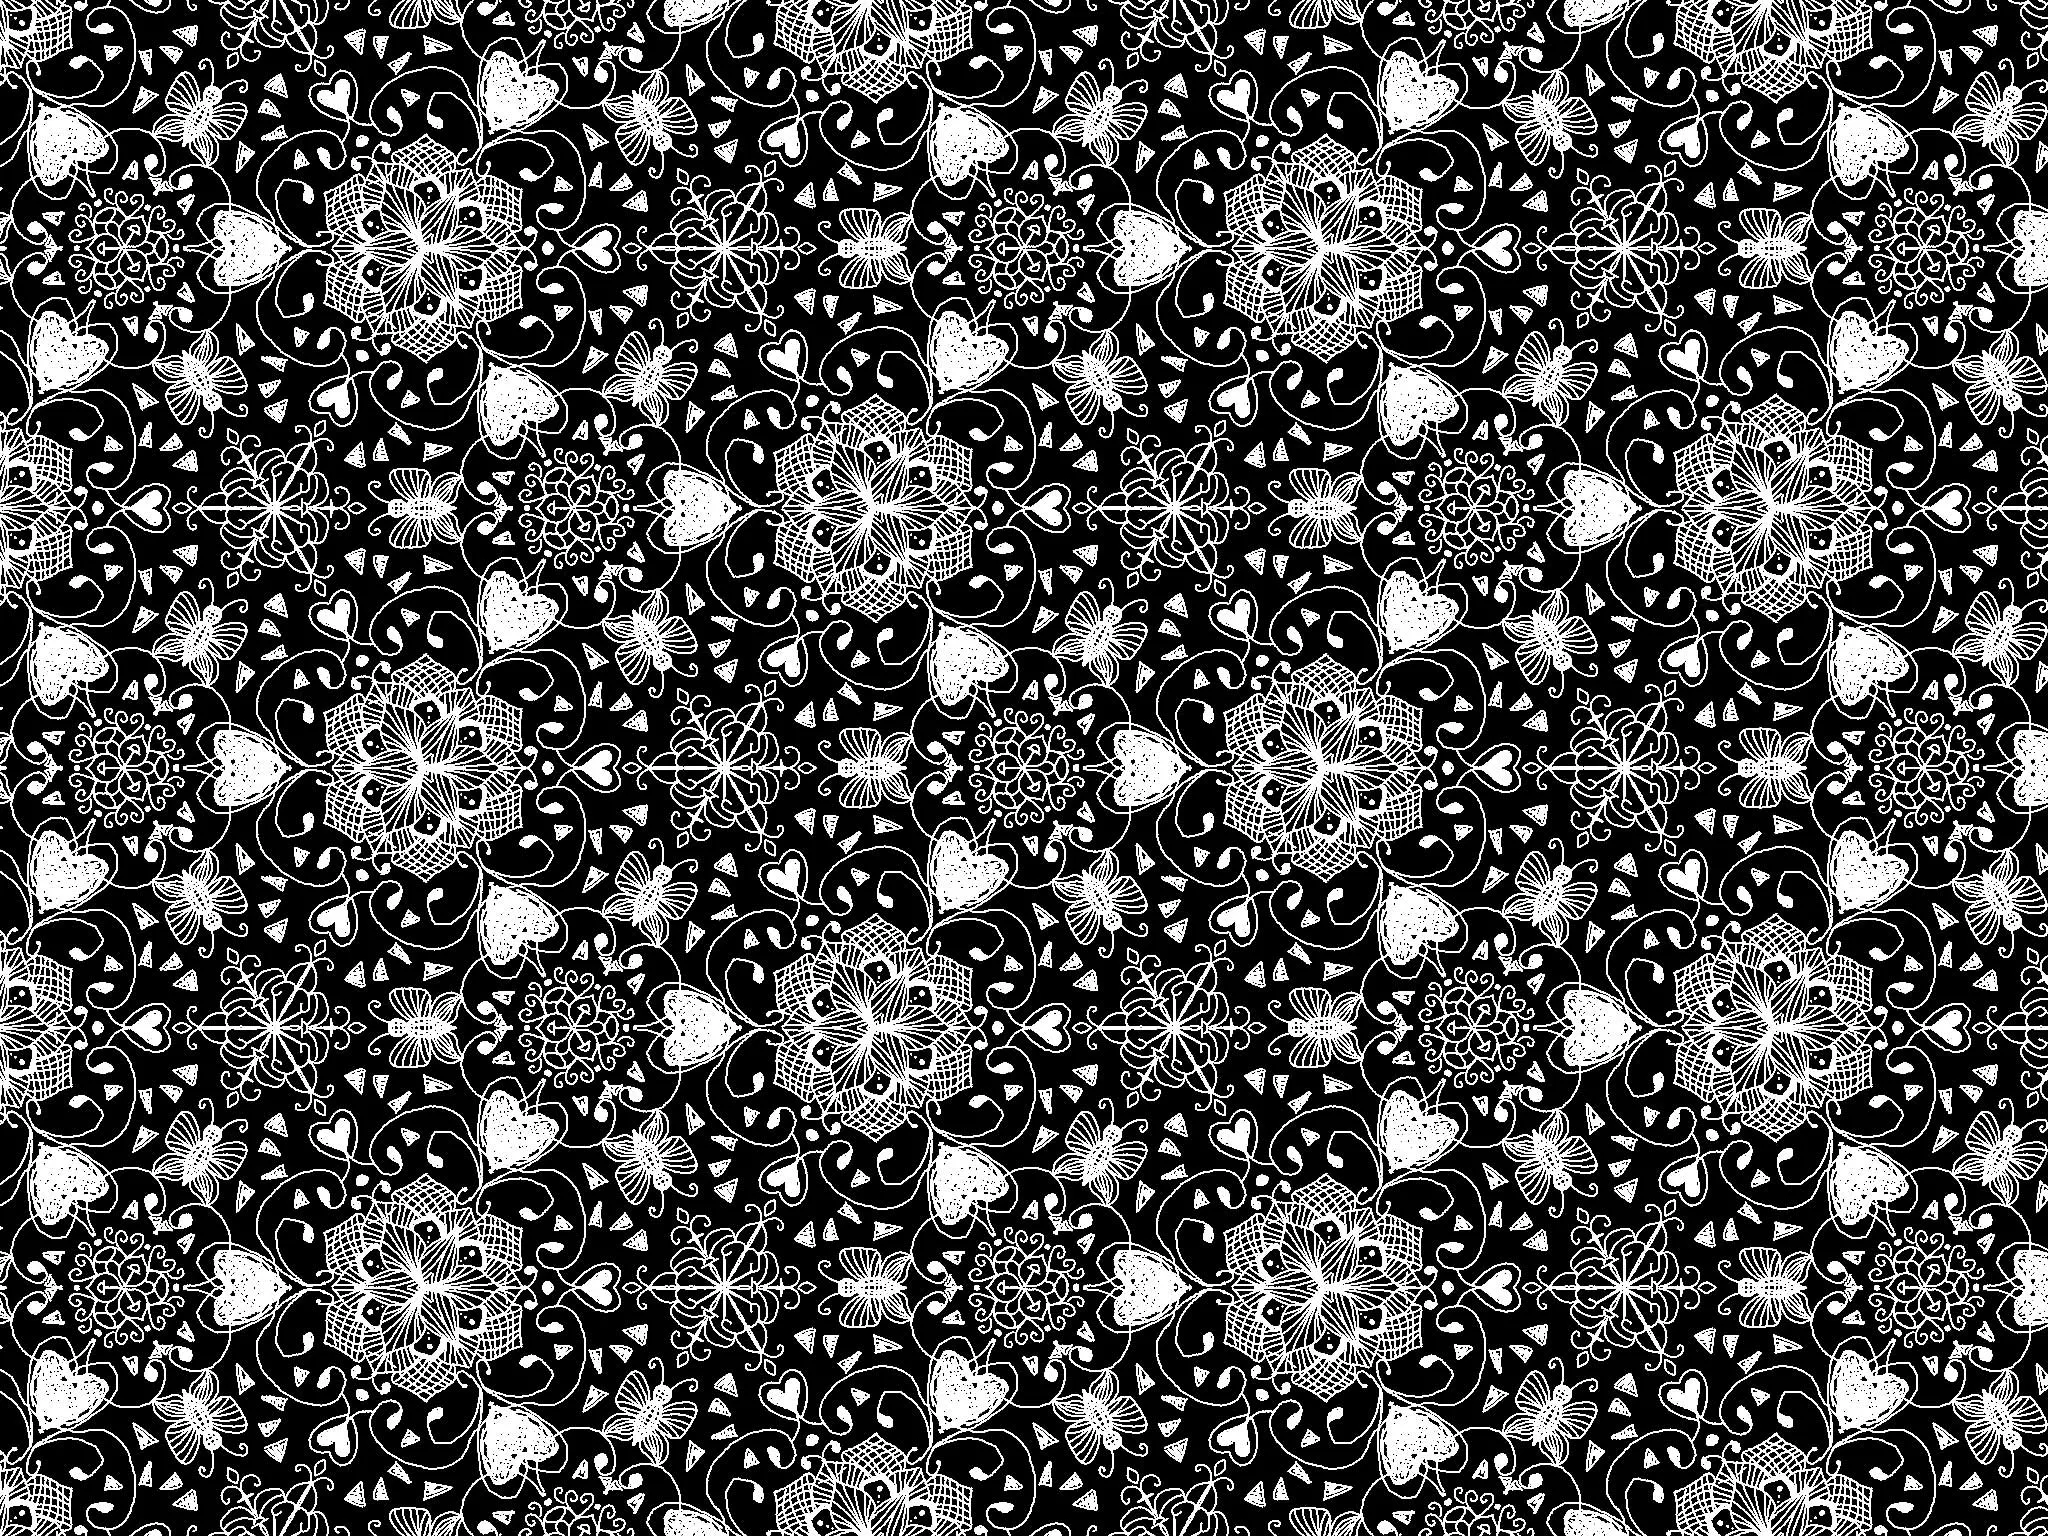
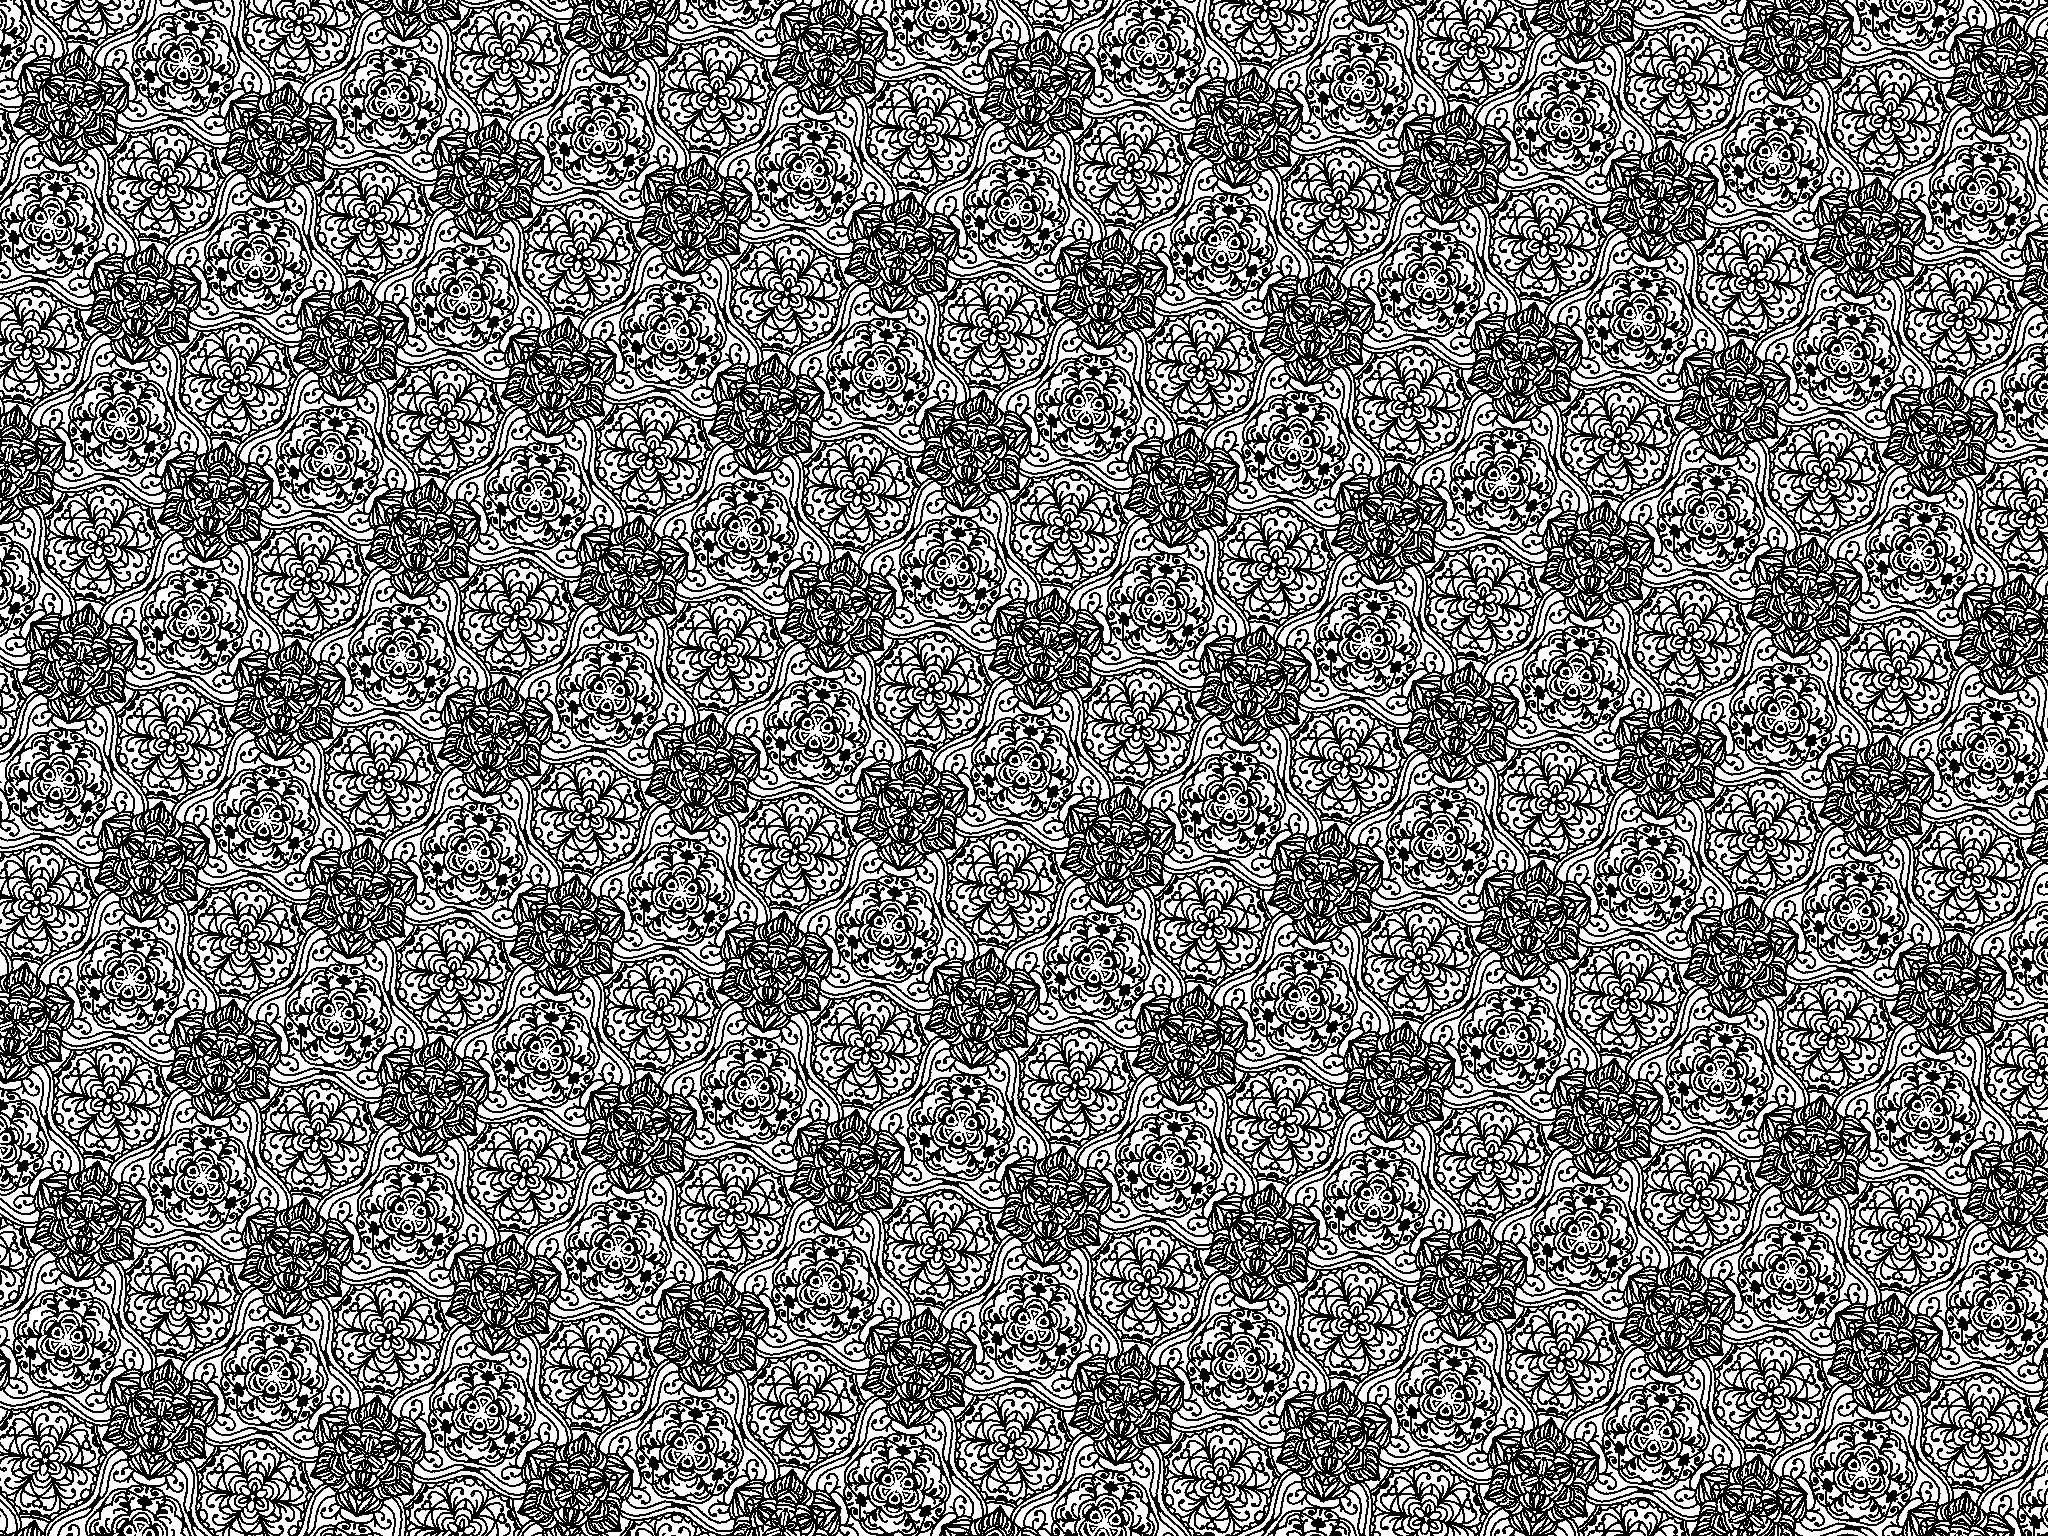
An Amaziograph Flower à la Myriam
An Amaziograph Flower à la MyriamI get asked quite often how I draw my flowers. Well, I start by drawing the petals and then fill it with patterns from the inside out. That’s how I did it by hand and that’s how I still do it. I have posted a few videos on Instagram that show my process, so better have a look at them, I think it’s easier to show than tell in this case.
But my biggest tip would definitely be to use your zoom. The longer you focus on a pattern, the more you should zoom, it just helps a lot with adding detail.
- Flower on blak (Screen Recording - Type: 2 Mirror Kaleidoscope)
- Flower on white (Screen Recording - Type: 2 Mirror Kaleidoscope)
- Flower on white (you see my hand here - Type: Rotation)
I post some of my flowers using #halfapxAmaziographFlowers, in case you’d like to see some more of them.
Amaziograph and Procreate
Amaziograph and ProcreateI love combining the patterns I create with lettering. If you ask me they just create the perfect background. Amaziograph now offers the option to save with a transparent background, which can be really helpful. Otherwise I just use it with white and add some colored layers and lettering over the top in procreate. I made a very shaky video for the transparency and filling it with color over on instagram. Check it out, if you’re interested.
I also post examples of lettering amaziograph combos using: #amaziographquotes
And that’s it. I am absolutely obsessed with Amaziograph, how about you? Are you already hooked to? Let me know by writing a comment. Oh and if you are on Insta, check out the general amaziograph hashtags too, there are so many talented people using it, you need to see!
