This is a quick and easy Tutorial on how to properly set up a “pretty” fiction (or any other text-forward) ebook for a kindle. We’ll go over formatting basics for your Word Document and a few tips and tricks as well as how to actually set up enhanced Typesetting.
This is going to help you create an ebook that can be sideloaded onto a kindle.
I’m a frontend engineer by trade so I write HTML and CSS for a living and I was just having fun exploring a new kind of medium. As a writer who’s been writing a lot these days due to pandemics happening, I now have a lot of unpublished first drafts to review-read and also share with some review-reading friends and I personally prefer doing that by reading stuff on my kindle instead of on my computer.
Yes, I am aware Amazon allows you to send Word Documents and PDFs to your personal document, but there’s some professional pride involved and coding ebooks is fun. Also I want actual page numbers and hyphenation and a proper navigation so I can navigate through chapters.
So in case you have a similar case or jsut generally are interested in some helpful CSS and Tips on how to code a functional ebook that’s actually prettier to look at than some books I spent money on, continue reading.
Kindle Format Differences
Kindle Format DifferencesFirst off, the kindle supports a few different ebook formats. .mobi is the classic one, but the kindle also supports .azw3 and .kfx files. The .kfx files are the ones that support enhanced typesetting, which is what we’ll want.
Note, that my 1st Gen Paperwhite did not support .kfx files, so if you have an older kindle, you might not be able to use that format, in that case, just stick with .azw3. You’ll still get a lot of the features, just not the fancy alignment and hyphenation.
Programs you’ll need
Programs you’ll needOkay, I’m on a PC but all of these should be available for your your document.
- Microsoft Word (or any other formatted text you can get into some valid minimal HTML)
- Pandoc (optional, but recommended)
- Calibre
- Calibre KFX Output Plugin (not necessary if you don’t want enhanced typesetting)
- A code Editor where you can do easy text replacements (I recommend VSCode)
The Word Document
The Word DocumentBefore getting started, you’ll need to have some content. Depending on where you are writing you might not directly be writing in Word but are able to export a word format. Or you might write in Word but have never heard of proper formatting (in case you are writing entire manuscripts you should definitely be changing that!).
Messy Documents
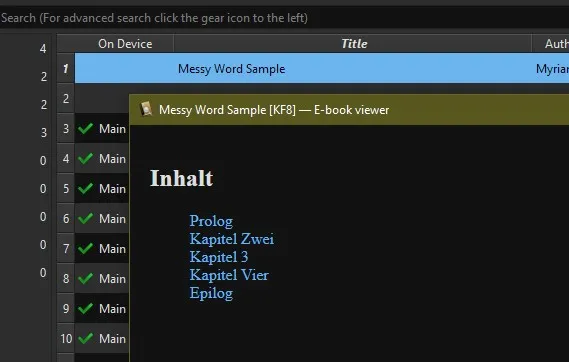
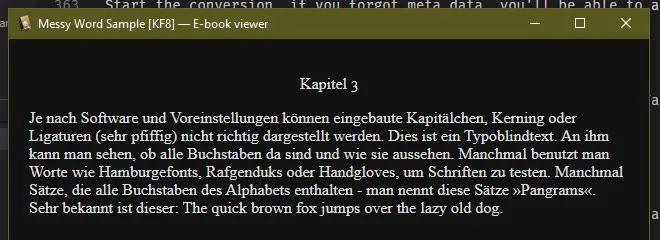
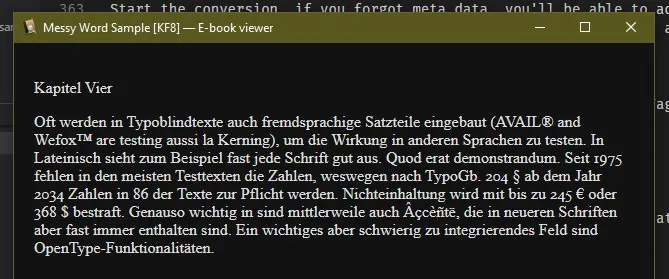
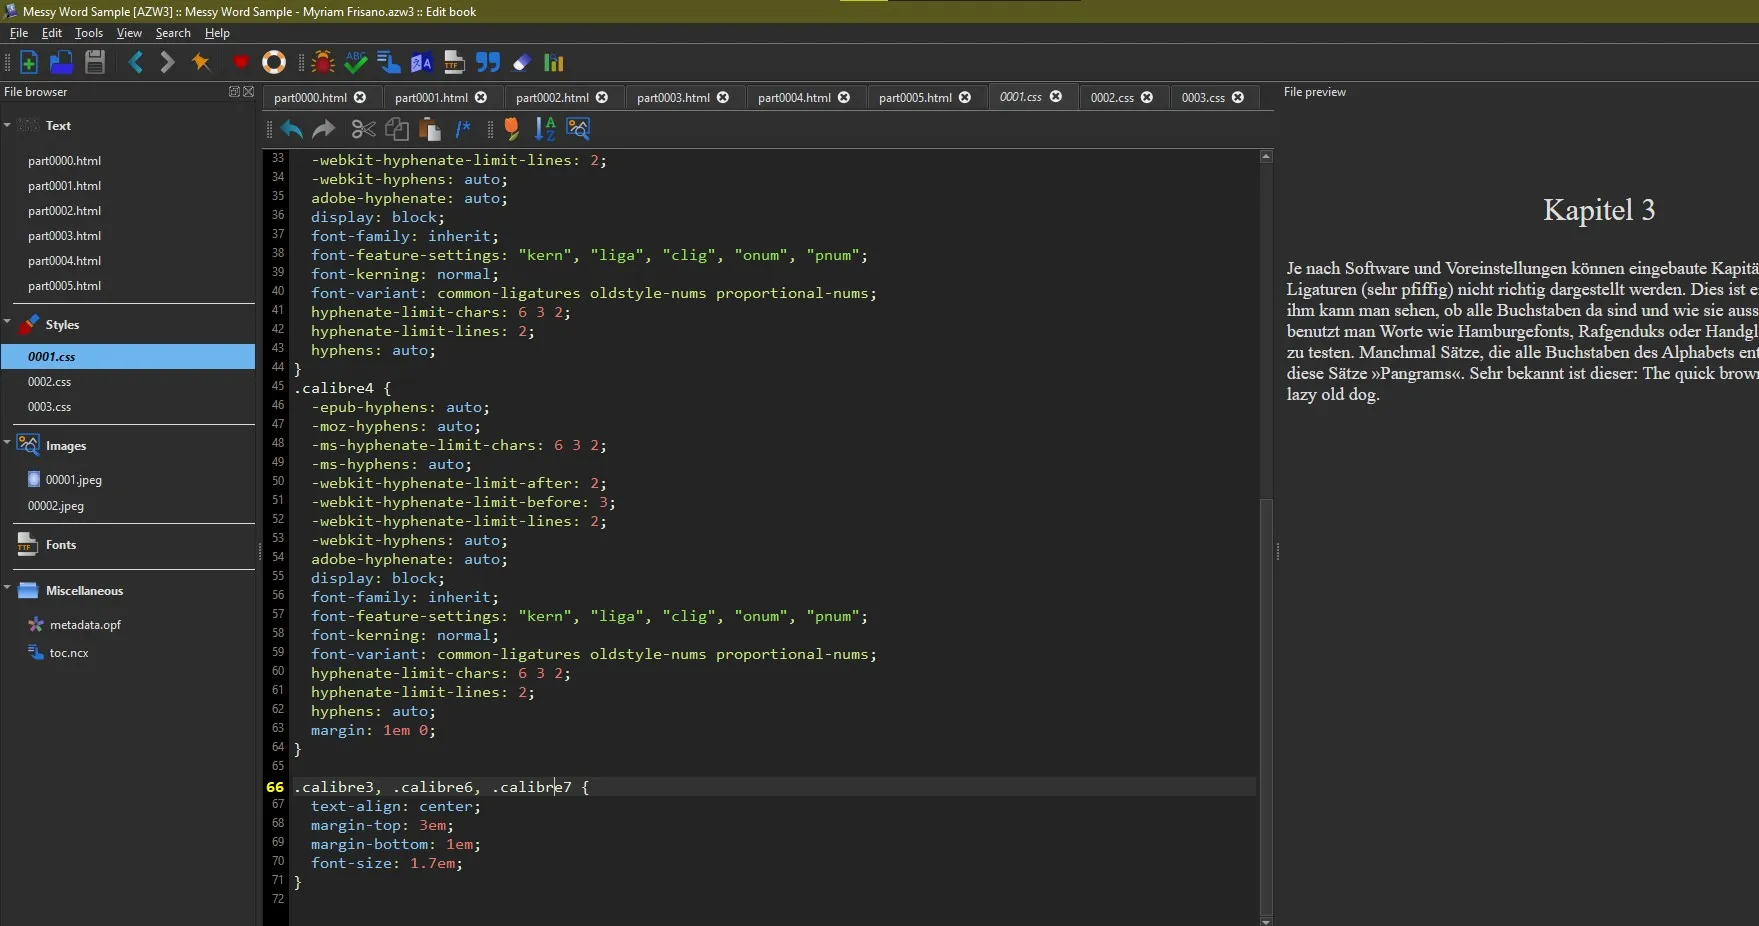
Messy DocumentsIn case you are a messy word user your document might look like this:
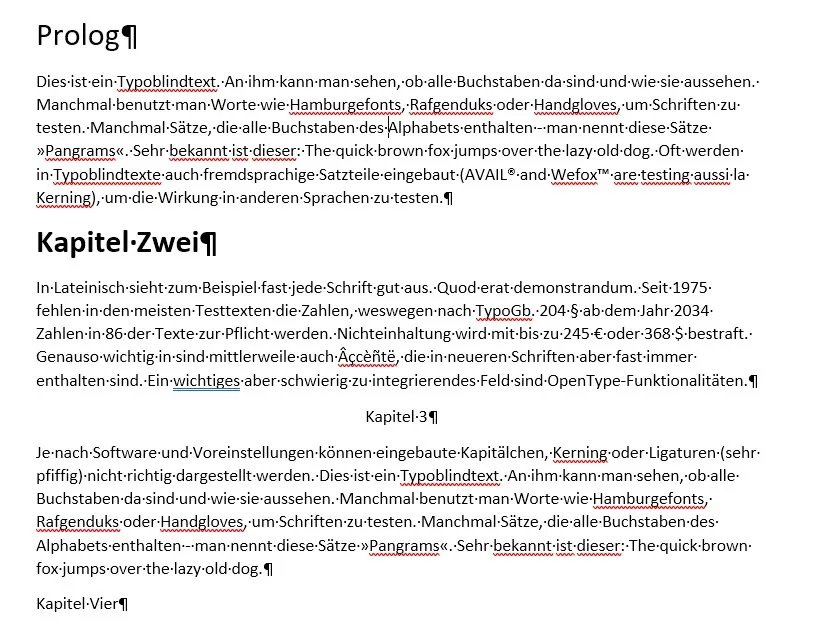
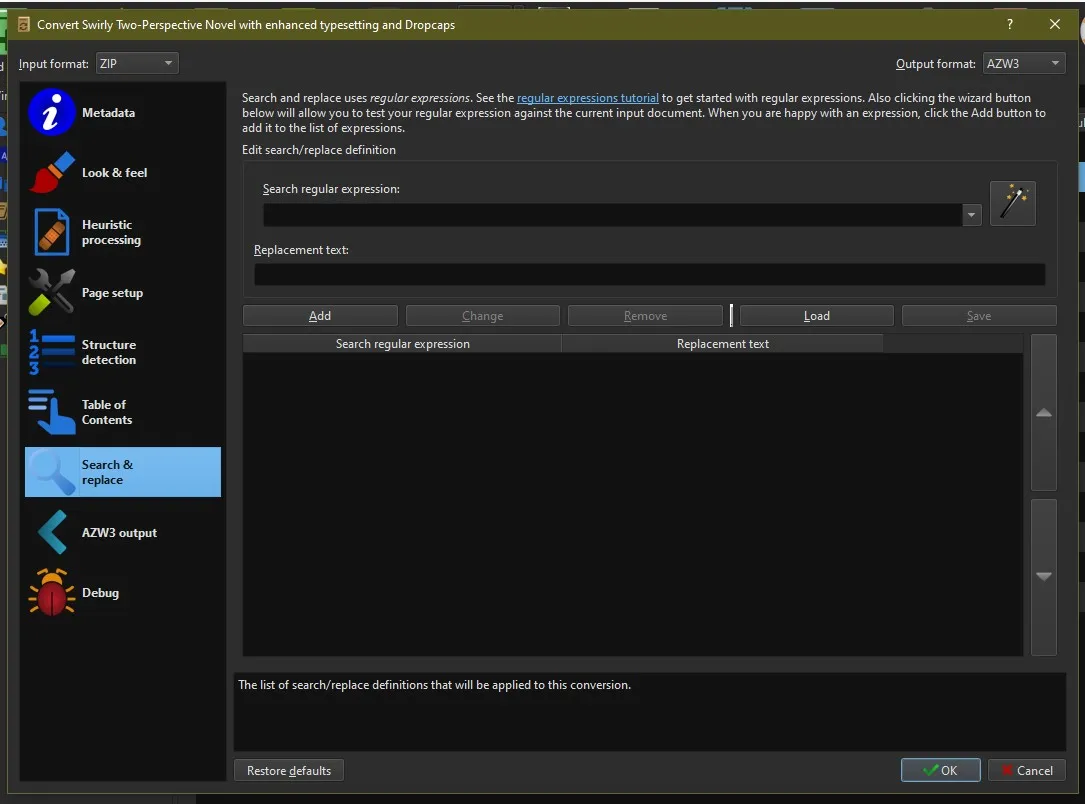
When you are applying styles manually, you might end up with something like this, where styles don’t match up. Within Calibre, we have the option to use Regular Expressions to catch all of these Chapter titles since they follow a content pattern (they all contain the word “Kapitel” in my example) but unless you have 100+ chapters I recommend going through your document and make sure you use Word Styles instead.
Formatting Documents
Formatting DocumentsWhat you want to be using is Styles, especially Heading 1, Heading 2 and Emphasis for anything that needs special emphasis.

Just know what you are using for what. I personally always use Heading 1 for chapter titles (I usually also apply a Counter to it, so in case I start inserting Chapters the numbering automatically updates) And whenever I have multiple perspectives changing within the Chapters, I’ll use Heading 2 for that. Whenever I need text emphasis I’ll use the “Emphasis” style. Make sure to use the actual Emphasis, the site we’ll be using to get some clean HTML will not allow you to use Subtle Emphasis.
There are also the classic buttons for creating bold and italic text, these should work, but I find applying emphasis is better since it makes reformatting your document a lot easier. I will always write in Courier Fonts but will usually reformat them to Times or another Serif font whenever I share a PDF with someone of the manuscript.
I personally also recommend using page-breaks, but we’ll be removing those before processing the document. I will sometimes also use Sections to add chapter titles to my headers in Word, so if you are using Word Sections, you’ll just be getting additional HTML containers in your HTML but that should not be an issue.
Clean HTML
Clean HTMLNow Word can actually save a document as HTML, but those HTML Files give me actual pain to look at and they also don’t come in an encoding most code editors can handle.
So, we’ll be using pandoc to generate our HTML.
Generate HTML
Generate HTMLTo use pandoc, we’ll open a terminal within the folder where our Word Document is and run the following command:
pandoc -s -o output.html input.docxYou may get a warning
[WARNING] This document format requires a nonempty <title> element. Defaulting to 'input' as the title. To specify a title, use 'title' in metadata or --metadata title="...".This is about the content that is put within the HTML <title> tag. You can ignore this warning, this is the title, that will show up in Calibre, but since we’re going to be editing the Metadata and the HTML, it doesn’t really matter.
Now if you open the HTML file in your code editor, you’ll see that pandoc has generated a clean HTML file with all of your content.
1<!DOCTYPE html>2<html xmlns="http://www.w3.org/1999/xhtml" lang="" xml:lang="">3<head>4 <meta charset="utf-8" />5 <meta name="generator" content="pandoc" />6 <meta name="viewport" content="width=device-width, initial-scale=1.0, user-scalable=yes" />7 <title>input</title>8 <style>9 /* probably lots of CSS here */10 </style>11</head>12<body>13<!-- HTML Code of content -->14</body>15</html>Let’s focus on the Code of Content first.
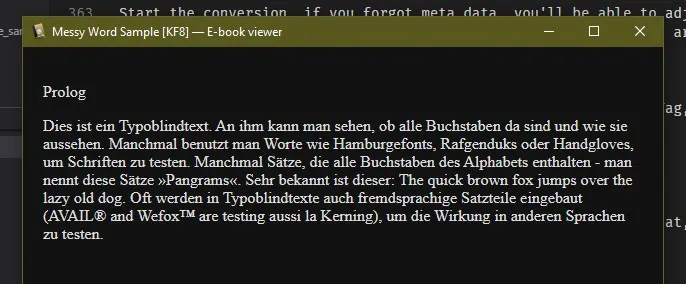
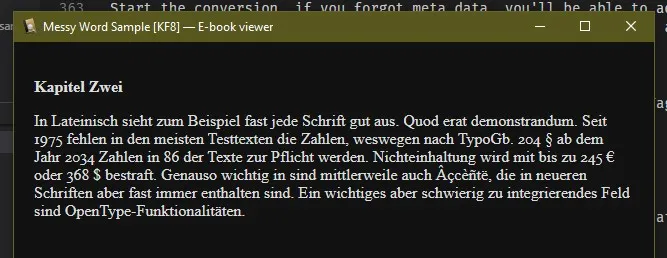
If you have a messy formatted word, like I showed earlier, your output might look like this:
1<p>Prolog</p>2<p>Dies ist ein [...] testen.</p>3<p>4 <strong>Kapitel Zwei</strong>5</p>6<p>In Lateinisch [...] OpenType-Funktionalitäten.</p>7<p align="center">Kapitel 3</p>8<p>Je nach [...] old dog.</p>9<p>Kapitel Vier</p>With a cleanly formatted Document using the Word Styles, my generated Code is properly distinguished.
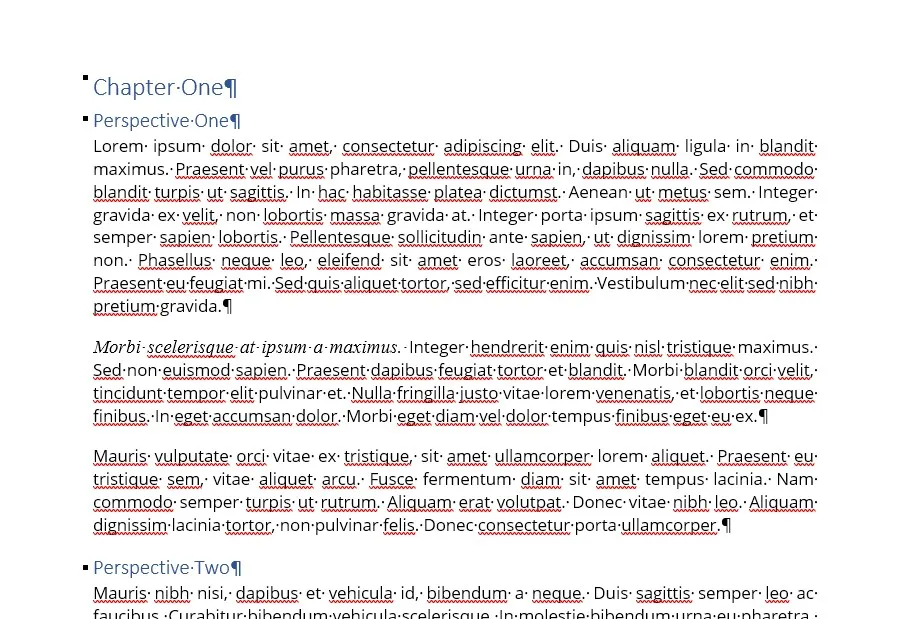
1<h1>Chapter One</h1>2<h2>Perspective One</h2>3<p>Lorem ipsum [...] gravida.</p>4<p>5 <em>Morbi scelerisque at ipsum a maximus. </em>6 Integer hendrerit enim quis nisl tristique maximus. [...] ex.7</p>8<p>Mauris vulputate [...] ullamcorper.</p>9<h2>Perspective Two</h2>10<p>Mauris nibh nisi, [...] cursus lorem.</p>Editing HTML Source File
Editing HTML Source FileIf you don’t intend on adding custom fonts, we can just work with the HTML file that pandoc created for us.
First off, let’s remove some unnecessary things. We’ll write our own CSS later on, so get rid of everything pandoc wrote.
We also don’t want it to be an XHTML document, so we’ll remove the XML namespace and the XML language attributes. We don’t need the viewport or generator info either.
Now instead, we can edit the Book Title and also add information about the author. (You can do this within Calibre too, if you want.) And make it a regular HTML document, in UTF-8 encoding.
1<!DOCTYPE html>2<html xmlns="http://www.w3.org/1999/xhtml" lang="" xml:lang="">3<head>4 <meta http-equiv="content-type" content="text/html; charset=UTF-8" />5 <meta charset="utf-8" />6 <meta name="generator" content="pandoc" />7 <meta name="viewport" content="width=device-width, initial-scale=1.0, user-scalable=yes" />8 <title>Book Title</title>9 <meta name="author" content="AuthorFirstName AuthorLastName"/>10 <style>11 /* everything between these <style> tags */12 </style>13</head>14<body>15<!-- HTML Code of content -->16</body>17</html>Dropcaps and Scene Breaks
Dropcaps and Scene BreaksIf you want drop caps or have additional elements you want styled, you’ll have to manually add these.
One of the things I tend to do is add *** as a scene-break within a chapter. and I’d like to have those three asterisks centered and also apply a bit more space above and below it. All I do is search for my *** and then apply a class attribute, that allows me to apply some CSS to it.
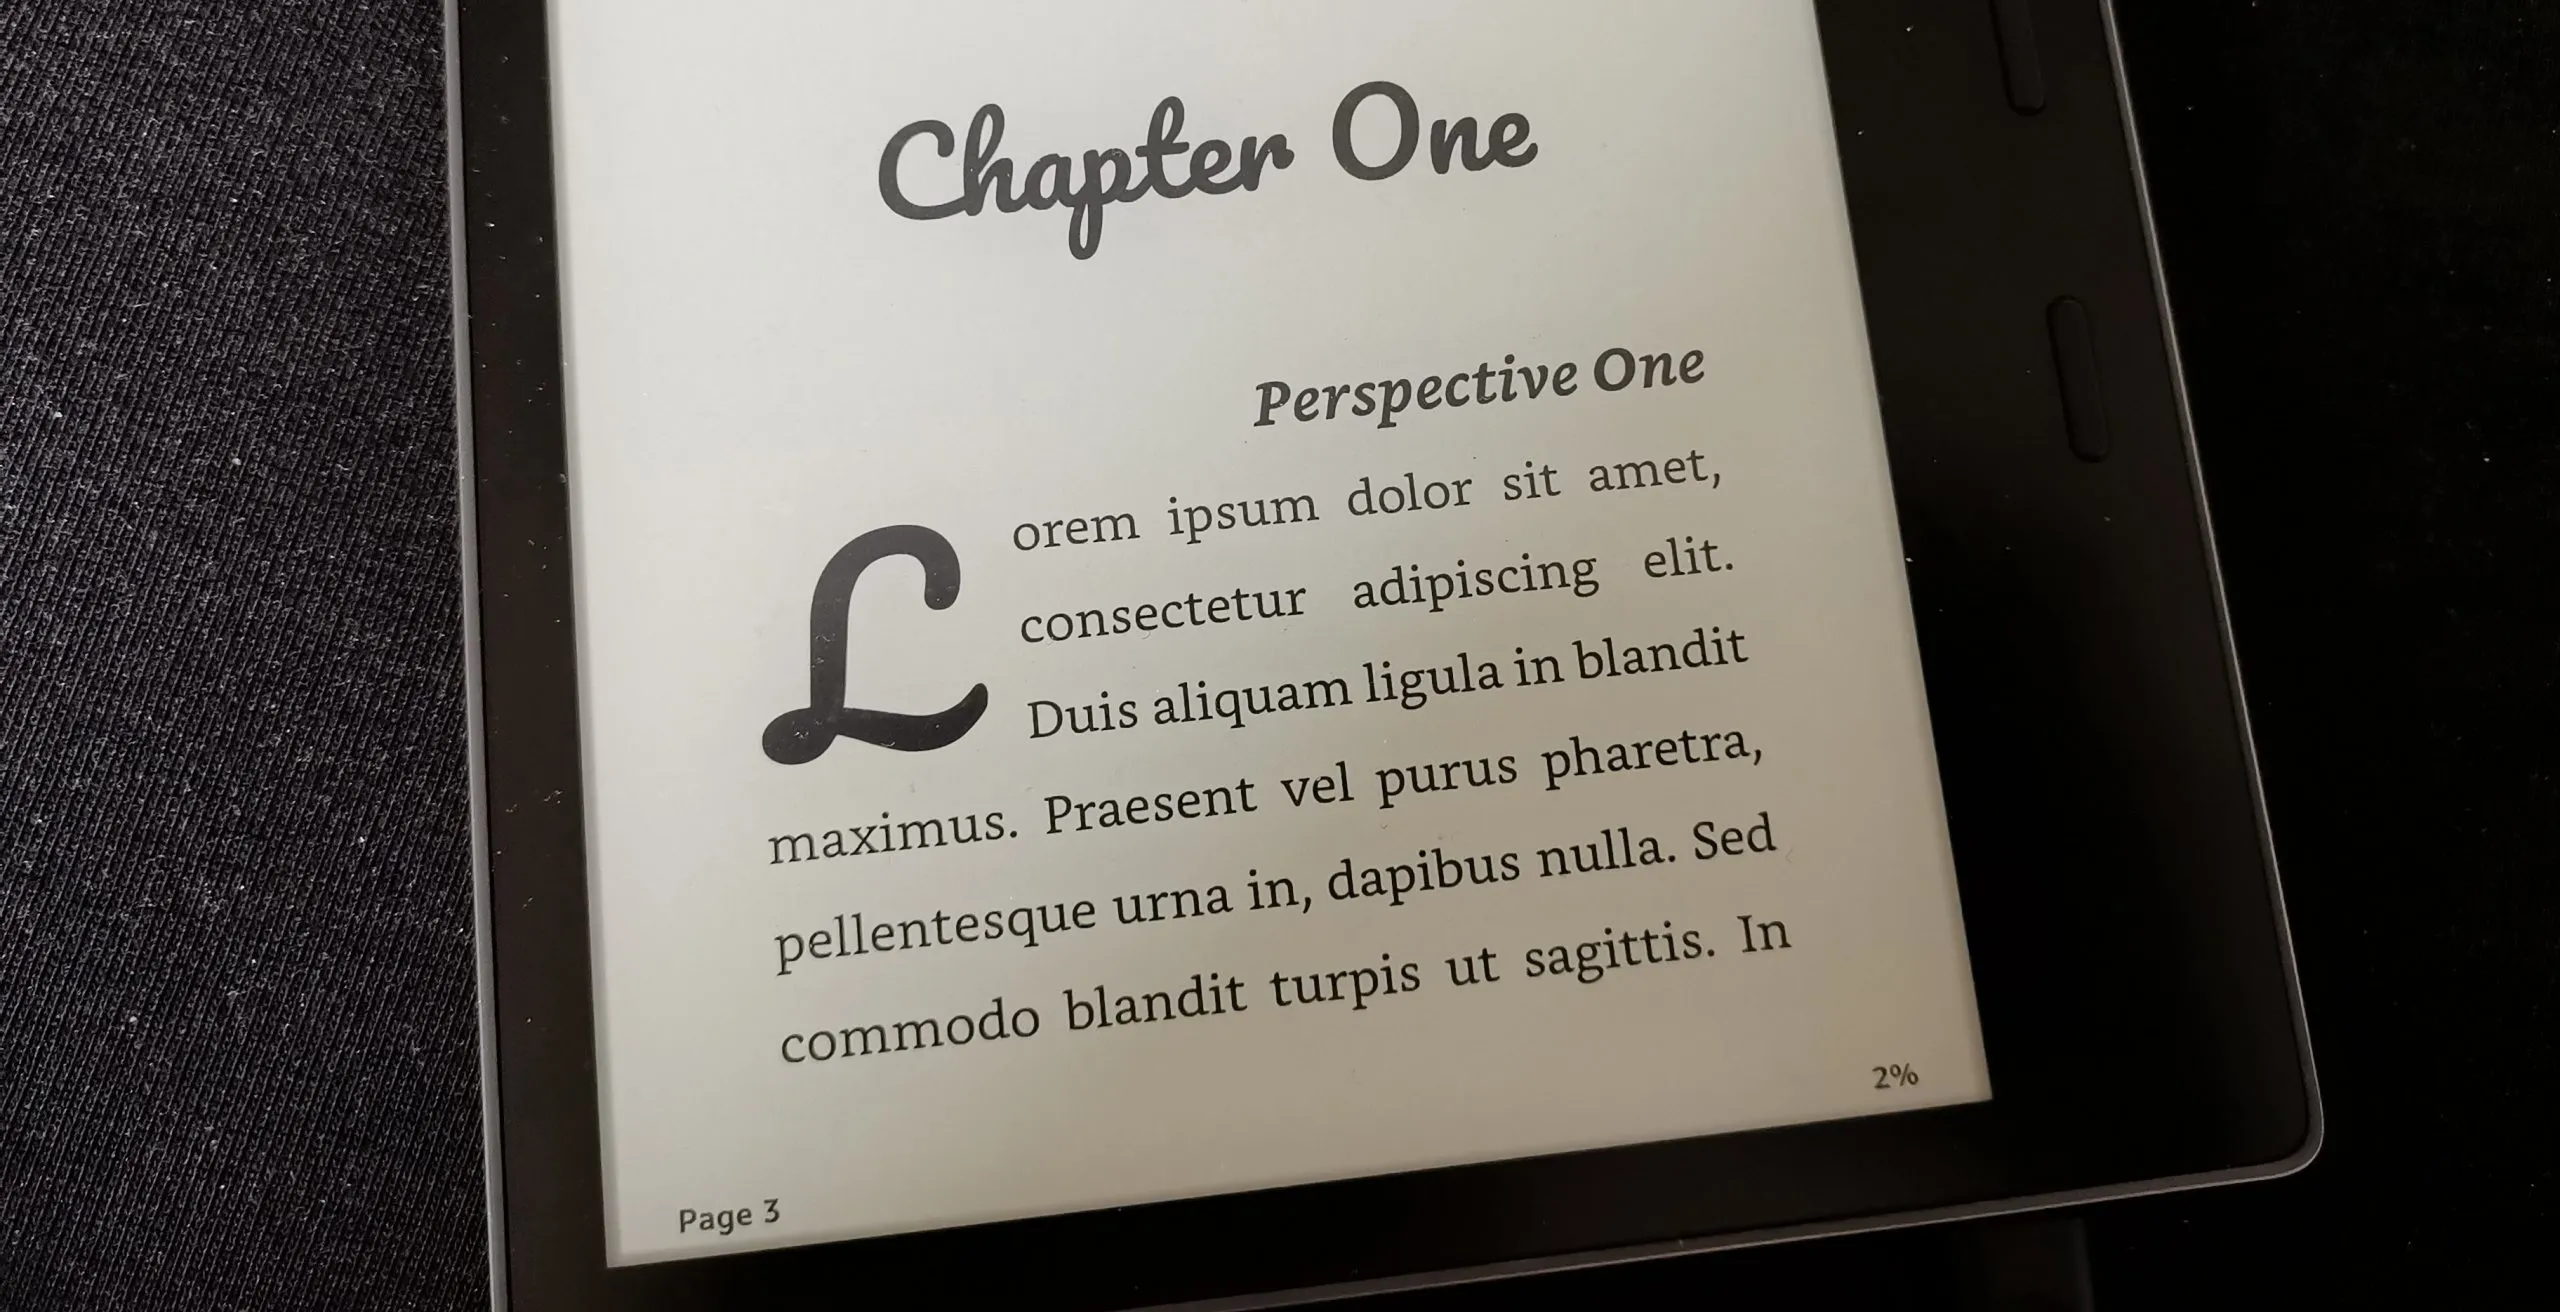
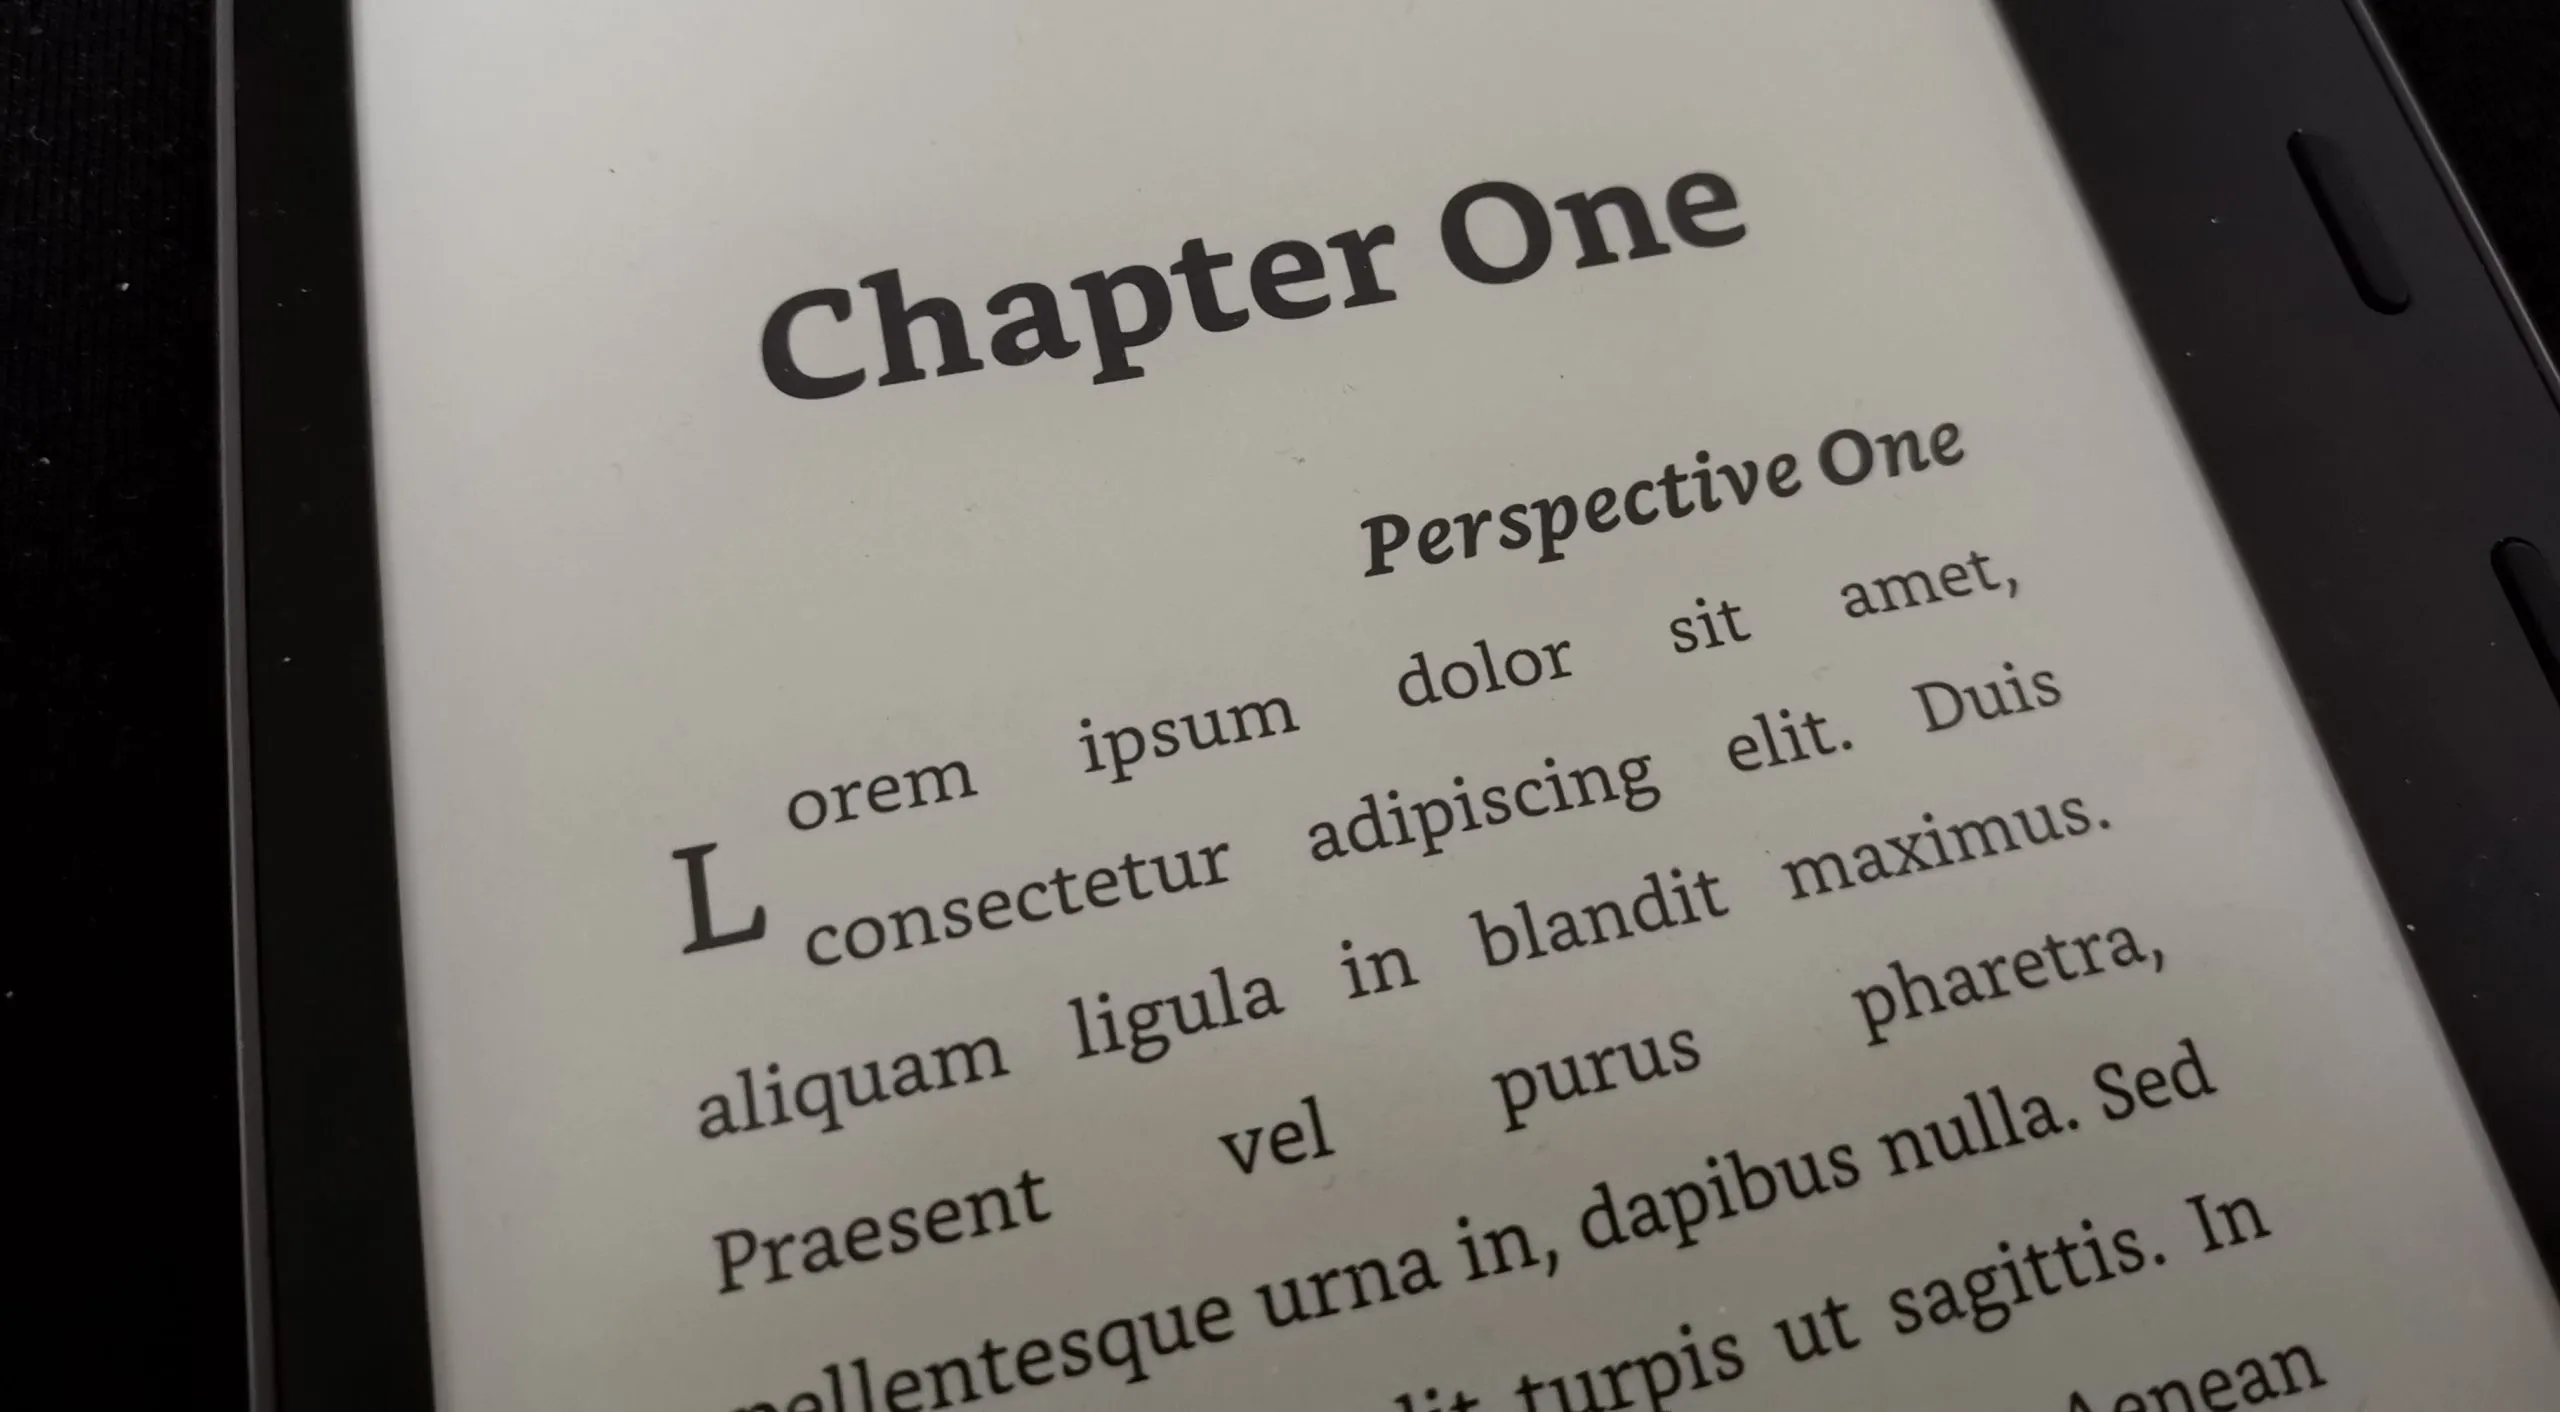
1<p class="scene-break">***</p>If you want to have consistent dropcaps in your ebook, you’ll have to wrap the first letter of each chapter. Search for the <h1> tag and then in each first paragraph below it, apply Code with a class around the first letter.
1<h1>Chapter One</h1>2<h2>Perspective One</h2>3<p>4 <span class="dropcap">L</span>orem [...]5</p>CSS
CSSNow once that’s done we’ll add CSS within the <style> tags in the document. A lot of this is personal preference so feel free to do as you please if you know how to write CSS.
If we go back to our output.html, we’re placing the CSS within the <style> tags.
1<!DOCTYPE html>2<html>3<head>4 <meta http-equiv="content-type" content="text/html; charset=UTF-8" />5 <title>Book Title</title>6 <meta name="author" content="AuthorFirstName AuthorLastName"/>7 <style>8 /* CSS HERE */9 </style>10</head>11<body>12<!-- HTML Code of content -->13</body>14</html>In the following, you’ll see a commented version of the different types of CSS.
The first is the basic CSS that will work on any kindle, the second is an example of how to use a custom font and also how to enable hyphenation and ligatures. The CSS is a bit more advanced and will only work on kindles that support enhanced typesetting.
1/* make sure all font settings are inherited from the kindle */2body * {3  font-family: inherit;4  font-kerning: normal;5  line-height: inherit;6}7
8/* Chapter Title Styles (h1) */9h1 {10  text-align: center;11  margin-top: 3em;12  font-size: 2.5em;13  margin-bottom: 0;14}15
16/* Perspective Info (h2) */17h2 {18  text-align: right;19  margin-top: 1em;20  font-size: 1.3em;21  margin-bottom: 0;22  font-style: italic;23}24
25/* paragraph styling, indent text */26p {27  text-indent: 2em;28  margin-bottom: 0;29  text-align: justify;30}31
32/* add space between two paragraphs */33p + p {34  margin-top: 0.3em;35}36
37/* remove indentation if right after chapter title or perspective change */38h1 + p,39h2 + p {40  text-indent: 0;41  margin-top: 0;42}43
44/* style dropcaps */45span.dropcap {46  font-weight: normal;47  font-size: 2em;48  line-height: 1;49  float: left;50  margin-bottom: -0.3245em;51  margin-right: 0.2em;52}53
54/* Scene Break */55.scene-break {56  margin: 1em 0;57  text-align: center;58  font-weight: bold;59}
Here, everything related to the custom Font is marked. If you don’t want to use the custom font, you’ll just remove those lines.
1/* Custom Font for Chapter Titles */2@font-face {3  font-family: "Pacifico";4  src: url("Pacifico-Regular.ttf") format("truetype");5  font-weight: normal;6}7
8/* Hyphens and Ligatures and basic font */9body * {10  -webkit-hyphenate-limit-before: 3;11  -webkit-hyphenate-limit-after: 2;12  -ms-hyphenate-limit-chars: 6 3 2;13  hyphenate-limit-chars: 6 3 2;14  -webkit-hyphenate-limit-lines: 2;15  hyphenate-limit-lines: 2;16  hyphens: auto;17  adobe-hyphenate: auto;18  -webkit-hyphens: auto;19  -moz-hyphens: auto;20  -ms-hyphens: auto;21  -epub-hyphens: auto;22  font-family: inherit;23  font-kerning: normal;24  font-variant: common-ligatures oldstyle-nums proportional-nums;25  font-feature-settings: "kern", "liga", "clig", "onum", "pnum";26  line-height: inherit;27}28
29/* Chapter Title Styles */30h1 {31  font-family: "Pacifico";32  text-align: center;33  margin-top: 3em;34  font-size: 2.5em;35  margin-bottom: 0;36}37
38/* Perspective Info (h2) */39h2 {40  text-align: right;41  margin-top: 1em;42  font-size: 1.3em;43  margin-bottom: 0;44  font-style: italic;45}46
47/* paragraph styling, indent text */48p {49  text-indent: 2em;50  margin-bottom: 0;51  hyphens: auto;52  text-align: justify;53}54
55/* add space between two paragraphs */56p + p {57  margin-top: 0.3em;58}59
60/* remove indentation if right after chapter title or perspective change */61h1 + p,62h2 + p {63  text-indent: 0;64  margin-top: 0;65}66
67/* style dropcaps */68@media amzn-kf8 {69  span.dropcap {70    font-weight: normal;71    font-size: 2em;72    line-height: 1;73    float: left;74    margin-bottom: -0.3245em;75    font-family: "Pacifico";76    margin-right: 0.2em;77  }78}79
80/* Scene Break */81.scene-break {82  margin: 1em 0;83  text-align: center;84  font-weight: bold;85}
Calibre
CalibreIf you are importing the custom fonts, you’ll have to package up your folder as a zip-Archive. if you are just using your one HTML file you can just drag it into Calibre.
Once you imported your zip or HTML into Calibre via Drag and Drop, we can get started on Conversion.
Step 1: Metadata
Step 1: MetadataYou’ll want to edit your meta data before starting conversion, so they’re already stored.
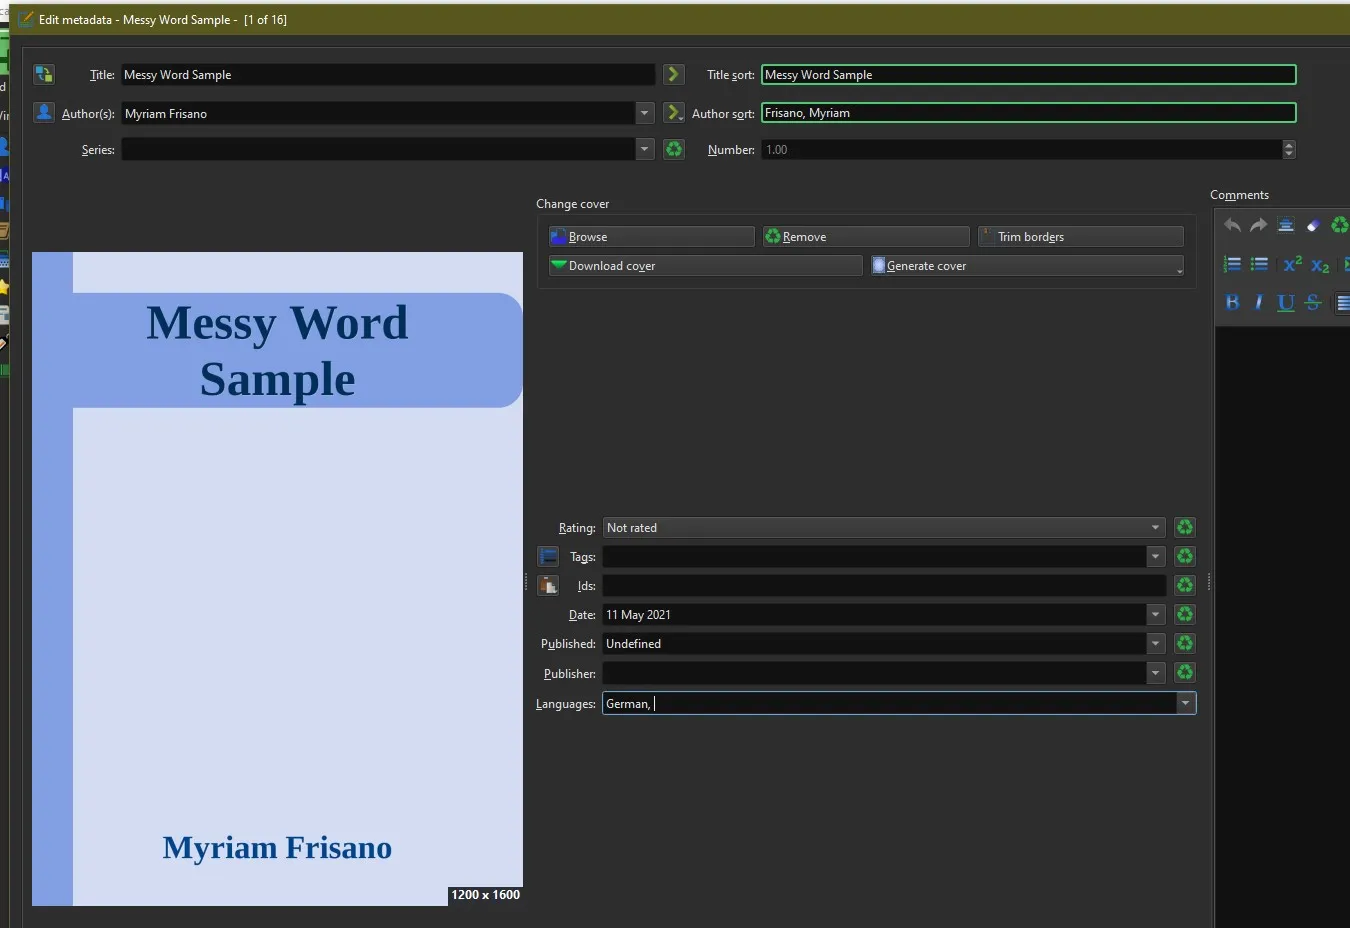
If you’re just using an HTML the author and title will have been taken from your HTML file. If you imported a zip archive the folder name will have been used. Add title and author information and then you’ll be able to import a cover image or generate one from the templates.
Also make sure to set the language of your book in the language tab if you want hyphenation to actually work.
Step 2: Converting to .azw3
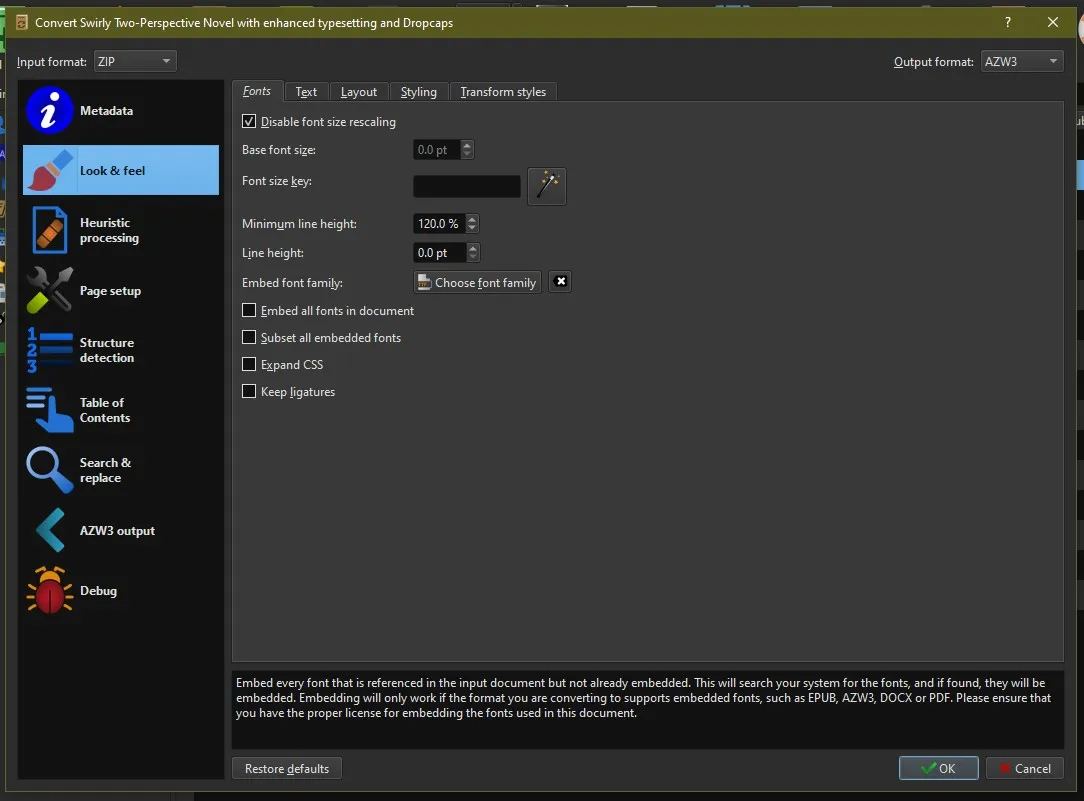
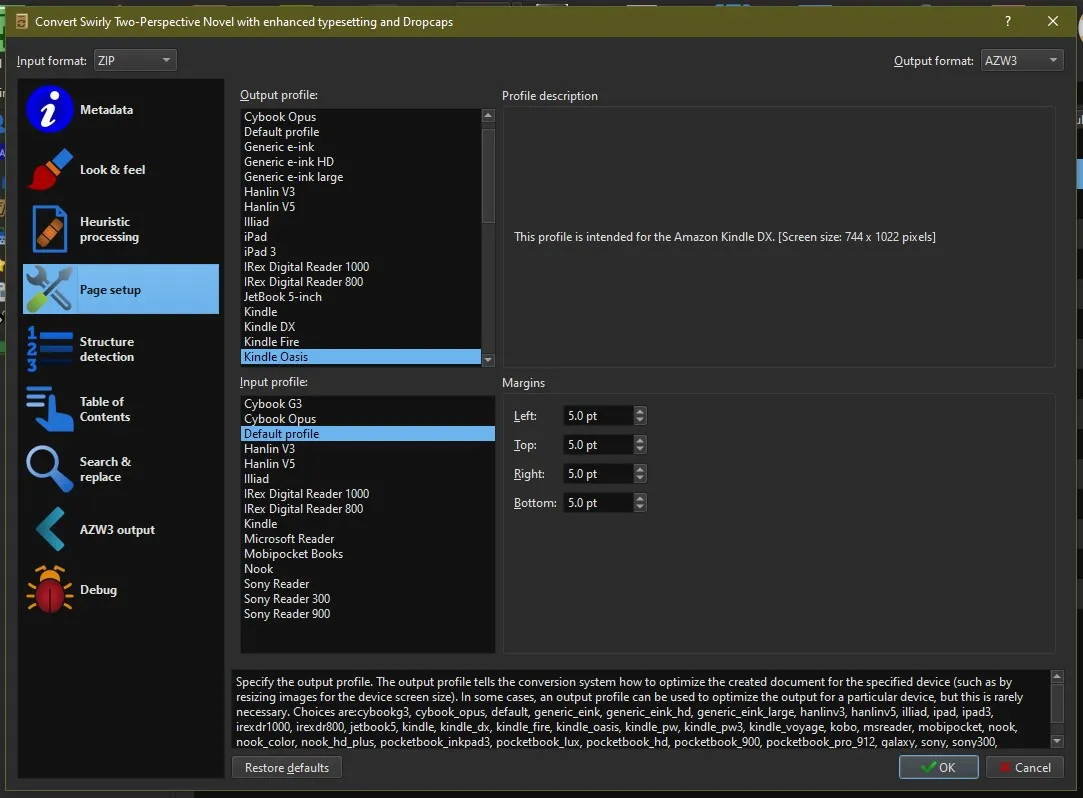
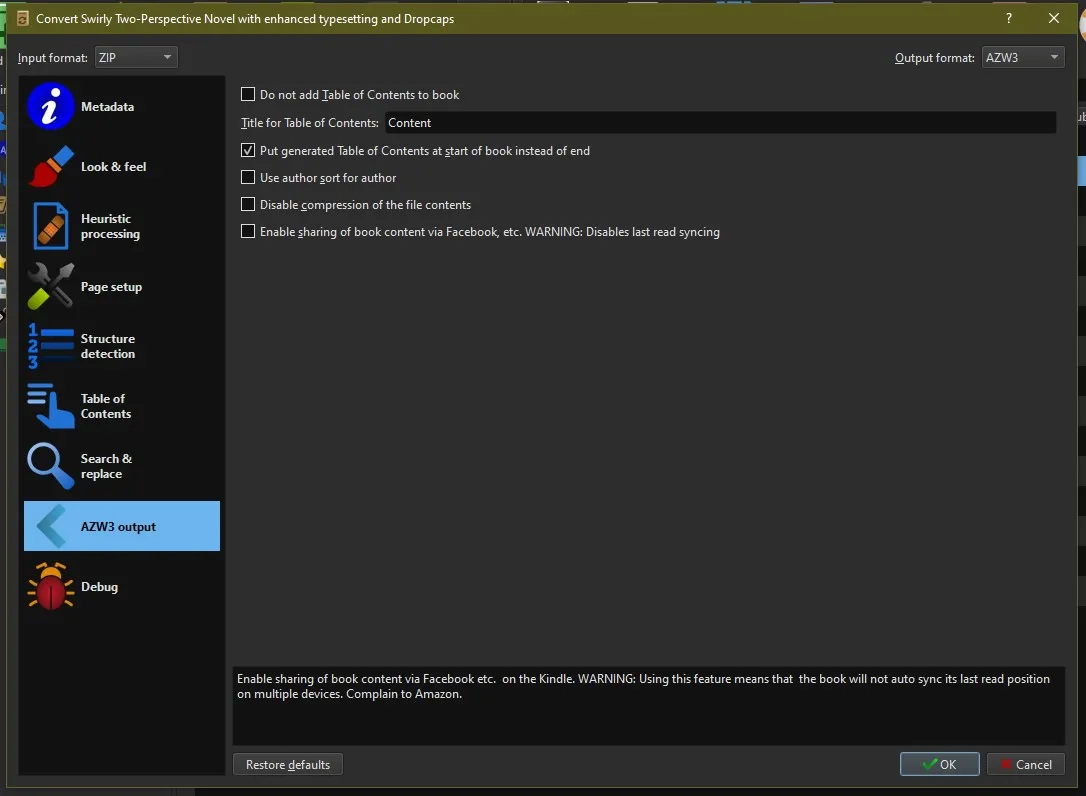
Step 2: Converting to .azw3Now if your Word was properly formatted, this is a very simple step. You’ll just have to adjust a few settings. These are my default settings for AZW3 Conversions, you can set those in the preferences Calibre Behaviour, you’ll also be able to set the default export format there. I recommend adjusting these in the common options to save you time.
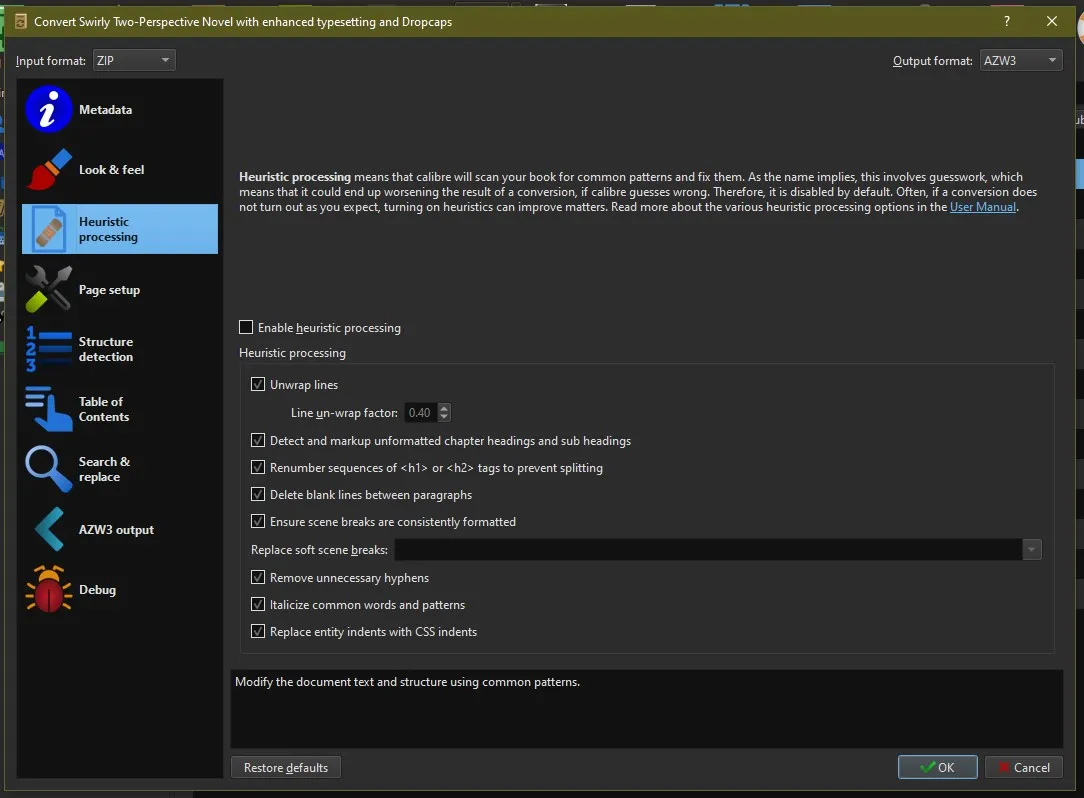
Start the conversion, if you forgot metadata, you’ll be able to adjust them here too. I disable font size rescaling and since we have a clean HTML code, we don’t have to do heuristic processing (highly recommended though if you are converting a Word Doc saved directly to HTML)
In the Page Setup, obviously choose your own model.
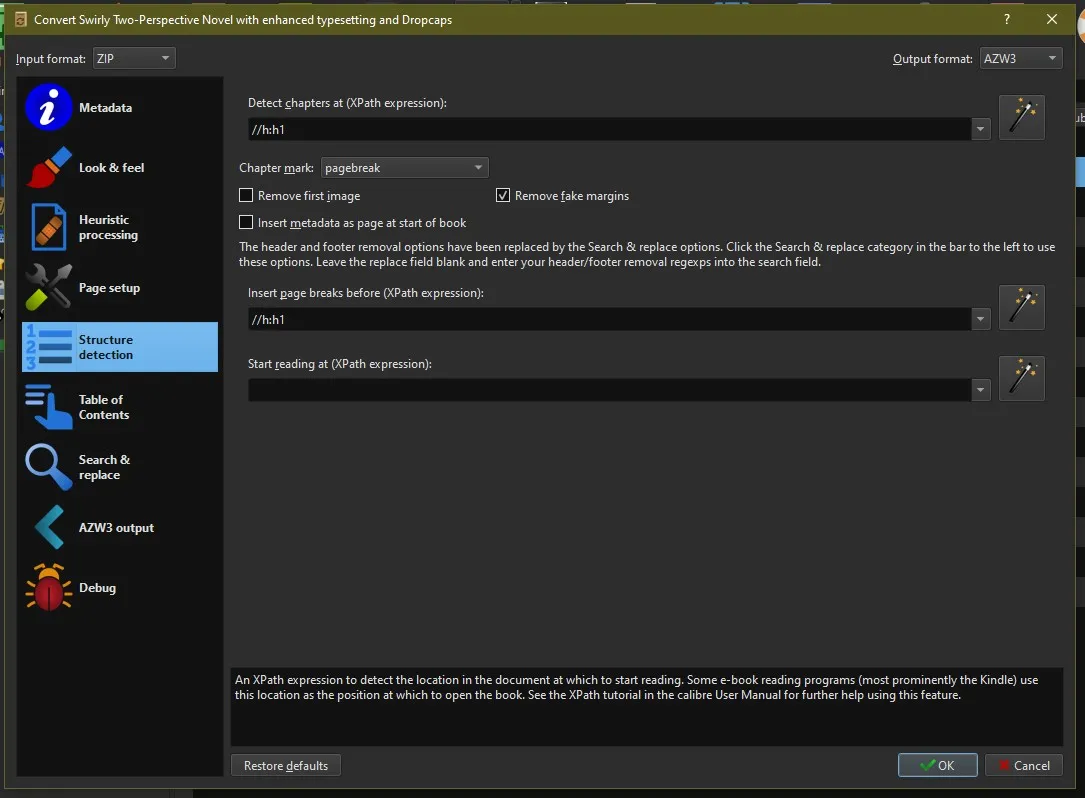
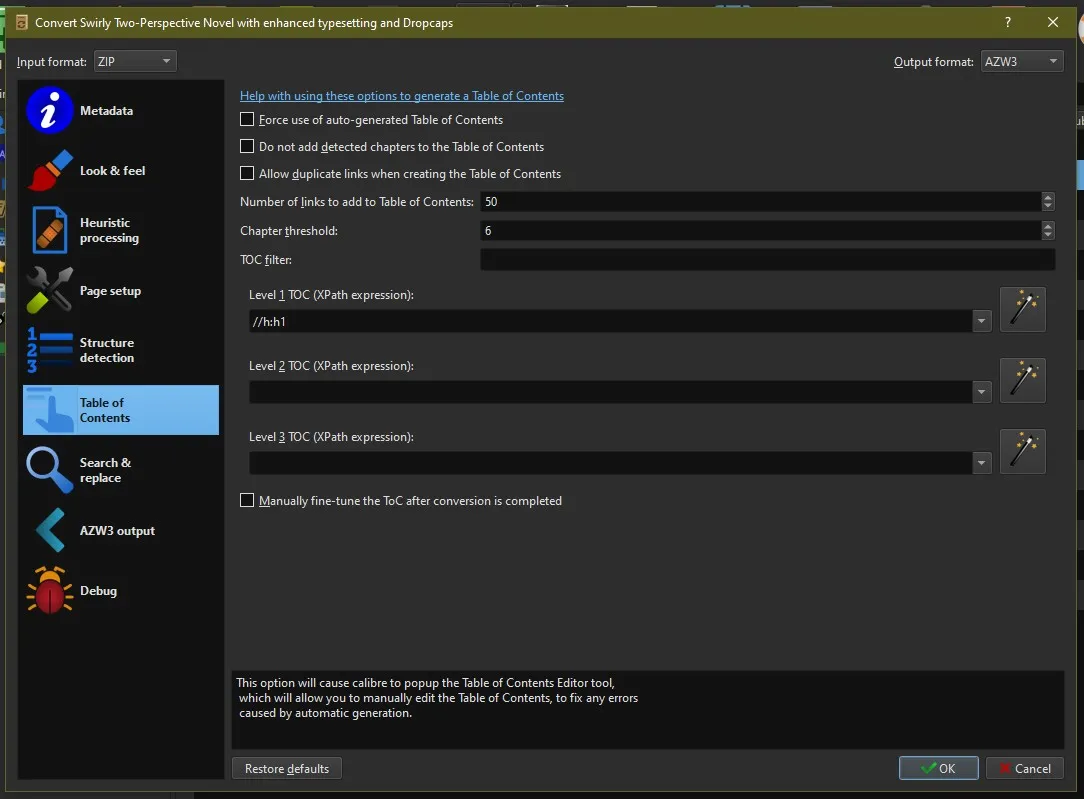
In Structure and TOC you’ll be using expressions to find the H1 Tag, which is super simple. //h:h1
I also like to have a table of contents at the start, so I add that, you don’t have to add if you don’t want to.
Once you’re done hit okay and you’re done.
Step 2b: Messy Word Processing
Step 2b: Messy Word ProcessingIf you did not take my advice and are dealing with messy code, with an endless amount of chapters, but they all follow a simple logic, you can still generate a Table of Content and apply chapter breaks. If unlike my sample CSS they also all at least look identical, your CSS will be quick to style. In my example, I have a few different ones, so this will still be a bit of work.
First in your conversion, instead of the //h:h1 you’ll replace them all with a different expression. In my sample, they all ended up being in <p> tags, and since it was german, they use the German “Kapitel” (meaning “Chapter”) as a content string. Since it is fiction, it’s also possible that “Prolog” and “Epilog” are present, so I wanted to include that in the string too.
This will find all p tags that have a content of “Kapitel, Prolog or Epilog”. So I’ll put these in structure detection and Table of Contents wherever in the above pictures you see the h1 expression.
//h:p[re:test(., 'Kapitel|Prolog|Epilog', 'i')]This then properly generates a TOC and sets page breaks accordingly.
But if we look through the book we see all of the ugly chapter headers.
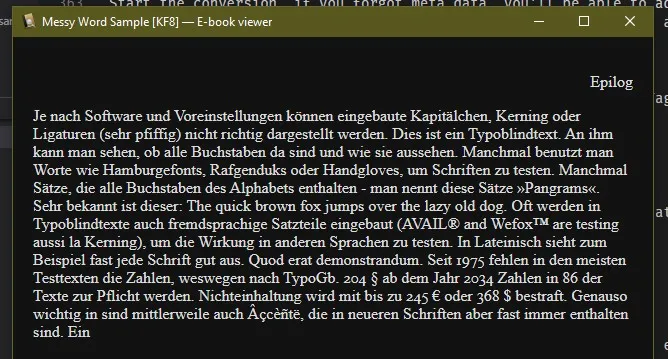
Step 2c: Messy Word After Conversion CSS (advanced, don’t do this if you don’t know code, just live with the mess or make a formatted word)
Step 2c: Messy Word After Conversion CSS (advanced, don’t do this if you don’t know code, just live with the mess or make a formatted word)If you are bothered (you might not have that many different ones) there’s a way to fix this.
You can actually edit the code of your book.
By right-clicking you can edit the book and you’ll see the editor with all the processed files.
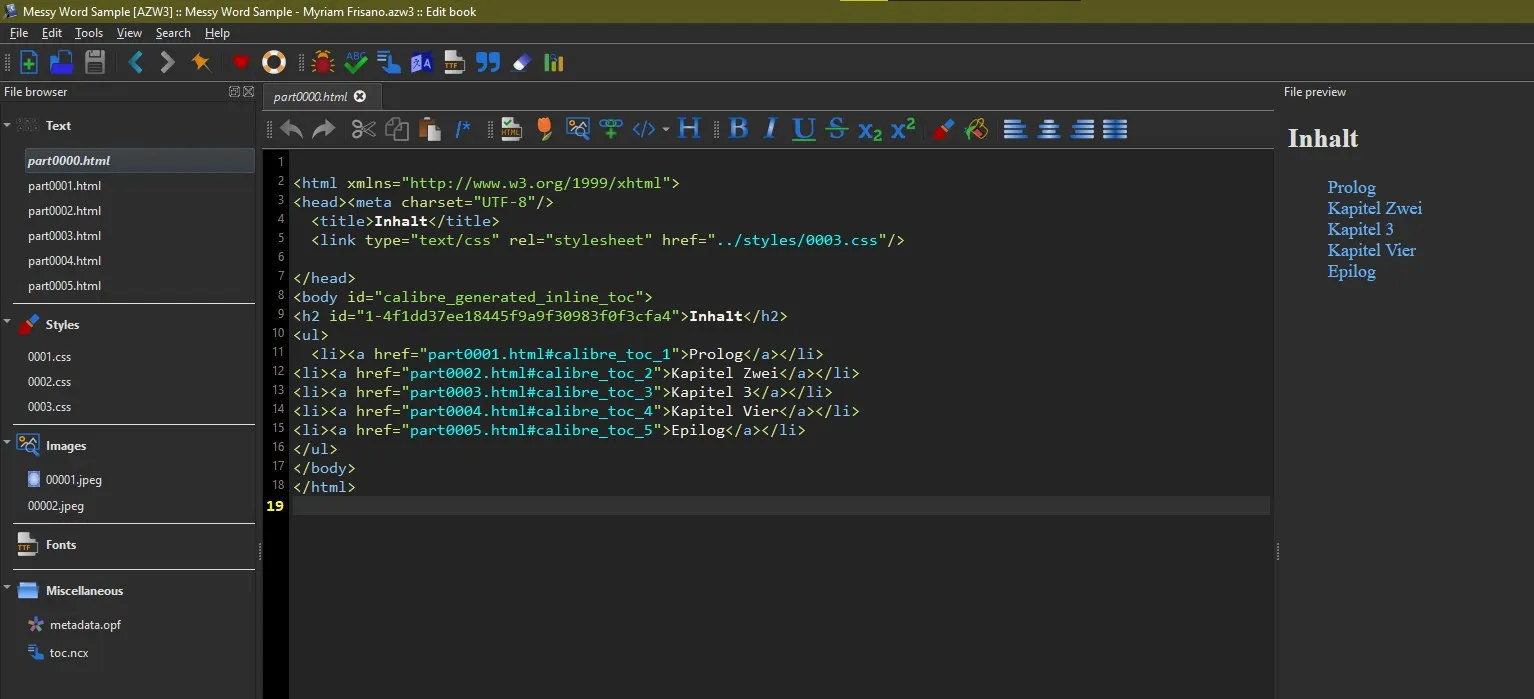
By clicking on the different HTML files, you’ll see the titles will have different classes applied to them.
Now in the case of our bold text, I’d recommend removing the strong tag wrapping around the element, unless it is done all throughout the book but in my sample it only happened once so I’ll remove that. (it is also the only place the class .calibre5 is used, we’ll delete that from the css too then)
While looking through I saw that all paragraphs are using the class .calibre4 and the titles had the classes .calibre3, .calibre6, .calibre7
So what I’d do to make them all look the same is open the css with all the styling rules and just combine all of these classes.
This is a messy job but I assume this is just to not trigger a nerve and the quickest way is combine css instead of adjusting all the HTML. So I’d delete css for calibre3, calibre5, calibre6, calibre7, and then write a combined selector for 3, 6, 7 with the same stylign I apply to my h1.
Amazon does not like combined selectors so in case you were trying to publish something like this I’m certain this file would fail. But it will work on your personal kindle.
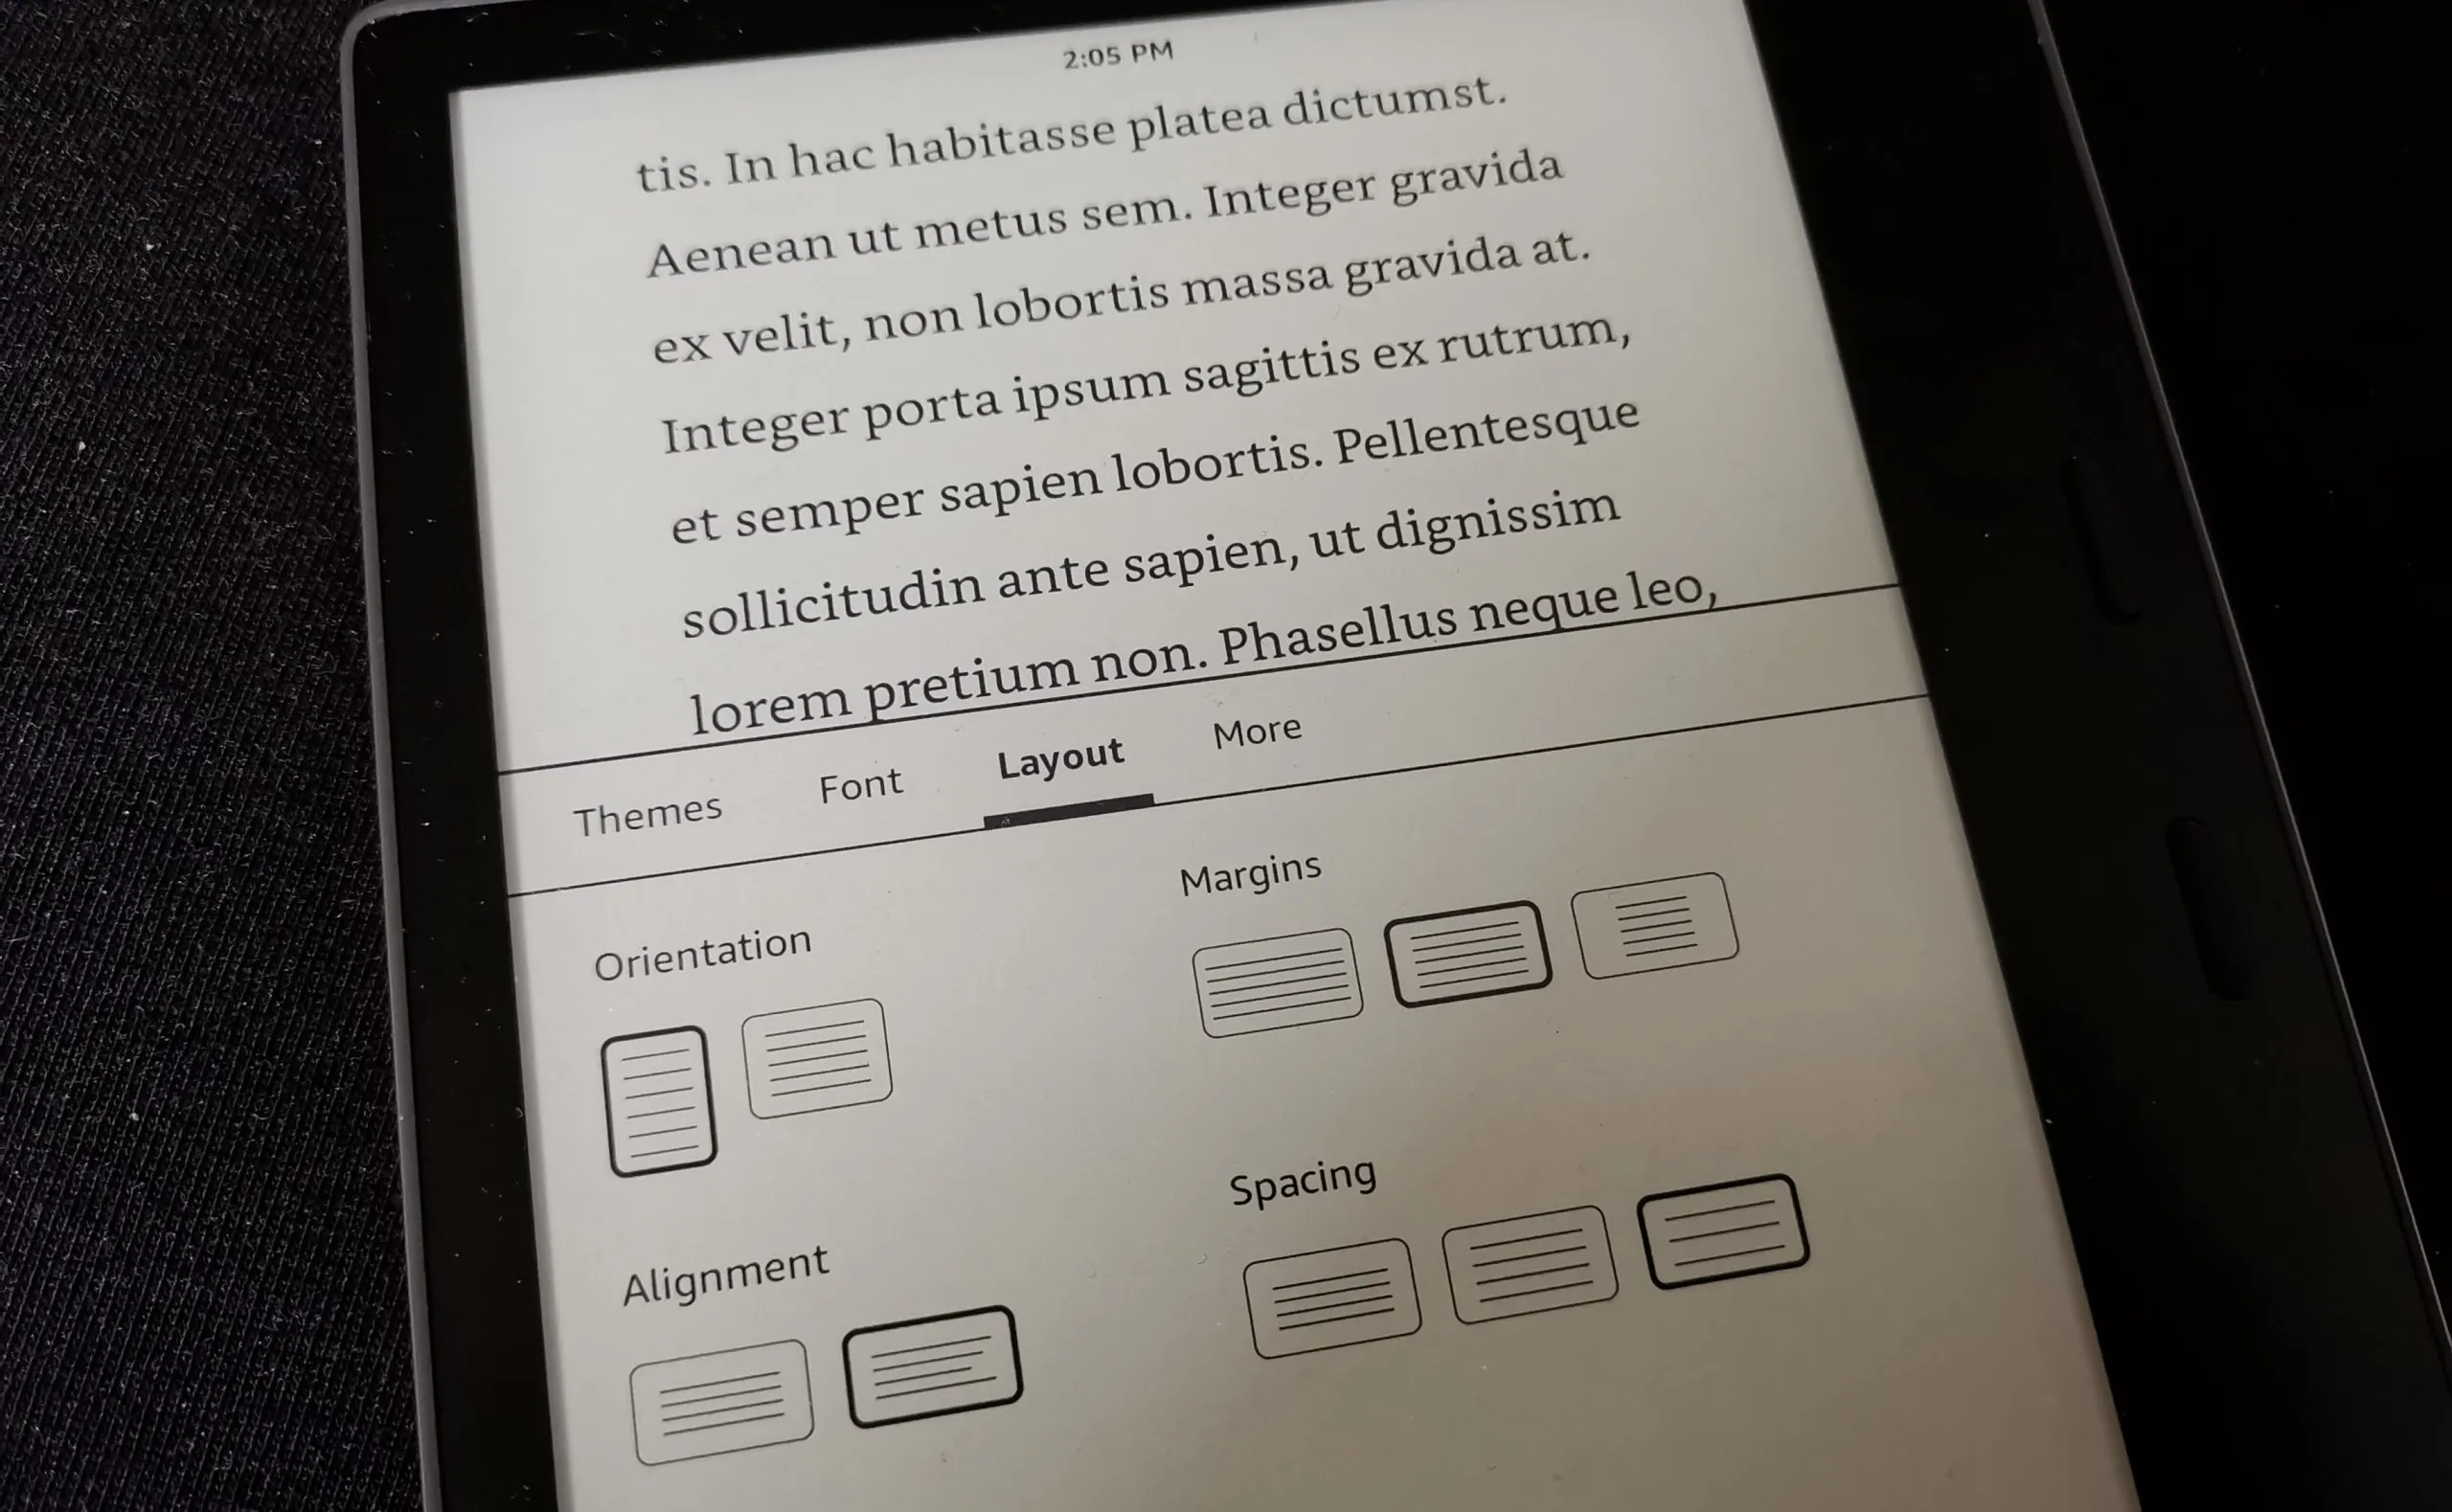
Step 3: Testing eBook
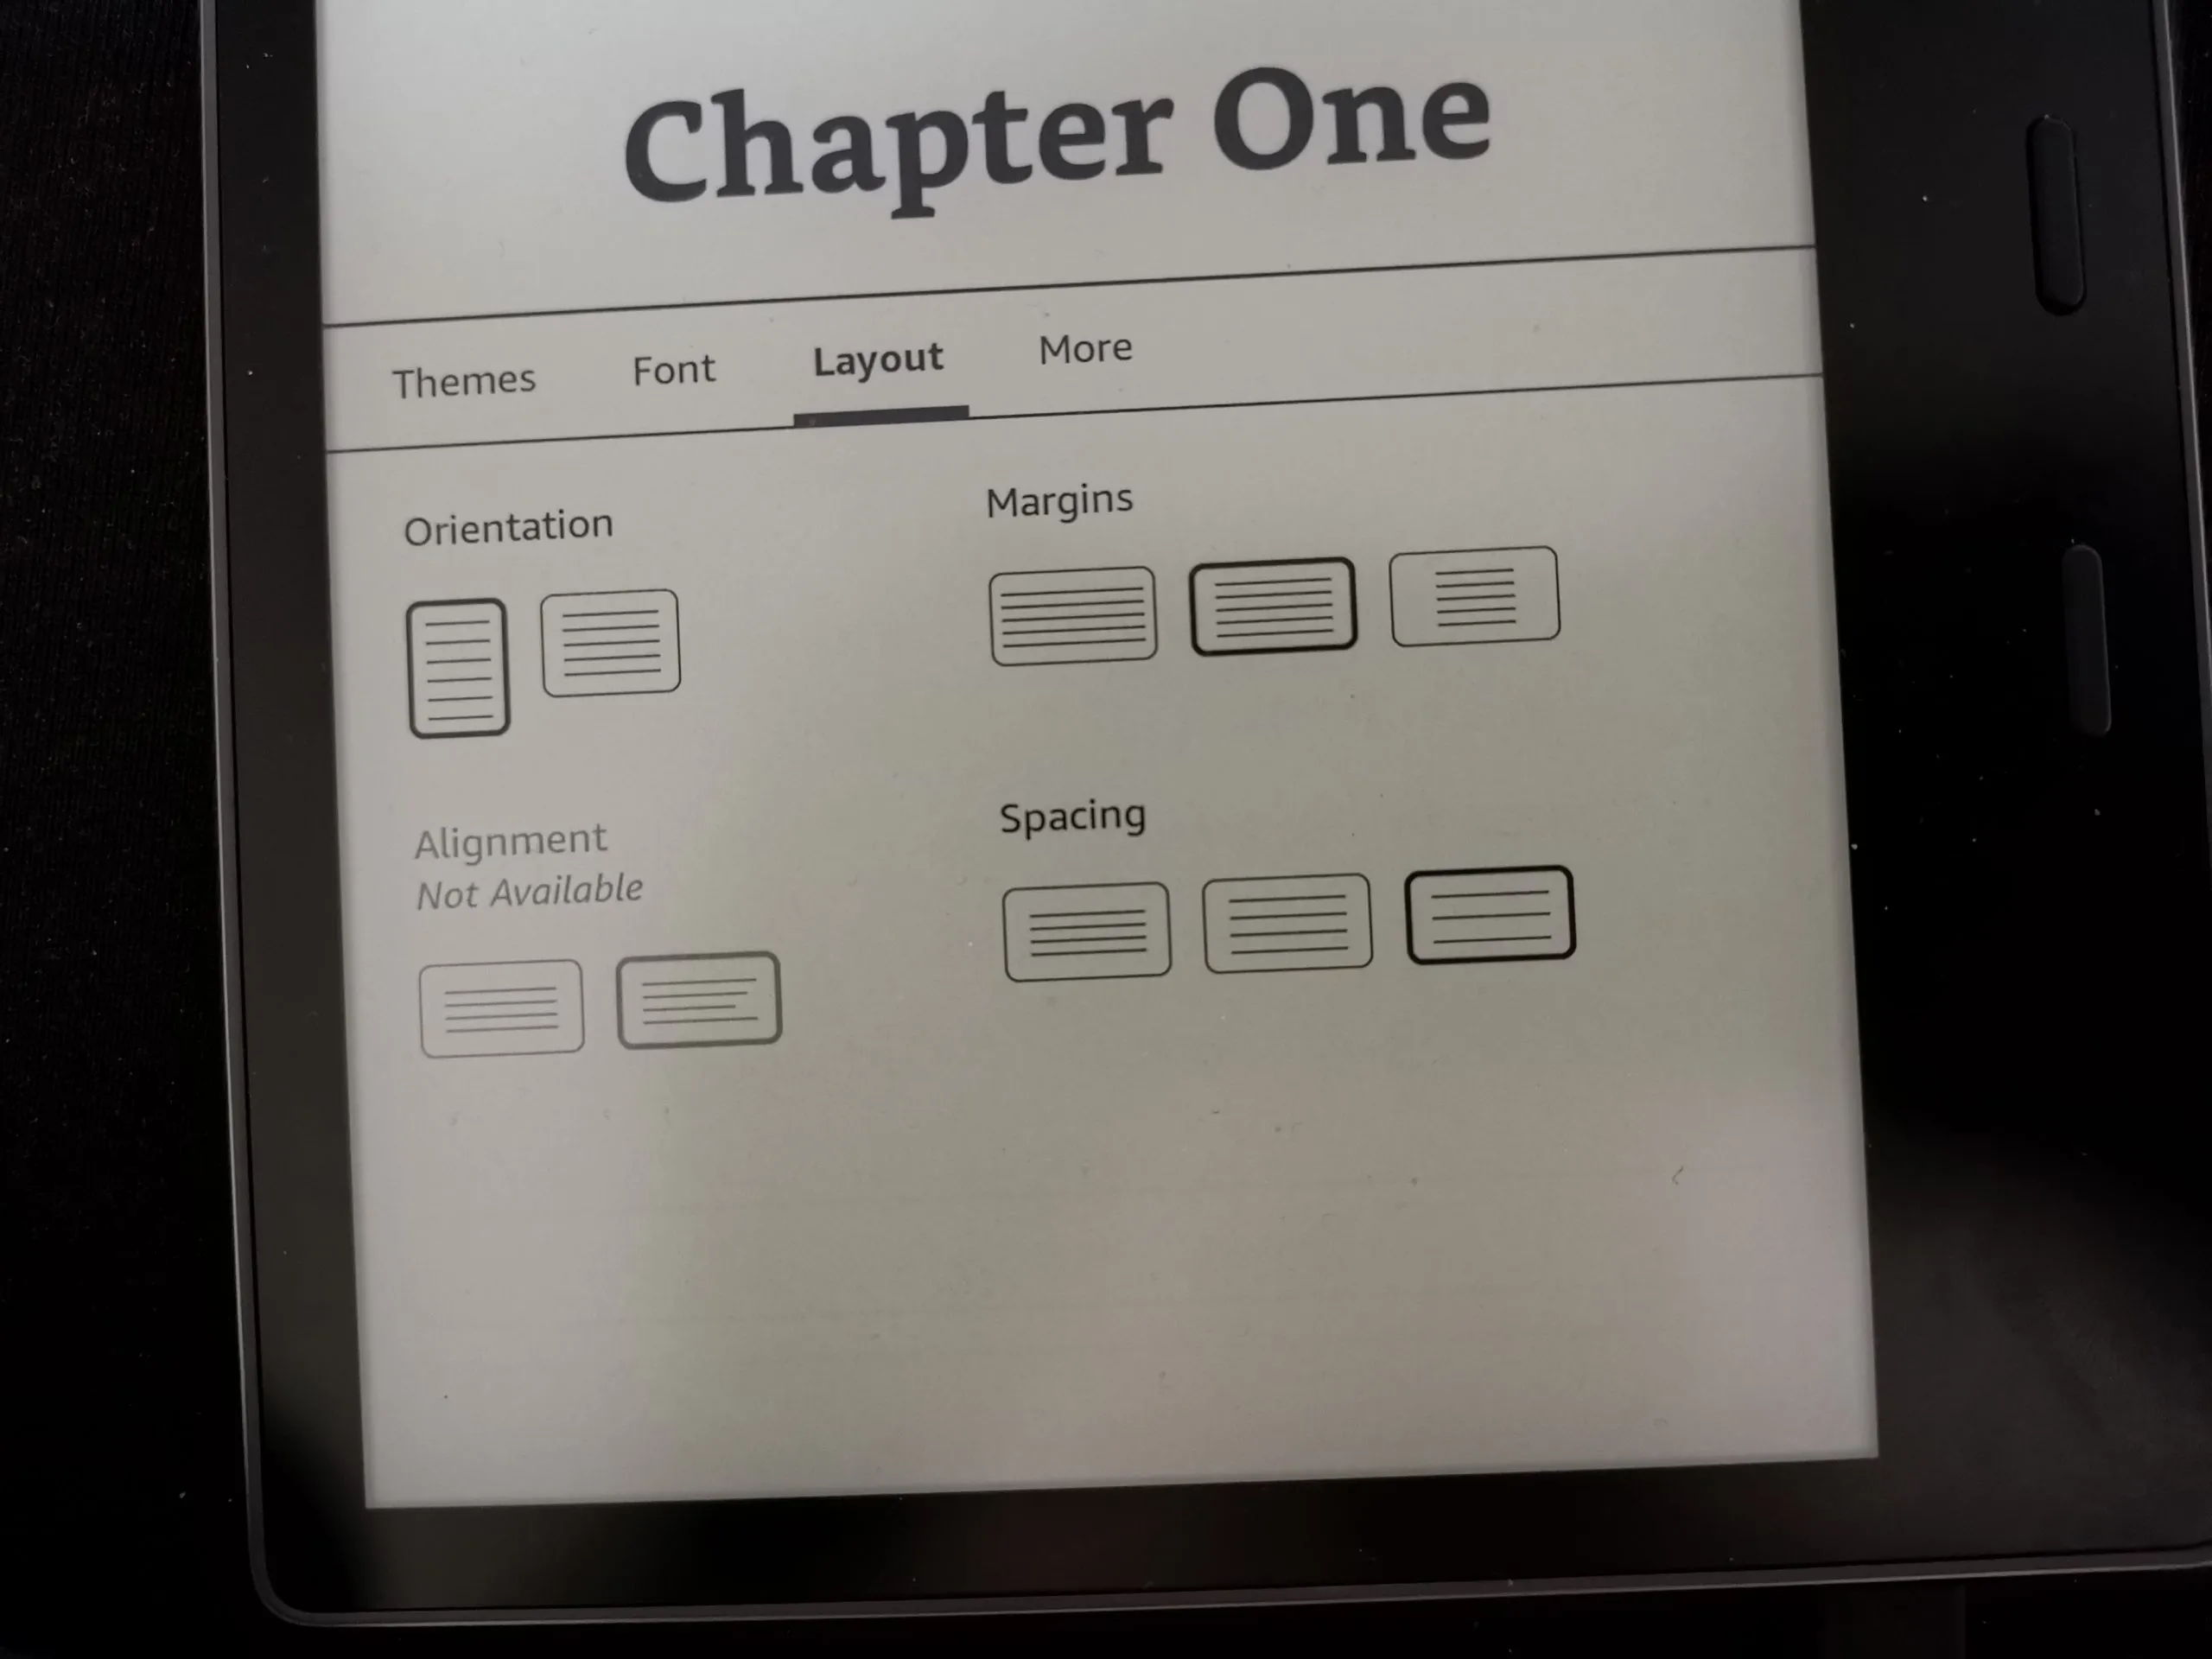
Step 3: Testing eBookBefore working on enhanced settings, send the file to your kindle. Connect to USB and send over. Look at them to make sure everything looks how you want it to. You should have properly looking tiltes, the Go to Option should work, a table of contents with functional links and actual page numbers.
Hyphenations will not be working and also if you have embedded fonts, they won’t be working yet and the alignment option will not be available.
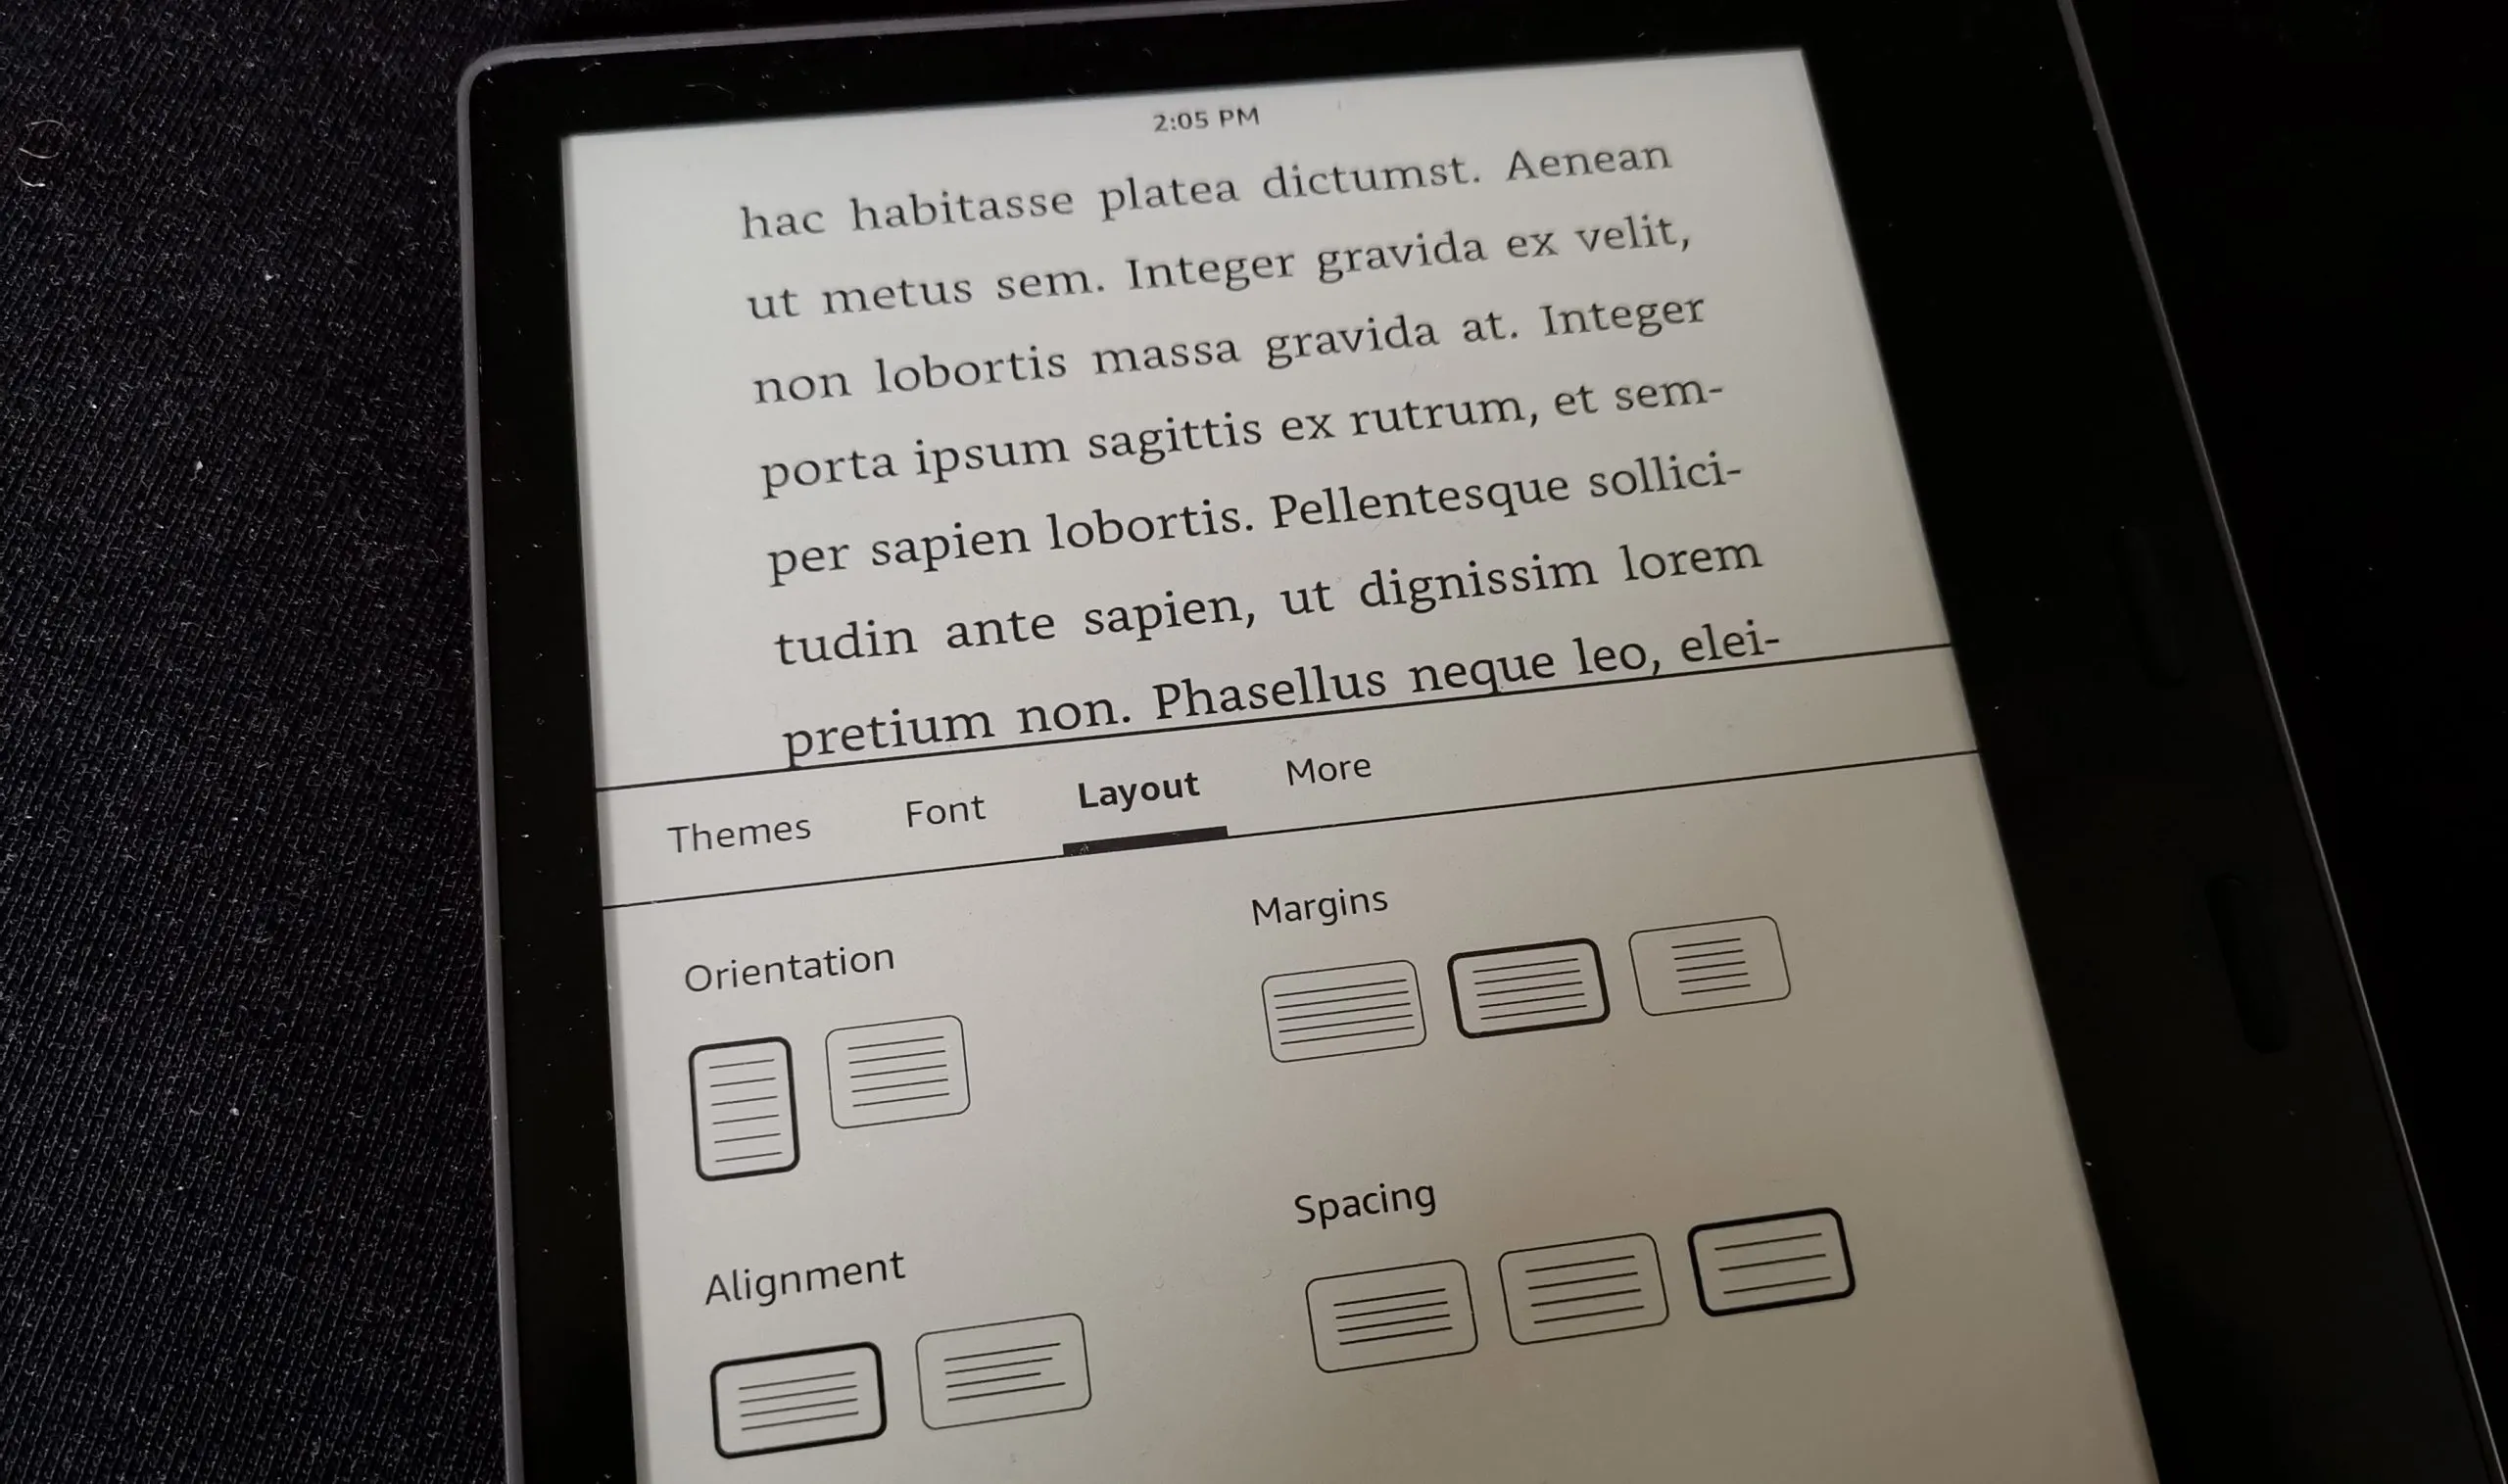
Step 4: Enhanced Typesetting Second Conversion
Step 4: Enhanced Typesetting Second ConversionOnce your ebook works almost as you want it, it’s time to make it a proper .kfx file. Install the KFX Output Plugin and then you’ll want to use the .azw3 file as input and run the conversion.
Keep all the settings and just change the KFX output format.
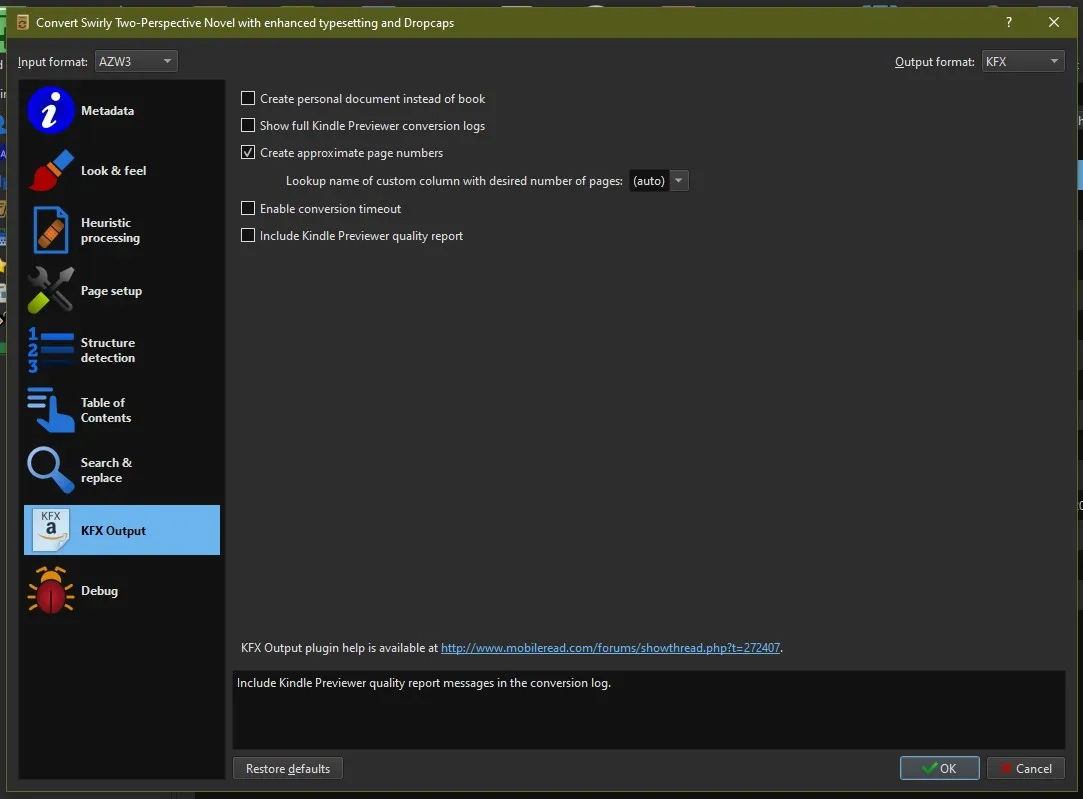
Once the conversion is done, send via specific format and then choose the KFX file to send it to your kindle and enjoy fun good looking ebook with all the features.