Calligrpahy requires a lot more tools than most other writing instruments and not a day goes by that I don’t get at least one message of people asking what tools they need to get their own calligraphy adventure started. I am writing the calligraphy 101 series, which should give you a general idea on the tools needed, but for some people that is not enough. Some people want to know exactly what products they should get. If you are one of those people – this post is for you.
The Script
The ScriptBefore anything else, the first thing you should know is what script you want to learn. Do you want to go and learn traditional Calligraphy, or modern or actually more gothic. Depending on the type of writing you want to do, the nib will change. Gothic and monoline styles will not work with the nibs I recommend in this post. I focus on pointed nibs, so this is good for scripts with contrasting lines in terms of weight. Decide on the type of script you want to write, like Copperplate, Modern Calligraphy, Spencerian etc. and then get yourself a reference. Choose an Exemplar of letters you like, best if you also get instructions on how to write the lines, so you have a starting point and something to practice with.
The Tools
The ToolsLet’s talk about the actual tools.
- Paper & Guidesheets
- Ink
- Holder
- Nibs
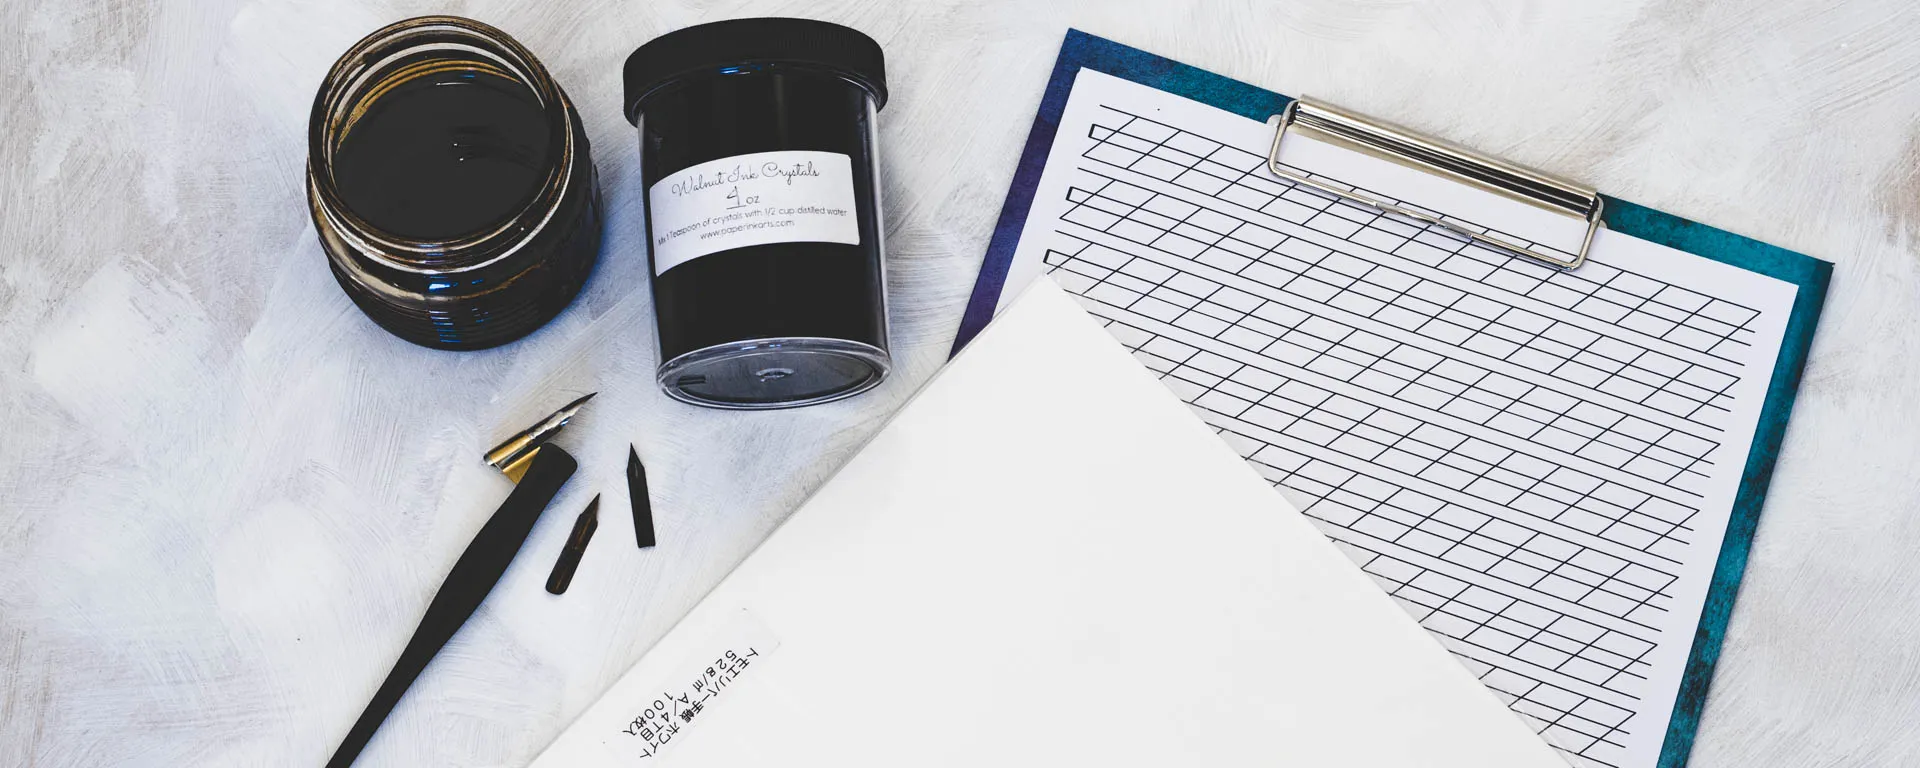
Paper & Guidesheets
Paper & Guidesheets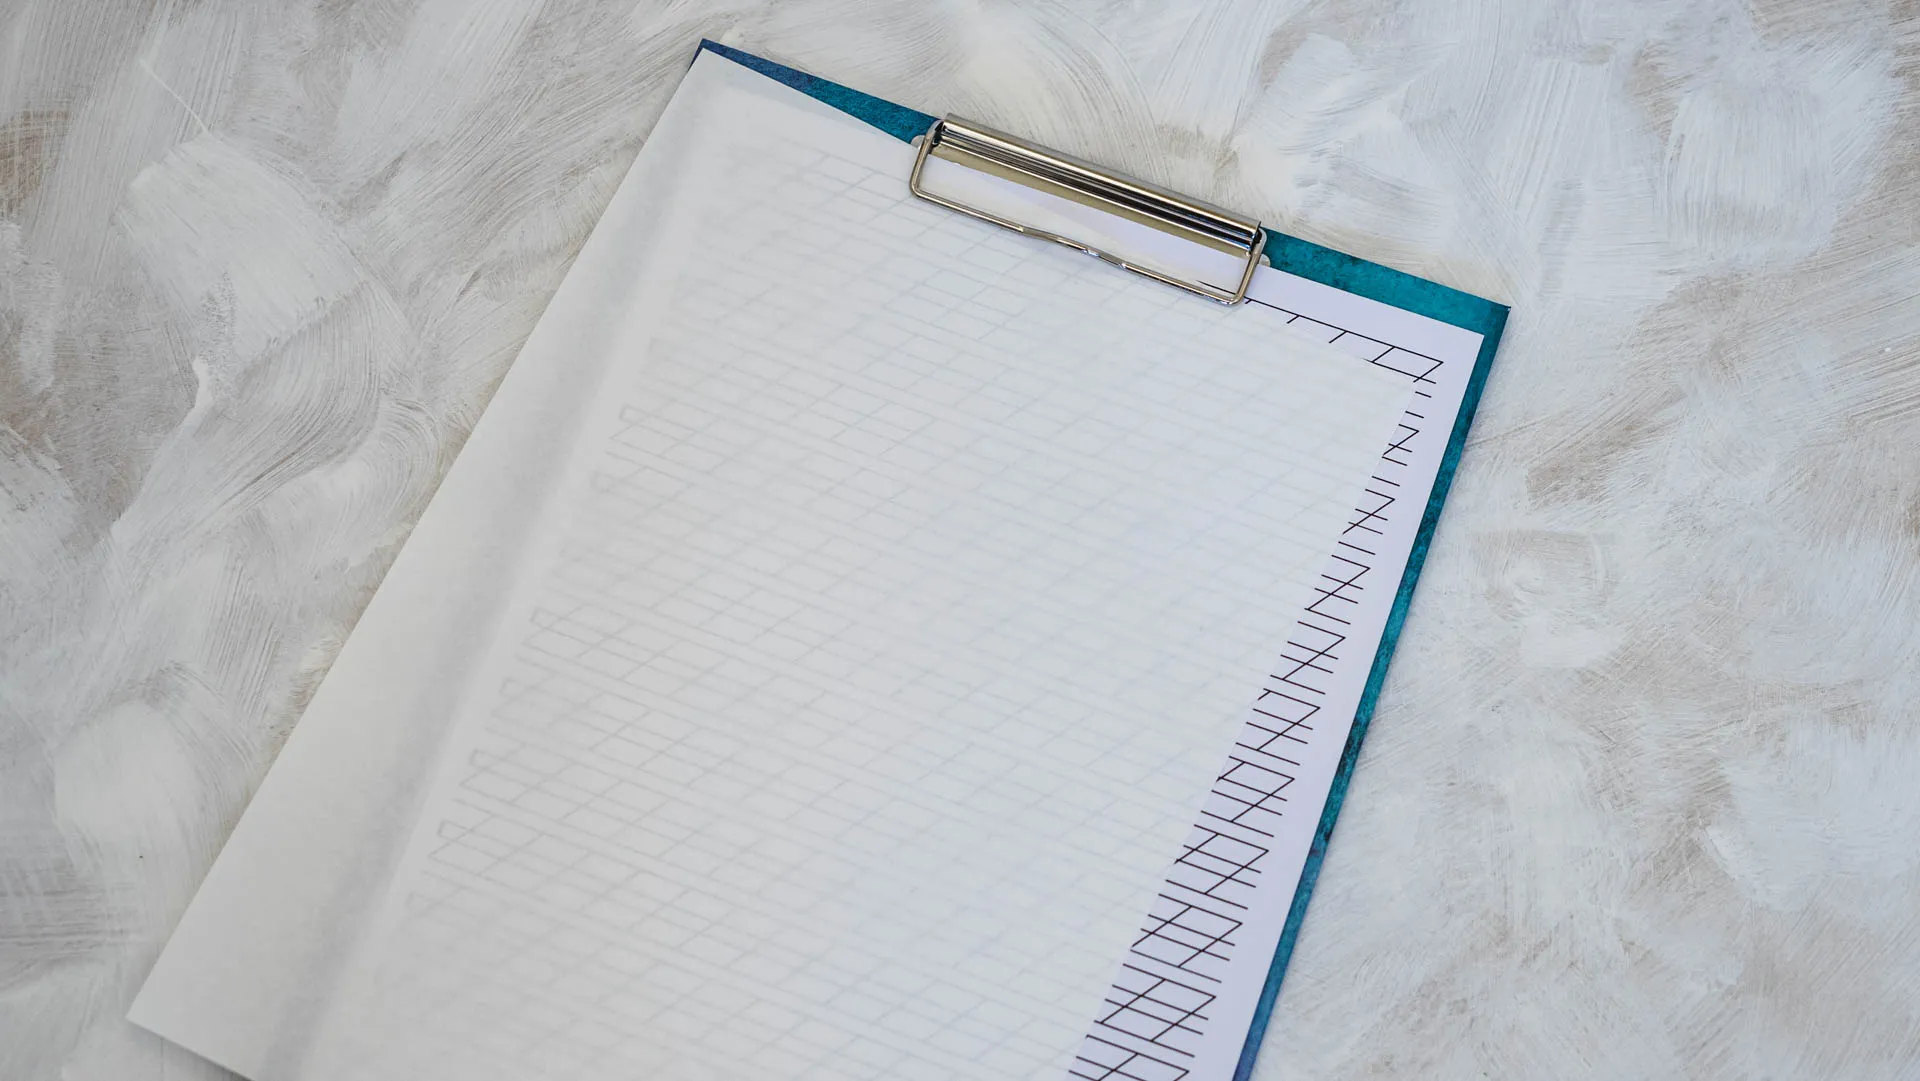
I’m grouping these together for the simple matter that some styles will not require specific guidelines, but chances are that you will need some type of guides. I highly recommend investing in a printer, if you don’t own one. Once you have a printer, you will then be able to print whatever guidesheets you need, instead of having to draw them every single time with a ruler. I offer a bunch of free guidesheets in my freebies section, and have a tutorial on my blog on how to create guidelines in Illustrator.
Paper. I have talked about different types of paper in other posts, so I’m really just giving you my number one recommendation for paper which is Tomoe River. It is a bit cheaper than Rhodia and comes in A4 size, which is the standard paper size in pretty much the whole world. Rhodia comes in a pad, but the page you rip off is no longer an A4, so the pages are smaller than the Tomoe. Tomoe is suuuper thin, but extremely smooth, it prints great and is just a dream to work with. It takes almost any ink without bleeding, I absolutely adore it.
Ink
Ink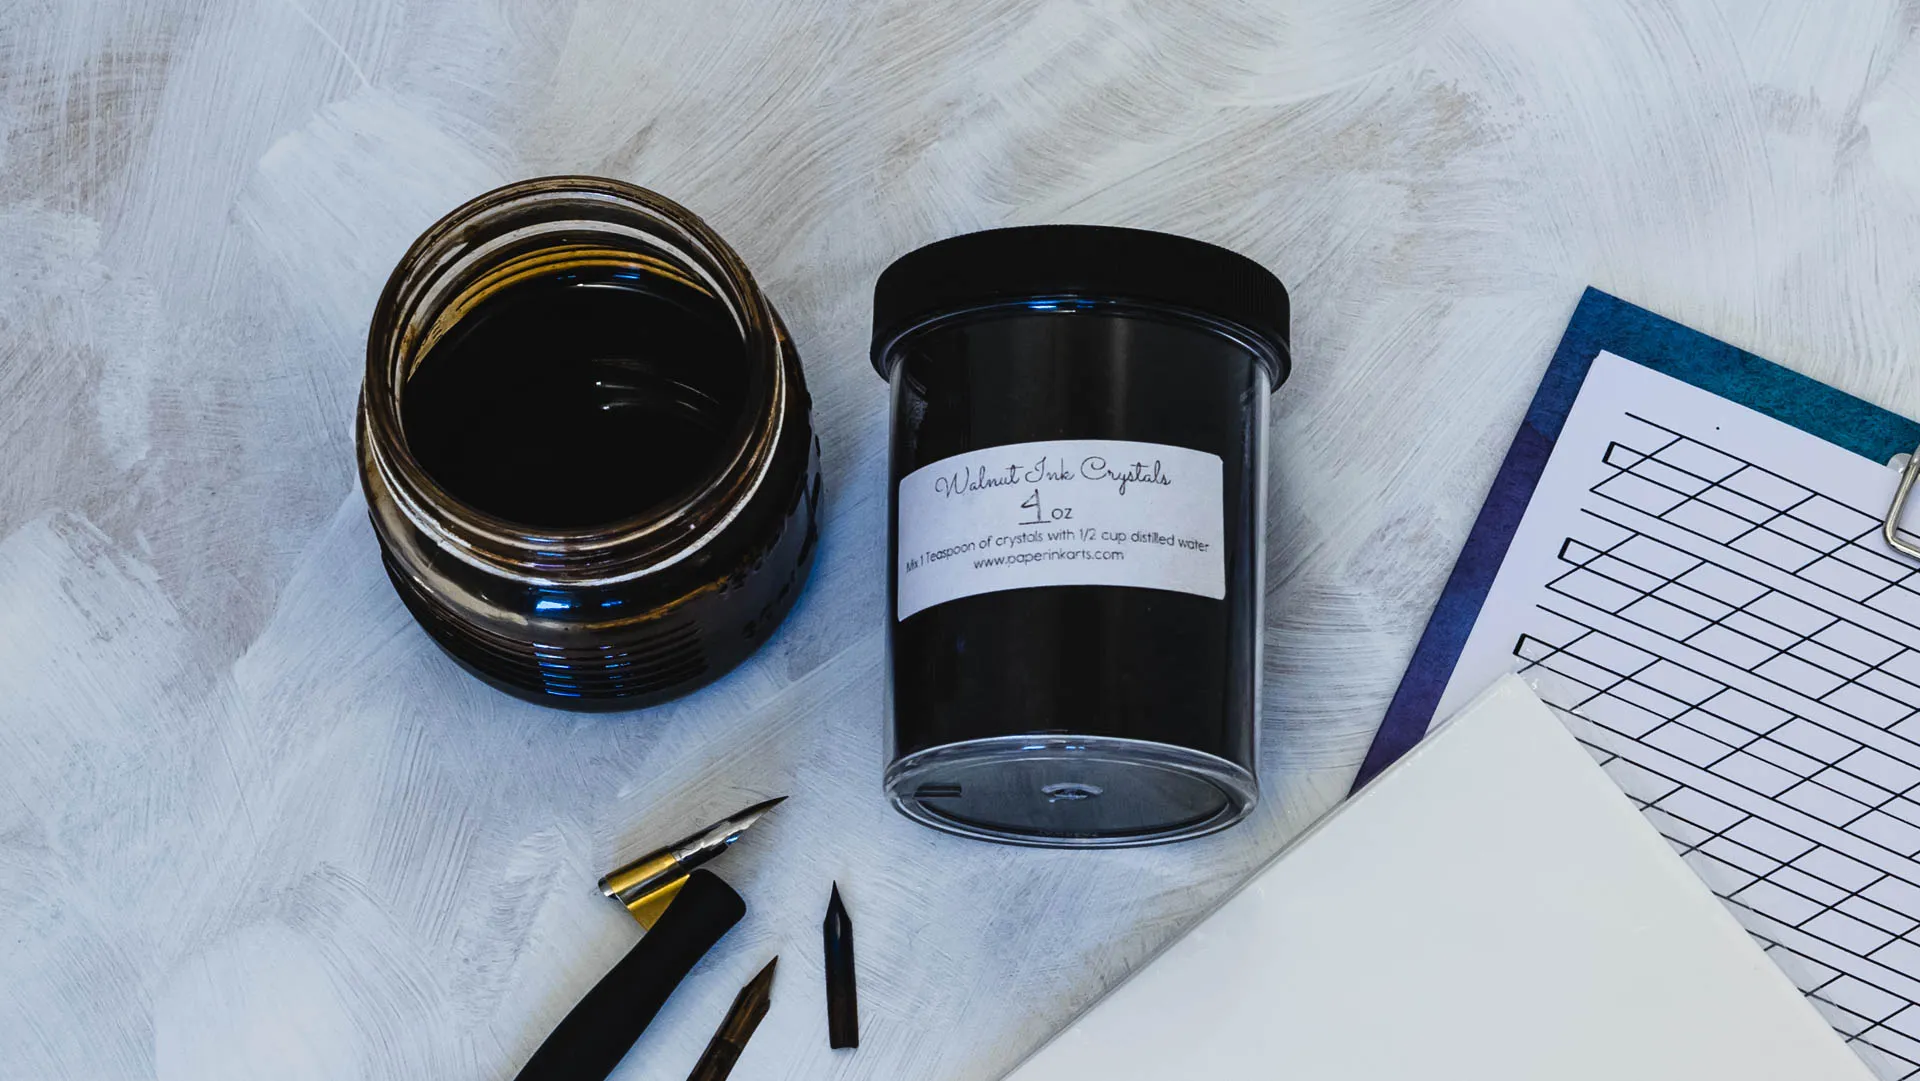
Holder
Holder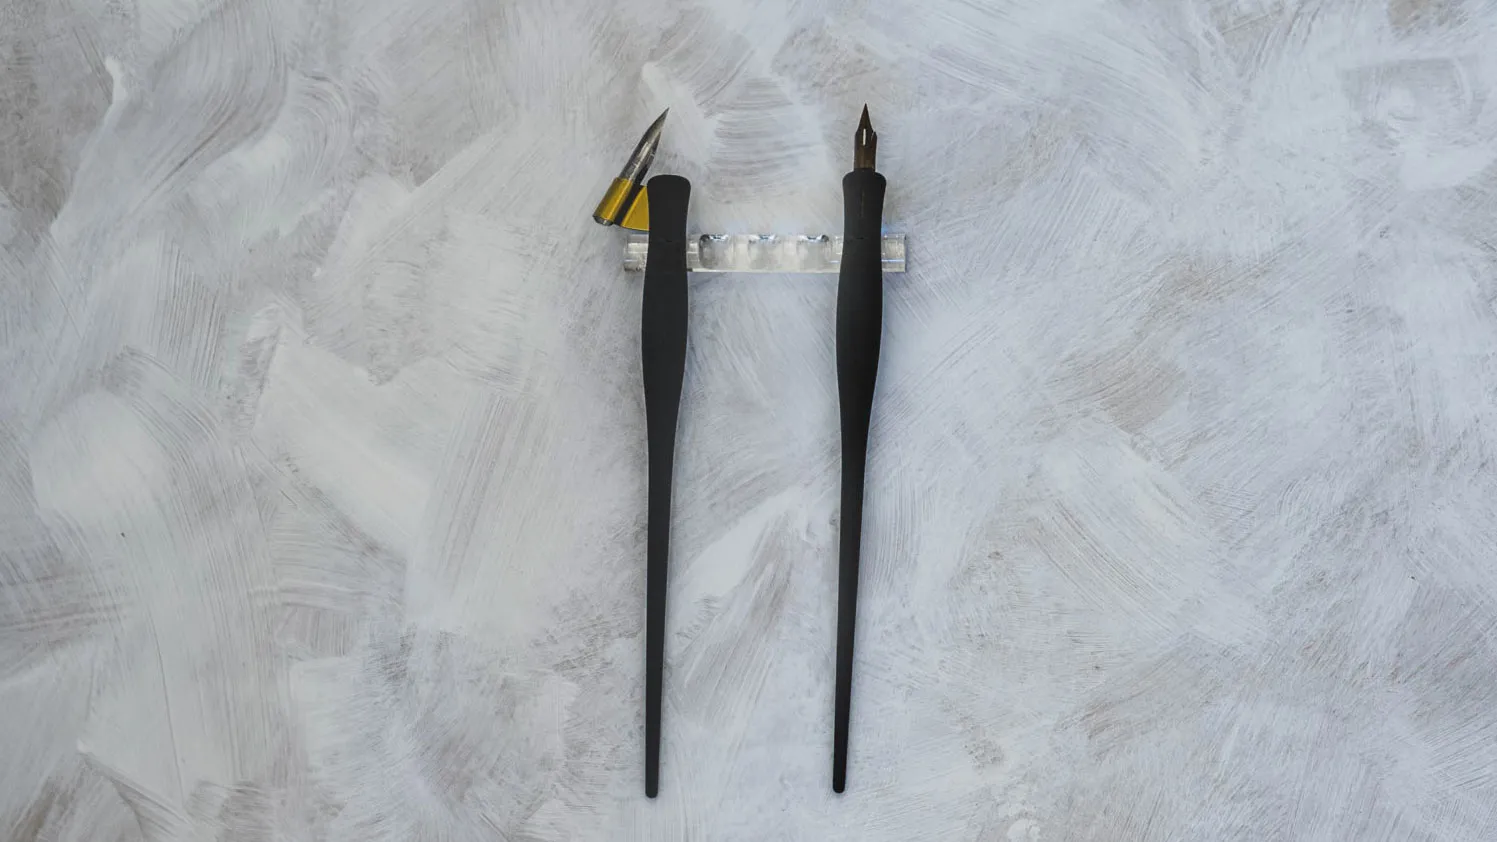
Nibs
Nibs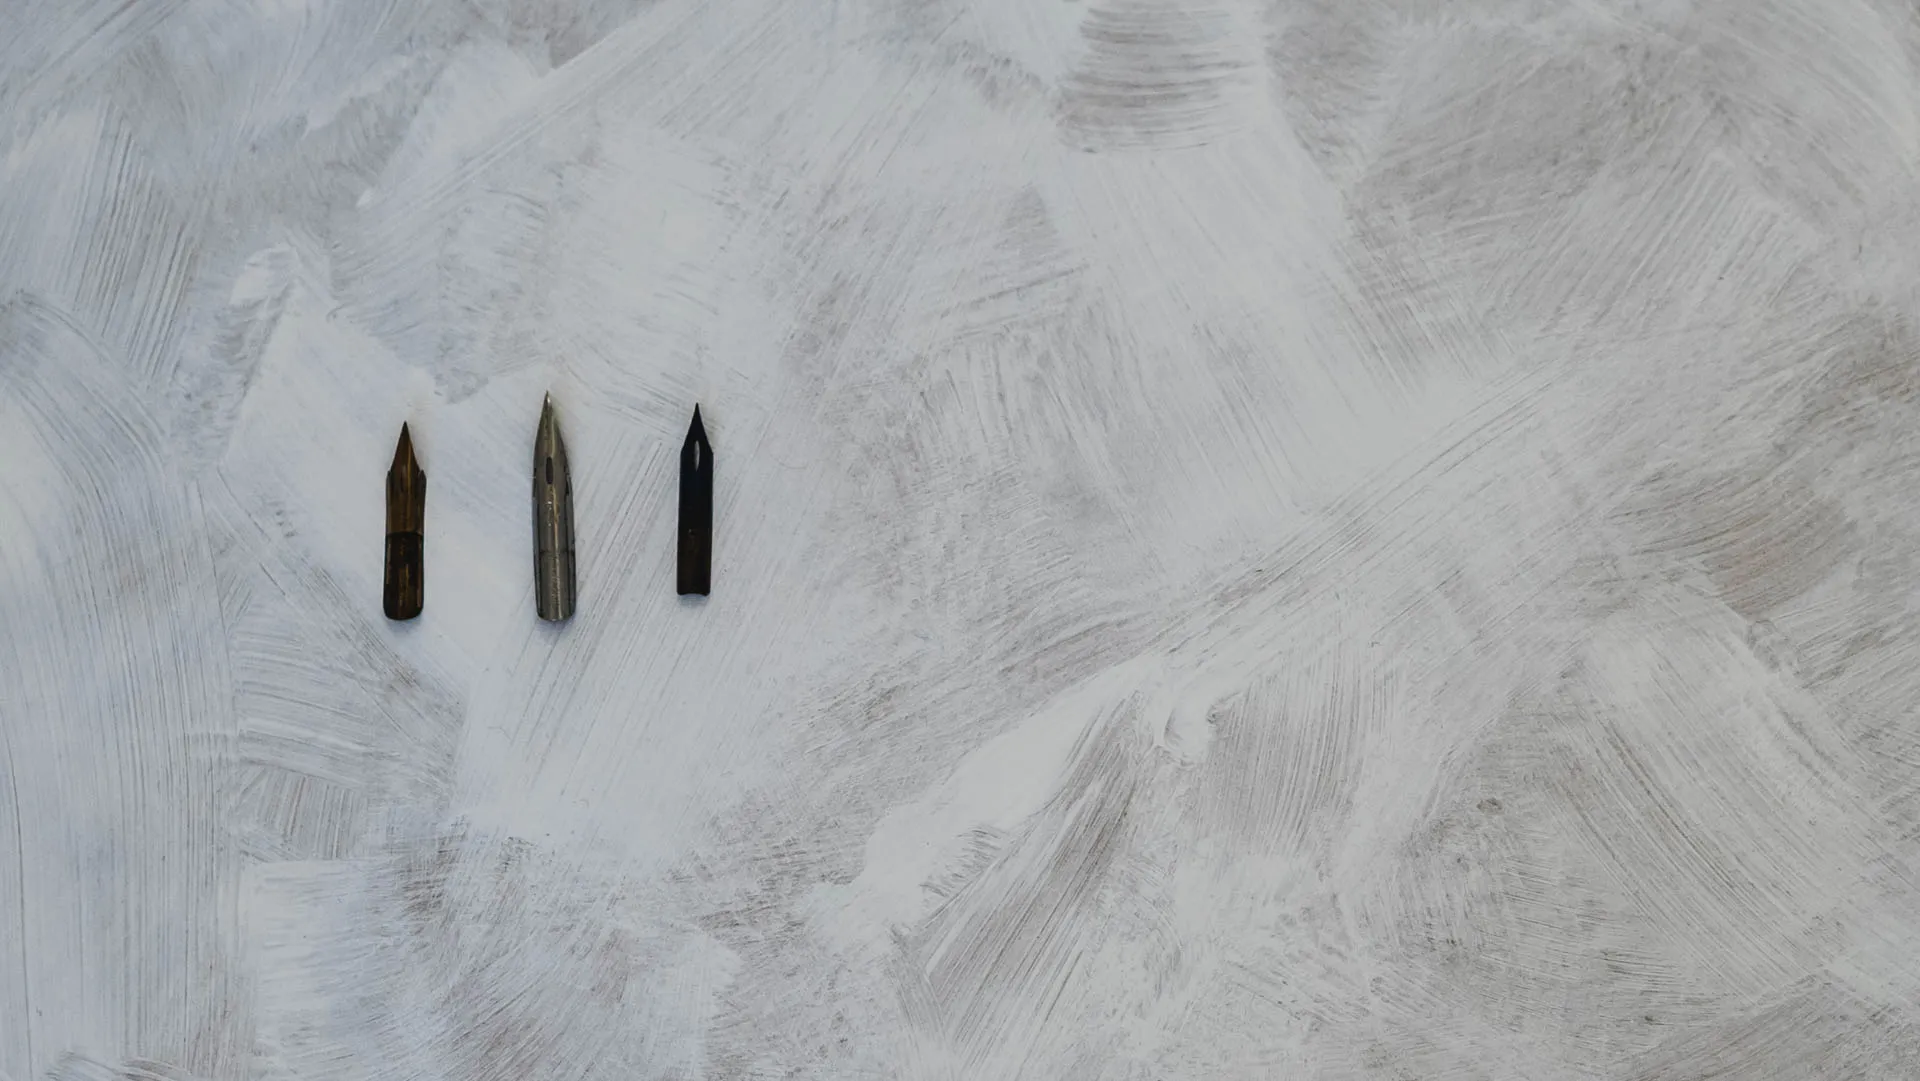
I recommend getting 3 different nibs. And getting at least 3 pieces each. The reason is simple, sometimes you are unlucky and your tines are misaligned, so maybe one is broken. Then you get one to try and if you really like it, you have a backup once the first one is worn out.
So what are the different nibs I recommend and why.
- The one everyone can use.
- The one to learn calligraphy
- The one to challenge you
Tachikawa G
Tachikawa GThis is a rigid nib and one a lot of people recommend to beginners. G nibs can be used by everyone, especially beginners. The problem is, a G nib will not necessarily teach you pressure control, because you basically have to smash down the tines before G nibs spread. But it is a great nib to work on textured paper or on days when you’re having a bad pressure day.
Hunt 22b
Hunt 22bThis is one of my personal favorite nibs because it is incredibly reliable. It gives beautiful hairlines and is more flexible than a G nib, but not so flexible that you get frustrated at first. This nib really teaches you to learn pressure control, and is a pure joy to work with. It’s snappy it’s fantastic.
Hunt 101, Leonardt Principal, Gillott 303
Hunt 101, Leonardt Principal, Gillott 303Okay, this might be a little weird, since all of those 3 are known as “advanced” nibs. So why do I recommend them to a beginner? Because I want you to know where you are going. Each of those nibs has a general challenge and you’ll only be able to properly use it, once you mastered the challenge. As soon as you do, you will absolutely love each of those nibs, but it’s a way to get there. I personally want to know my limits and test them. So the longer you practice, the closer you get to those nibs. And I would just go and use it from time to time to see your improvement.
The challenge with the 101 is how flexible it is. It is extremely soft and will require you to be pretty delicate with it. Out of the bunch it is the easiest to use, because the hairlines are easiest to control.
The principal can flex a lot but it is not as soft as the 101 and 303. But it requires you to be super delicate on the hairlines since the fibres of the paper catch on it very easily.
The 303 is the combination of the 101 and Principal. You need super light hand on hairlines and don’t apply too much pressure on it.
Price
PriceTomoe River comes in 25 or 100 sheets at a price between $7-15.
1 oz of Walnut Ink Crystals start at $2.50
The Deuce Holder costs $6.50
A nib is around $2 a piece.
This set will last you a very long time, for just a bit over 20 Dollars, I’d say that’s a pretty good deal
The Knowledge
The KnowledgeThis might be unexpected for some of you, but one of the main requirements that I think you need is knowledge. A lot of people see pointed pen on Instagram and then they might get the tools but struggle as soon as they have the necessary products at home because they didn’t really do any research on how to use the tools they bought. Before buying anything I usually google. Since I am a crazy researcher that isn’t surprising for anyone knowing me but it is not what most people do. To ensure you’re successful with your calligraphy you need to know at least these three things:
- How to insert the nib
- How to prep the nib
- How to hold the pen
How to insert the nib & How to hold the pen
How to insert the nib & How to hold the penI have a full blog post on holders that answers those two questions, give that a read. I also linked videos so you can actually see how to hold the pen in action. Pen Holders Blog Post
How to prep the nib
How to prep the nibIf you buy a nib and dip that in ink, the ink will not evenly cover the metal of the nib, but hang on there in drops. When you try to write the ink will either not flow at all, or it’ll all get dumped in one big blob onto the page, which results in a lot of frustration. There are several ways on how to fix that. One of the tips that seems to be pretty popular is actually sticking the nib in a potatoe. It sounds like a lot of fun and it will work with stiff nibs like G nibs, but if you try to do that with a delicate nib like the Gillott 303 you might actually misalign the tines while trying to get it ready. Misaligned tines ruin your pen, so that is counterproductive. So I always recommend staying away from a potatoe. Other people suggest running the nib through a flame. I’m not a fan of fire and if you hold your pen into the heat for too long, it might go out of temper, so you can basically mess up your nib before even using it too. So I would also not recommend that. Another trick that is actually the oldest trick and what has been done forever is using spit to prep the nib. Obviously don’t put the nib in your mouth unless you want to cut yourself. It works, I have tried it, but I just gross myself out by spitting onto a nib to prepare it…. My personal preference is rubbing alcohol. I have an old nail polish bottle filled with rubbing alcohol on my desk and whenever the ink pools on my nib, I will brush it with rubbing alcohol and give it a wipe down with a paper towel. Clean, fast, simple and non-gross.
Wrap Up
Wrap UpAnd that’s it. Simple, fast, specific starter Kit. I hope this is what you wanted when you asked for it. Let me know your thoughts in the comment section.