iPad Lettering has become quite popular since my last post about it. I’ve had my iPad Pro and Apple Pencil for exactly 3 month now. There have been some fantastic updates, a lot of new brush releases and quite a big improvement in my personal Lettering since then.
I’ve been getting quite a lot of questions about the iPad and how to go about digital handlettering, so I decided to write this post. I’m gonna give you a quick overview on how to go about starting this whole thing.
So you want to do digital Lettering?
You’ve probably seen all of the awesome #ipadlettering posts on Instagram and decided you wanted to give this digital form of lettering a try. But what tools do you need? What Apps are required?
Hardware
Digital Lettering can be done on a variety of devices. And even though I am far from being an Apple Fangirl (I own a PC and Android phone by choice) I am recommending an actual iPad Pro, because most mobile Apps which are used in the digital lettering community are just available for iOS.
In Case any of you know of good Apps and Tools to do the same thing on a Android or Windows Tablet – please let me know!
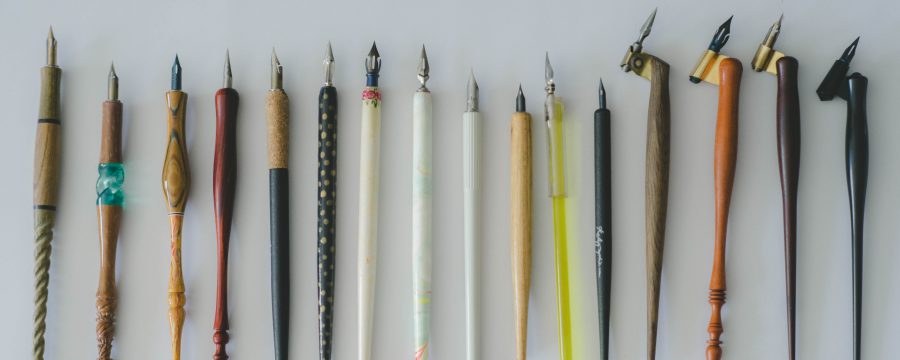
So, let’s say you have an iPad or iPad Pro, that’s great, but we are not done yet. Obviously you can use your iPad with your fingers and a classic rubber tipped stylus you can get for a few bucks and you might even be able to take notes with that, but the thing is: you really need pressure sensitivity, this means a stylus that’s connected in a way to your device.
Pressure Sensitive Styluses will most probably cost you around 100 bucks. They will communicate with your device, so they come with extra benefits. You can get varied lines and palm rejection. Palm rejection meaning that you can rest your hand on the screen while writing.
If you get the iPad Pro you should definitely get the Apple Pencil. It is one of the most comfortable Styluses ever and since it is made by Apple, communication will always work. If you already got an iPad and don’t want to get another one, look into some of the other pressure sensitive styluses. I haven’t tried any of these, so I don’t recommend any here. You might need to do some research here.
Okay, that’s all for hardware. iPad. Pressure Sensitive Stylus. You are ready to letter.
Software
As soon as you got your devices you’ll want to jump right into lettering, right? So let’s do that.
There are some Apps, that I’d recommend for everyone wanting to dive into iPad Lettering. Most of them are free, but not all of them. If you’ve read my other post you definitely have heard of procreate. It is hands down the best thing ever. I’m still gonna show you some additional Apps first.
Apps
Apps I tried and uninstalled
I thought I start with the ones I tried and didn’t like for lettering. These might be great apps for other purposes, I just don’t like them for lettering.
Gonna do this in list form.
- Paper by FiftyThree
- Drawing Desk
- Autodesk Sketchbook
- Tayasui Sketches (note, this is not the PRO version)
- MediBang
- Draw (formerly iDraw)
- Adobe Illustrator Draw
Non-Lettering but necessary
These are not necessarily for Lettering, but I still recommend installing them.
Clouds
iCloud might be nice, but the amount of free space you get is ridiculous. Mine has been full for weeks. So I definitely recommend getting some other cloud apps.
Dropbox
Dropbox is one of the most popular clouds and the app is pretty. Cool thing about Dropbox is the fact that you can earn free space by referring people etc.
So in case you don’t have dropbox yet, signing up following this link will give me a little extra space, which I can use to host some freebies for you 🙂
Google Drive
Google Drive is awesome! It will give you 15GB of space for free. Chances of having a google account anyways are pretty high (even if you are all about Apple chances are you still have a gmail address somewhere, right?) I’m all for google drive 🙂
Creative Cloud
The creative cloud is for all of you Adobe Users out there. It’s just easy to sync up resources like this.
iZip
This is an unzipping App. Most resources for procreate come packaged in zip-files. And this just saves you the computer. You can unzip directly on the iPad. There are other options that do that, I just stumbled upon that one and it works. And it’s free.
Amaziograph ($ 1)
This is hands down my favorite drawing app! It does not support pressure sensitivity, so you can basically use your hand as well. It’s a symmetry tool. I use it CONSTANTLY. Create patterns or flowers in no time, even if you can’t draw at all like me.
It’s great to create easy backgrounds for your lettering. Check the hashtag on Instagram to see how it works
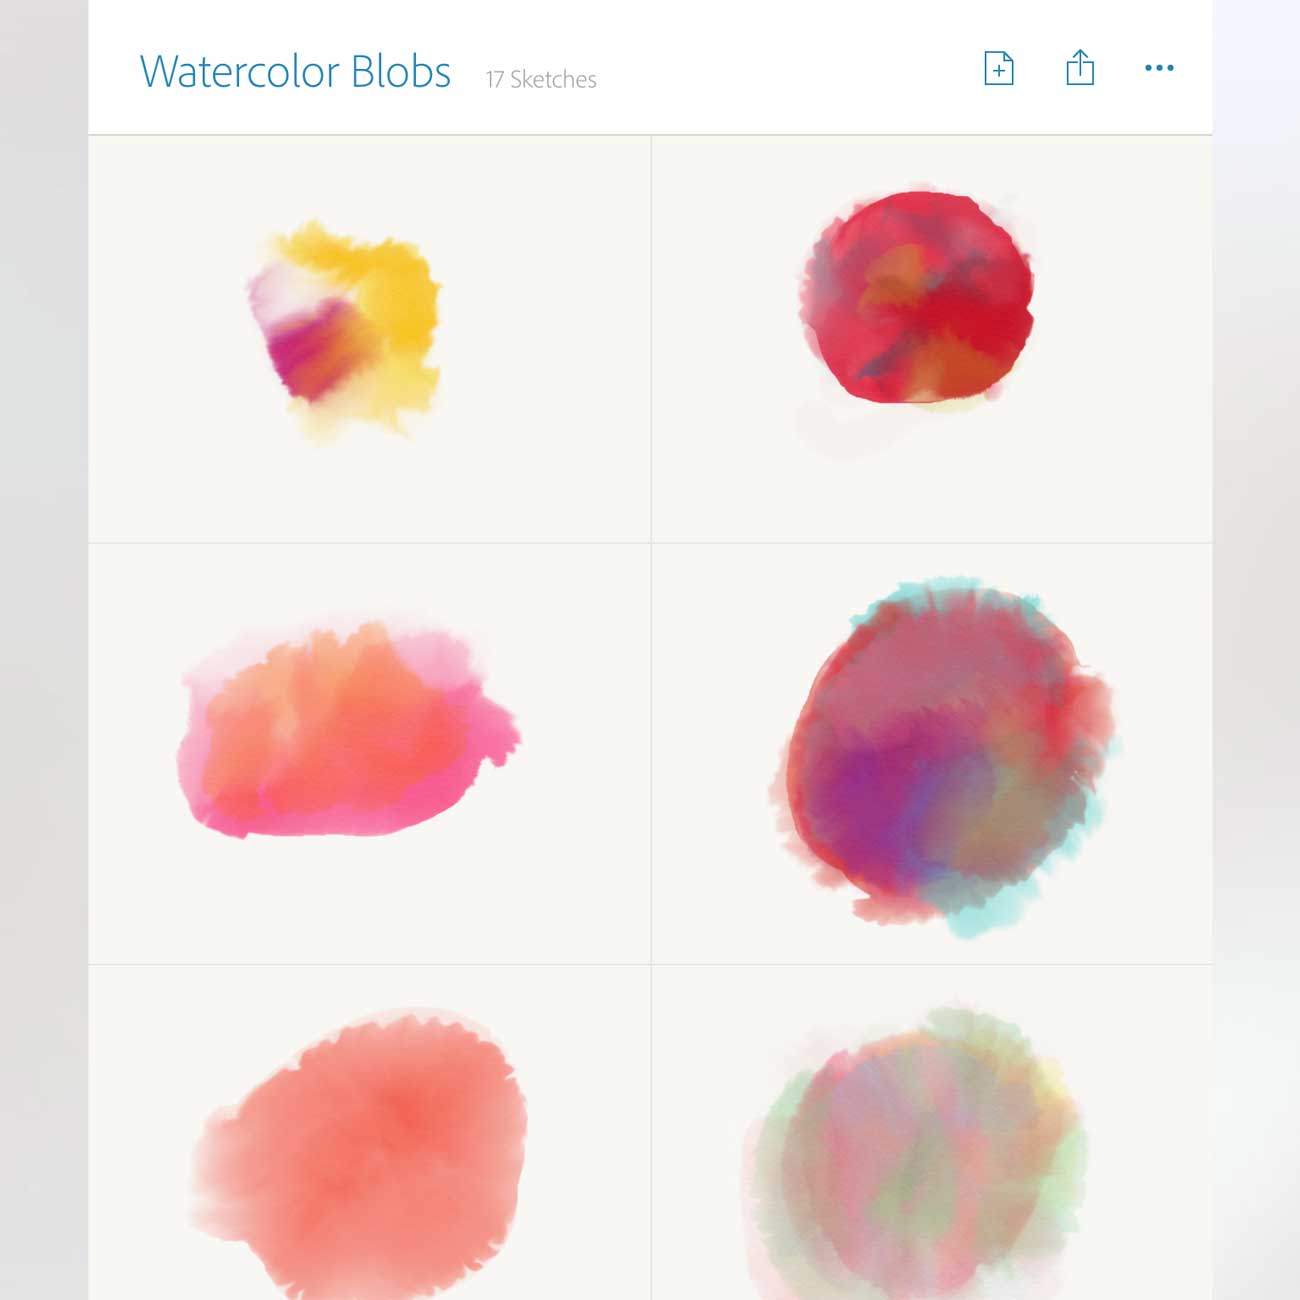
Adobe Photoshop Sketch
Okay, you might consider this a lettering tool as well, but I NEVER letter on there because I find the brushes a pain. Apart from watercolor.
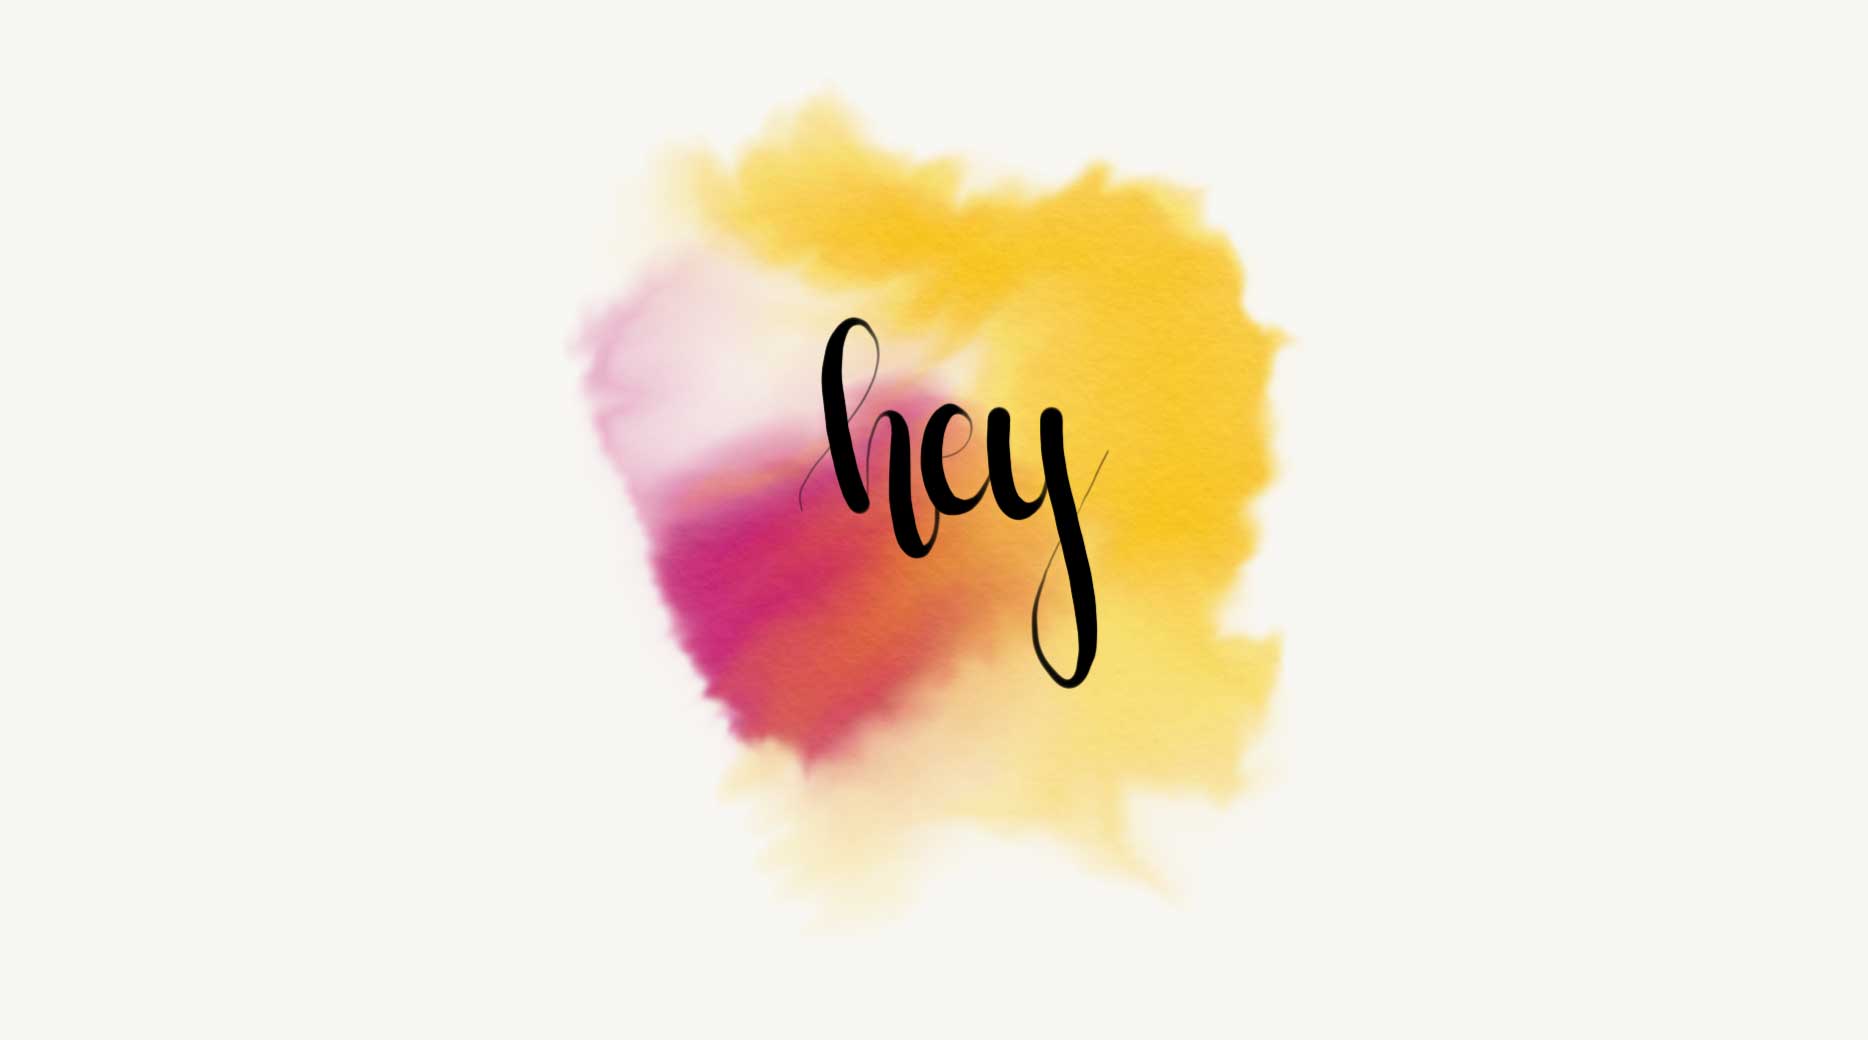
It is AMAZING for watercolor backgrounds.
I mean – just look!
Karin from @ipadlettering has a tutorial on how to make these
Lettering
There is actually only one star in there, but as an alternative, let’s talk about these:
Adobe Photoshop Sketch
As I said, I never letter on there, but there are people who do lettering on it. The reason I don’t like it is because I feel like the pressure sensitivity is really slow. If I release pressure my stroke is thick for a few miliseconds longer, than I wanted to which creates partially really heavy upstrokes. Maybe that’s not to much of a problem for you, but I have quite a heavy hand on my downstrokes so it looks really weird.
The brush options you got are quite limited, so yeahy for watercolor backgrounds, nay for lettering on my end, but give it a try anyways.
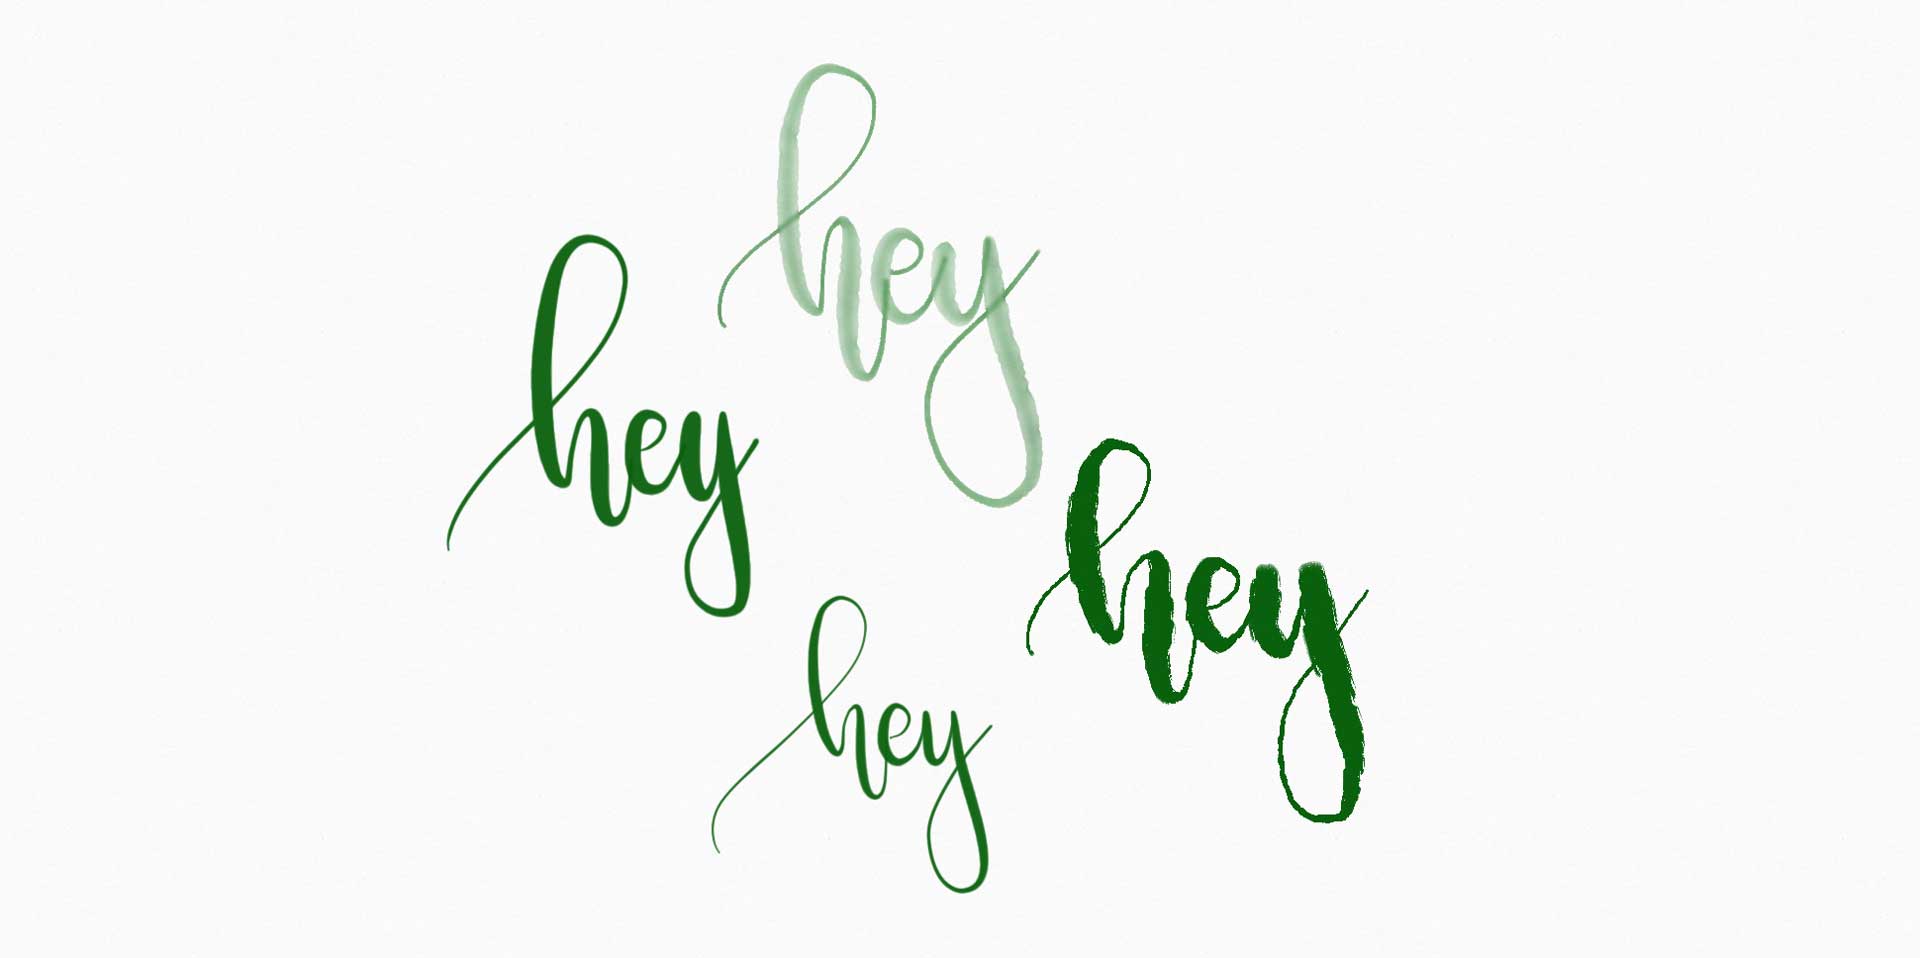
Tayasui Sketches Pro
This is the pro version of the sketches App. The pro version, which is also free (weirdly). The normal version of Sketches does not support pressure sensitivity but this one does.
The reaction time for pressure changes is just how I like it, but the option of brushes are limited as well. You see all of the ones that support pressure changes in the example image below.
But as a free option it works really nicely. What I also really like is the fact that you do have a screen capture feature, that actually captures every stroke while it’s being drawn. It’s a real screen capture, so very different from the time lapse feature that procreate offers.
I don’t opt for this App too often, but when I do I enjoy using it.
EDIT I found out that I was lucky to download the app in a limited period where it was available for free. It has now gone back to being a paid app. It is 5 CHF here in Switzerland. Would I pay that money for it? To be hones, probably not.
Procreate
Yes, we are gonna do a separate chapter for this one.
Before you try finding it all out on your own
Procreate has A LOT of features. Luckily the guys from the team have written a fantastic handbook. It has not been updated with all of the new features yet, but you will learn so much. There are so many shortcuts and gestures. They are very intuitive (I have found myself double tapping to undo in pretty much every drawing app) and super easy to learn, but you just need to know they exist.
Brushes
There are a ton of brushes featured in the App, but to be honest I don’t really like most of them for lettering. After adjusting I do like some, but I mostly just use custom brushes.
In the following a few Links to where to get custom brushes (free and premium)
- Procreate Forum: Bit hit or miss, but this is definitely the largest collection
- My free brushes: I offer a large amount of free brushes and they are all created for lettering. I add new sets all the time.
- My premium brushes: I also have premium brushes. These are the brushes with custom-made shapes so they are a bit more special
- ipadlettering.com: Karin is awesome. And her brushes are too.
- hewittavenue: I won Sarah’s Watercolor Brush and it is gorgeous, I imagine the other brushes being amazing too.
- saffron avenue: Haven’t tried her brushes yet, but the writing samples are beautiful.
- rad and happy: She shared her brushes in this blog post 🙂
- More? If you know another place to get lettering brushes, please let me know!
Pressure Curve
You can edit the pressure curve in procreate. This is one of the coolest things ever. Please check my first ipadlettering blog post for that 🙂
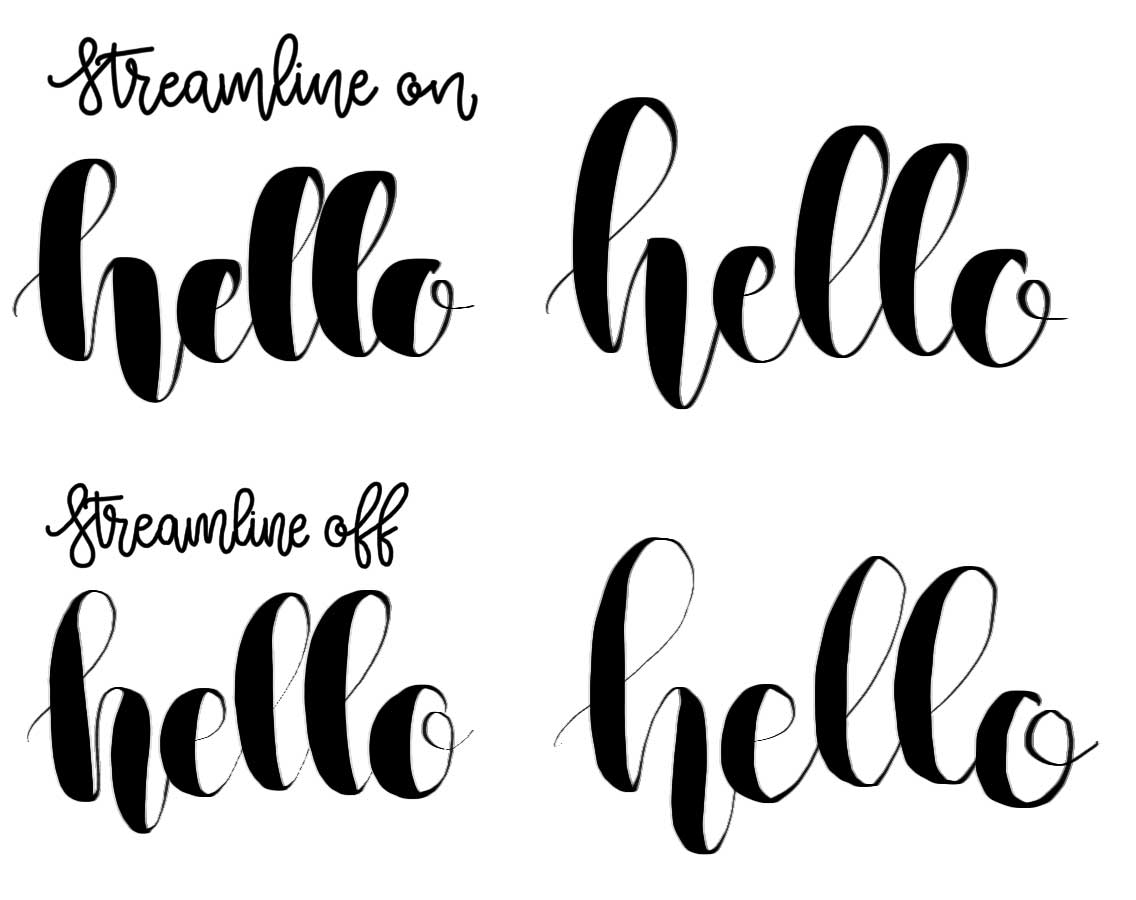
Streamline
The recent update of Procreate brought Streamline. A line smoothing feature. And let me tell you one thing: It is a Game Changer!
You can enable streamline in each individual brush setting. Same place you take care of jitter and spacing. And then all you do is letter and let Streamline take out all of the little wobbles you get. And you will get these wobbles since you are working on slippery glass.
There are different opinions about Streamline. Some people consider it “cheating” because the App does all of the work. Let me tell you one thing: Streamline doesn’t do the work for you. You apply the pressure. You decide where the line goes. Streamline makes it pretty.
Do I want a almost one thousand bucks lettering tool to make my words pretty? Hell yeah I do! Why should I decide against a tool that enhances my lettering. I would’ve done it anyways if I decided to vectorize it. That’s the beautiful thing about taking your lettering digital. You get the help of technology. Call it cheating if you want to. But then you might as well call a bike or a car cheating, because hey you could walk with your own feet.
Still. I had almost three months without Streamline. And to be honest I feel like I got a lot better lettering because of the fact that Glass is much harder to work on than a piece of paper. I tried to perfect my lines, tried to minimize my wobbles. I feel like it improved. So if you are still learning, I do recommend turning Streamline off for just a fraction of the time. Turn it off and try making it look as good as with Streamline on. You don’t have to publish it. Just keep it for yourself and aspire to get so good, that no one will be able to tell if Streamline is on or not.
Inpsiration, Tips and Tricks
Instagram, Instagram, Instagram, Instagram.
“#ipadlettering” is your best friend 🙂
I will try and create a few more posts with some small techniques on enhancing your lettering with very simple tricks.
And that concludes my small getting started guide. If it helped or if I forgot something, let me know by writing in the comment section below. 🙂